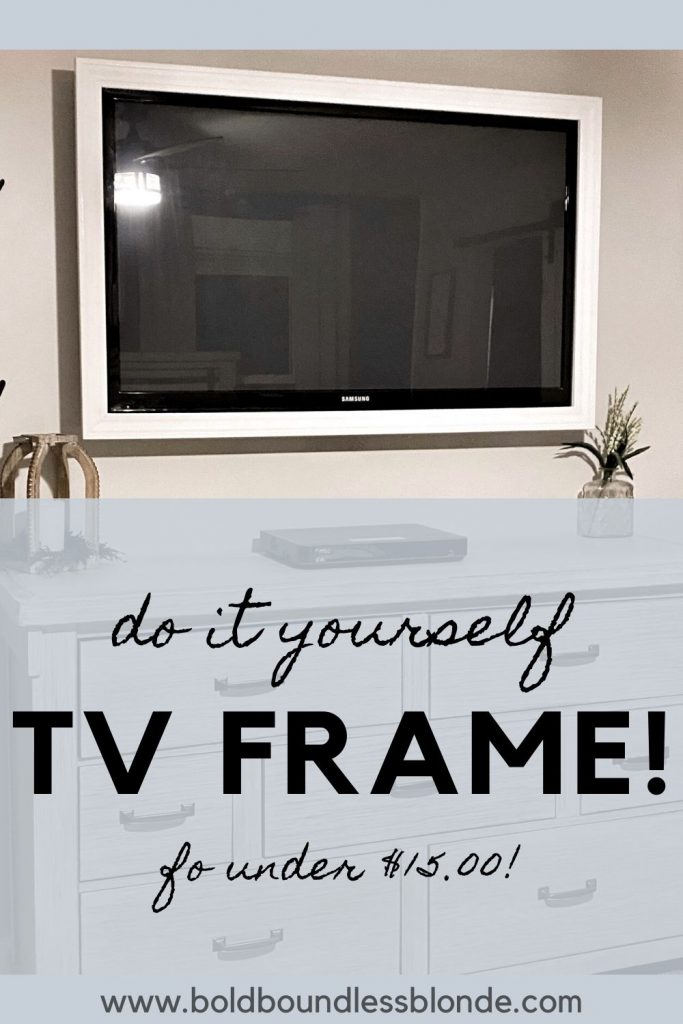
Give your space a new look with this simple DIY TV Frame!
This post contains affiliate links where a small commission is received for the sale of products linked at no additional cost to you. I only partner or promote brands and products that I believe in or have tried myself.
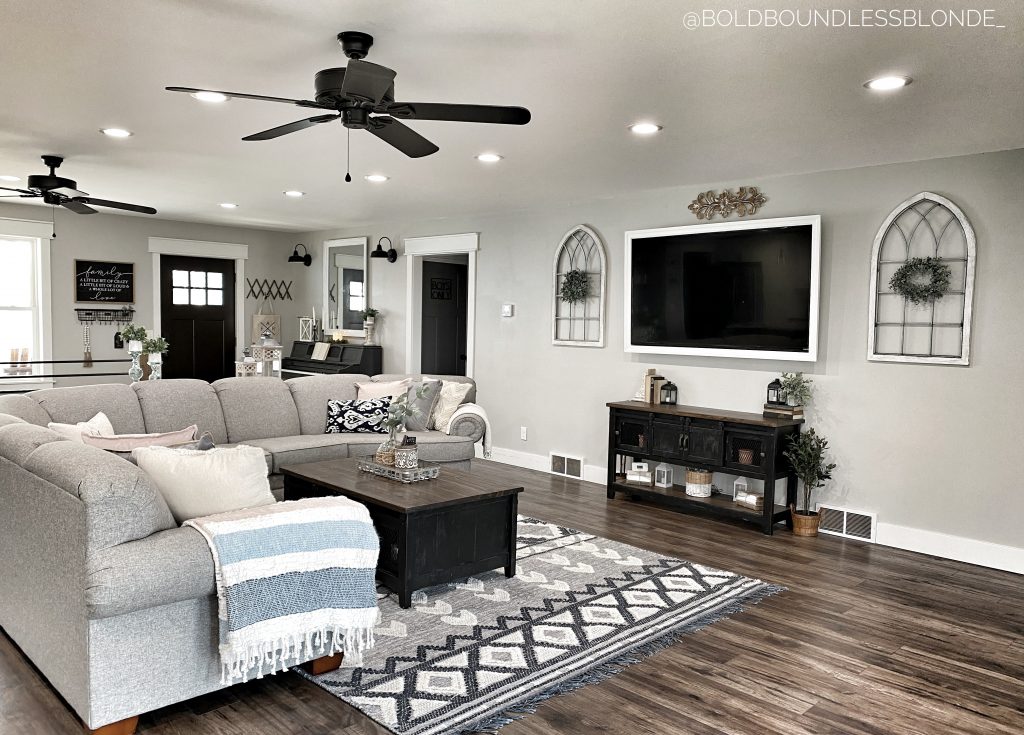
About a year ago, we framed in our TV in our living room. We had initially planned to follow the plans from Holly @ourfauxfarmhouse. However, my husband messed up the first cut. haha This threw the whole project for a loop as we had exactly only enough material to follow her plan. So it was time to improvise. Luckily for us, it led to a more affordable, beginner friendly DIY TV frame! If you are more of a visual person, check out my Instagram Highlight for step by step instructions by clicking HERE!
Build Your Inner Frame
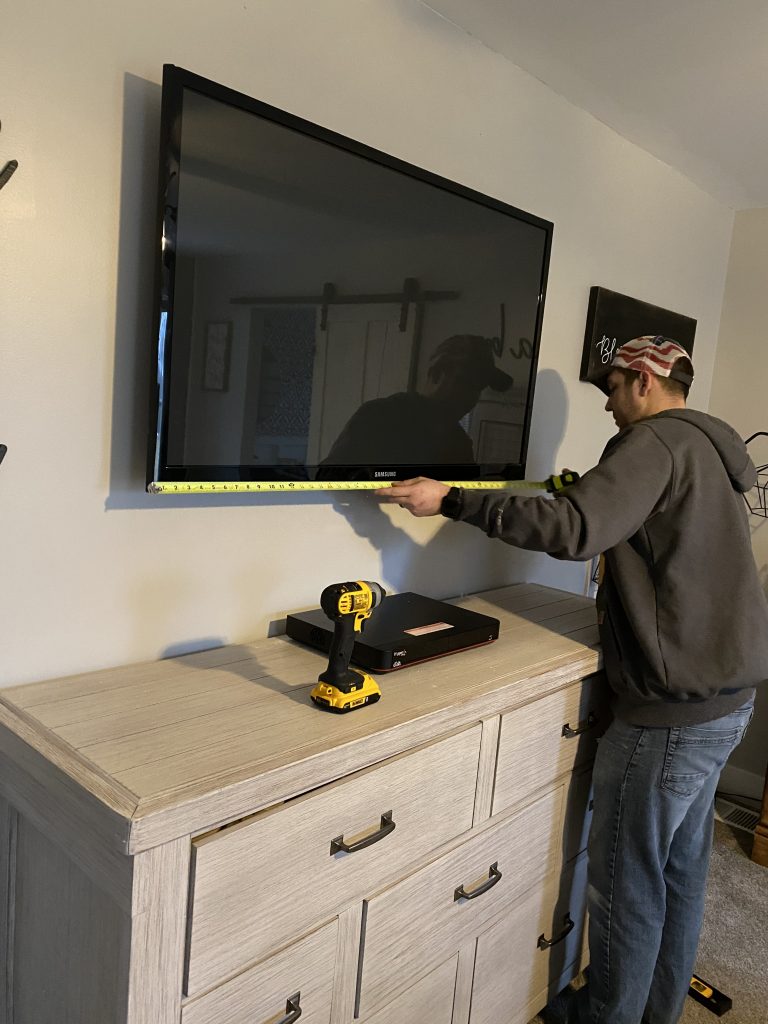
Step 1: Measure from corner to corner the bottom of your tv. The top of your TV should be the exact same as the bottom. Therefore, you will make this cut twice.
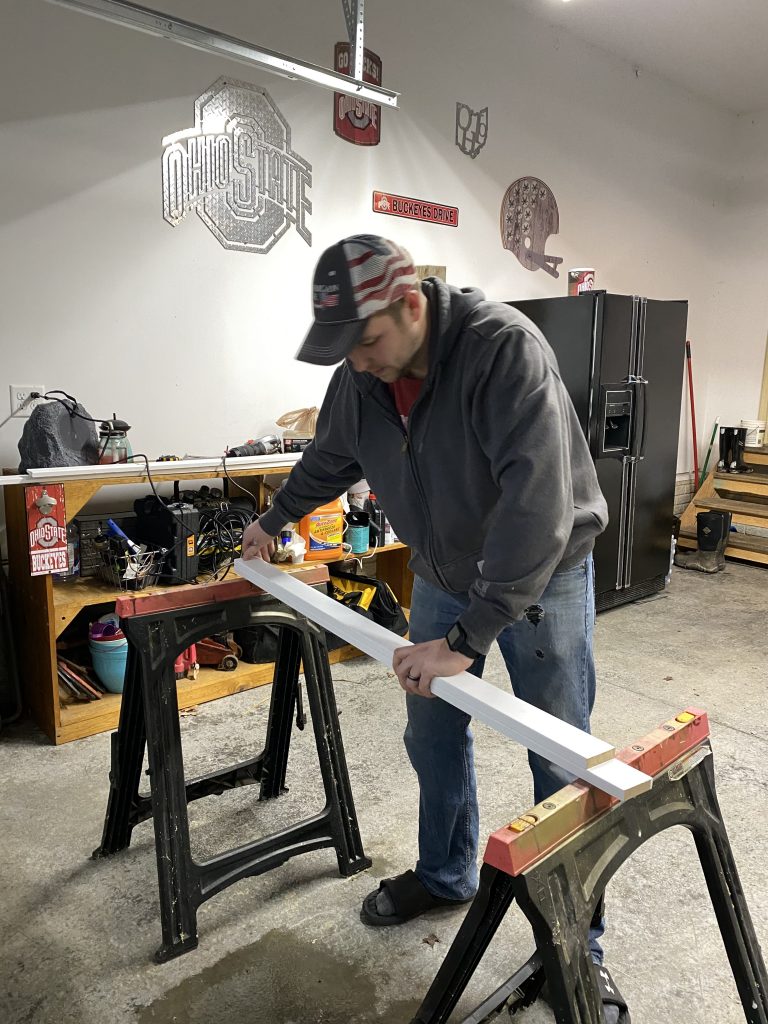
Step 2: Once you have the first cut for the BOTTOM, pull your second piece of molding and cut a second one the exact same size!
Step 3: Measure the side of the TV. This measurement will include the width of the “top” and “bottom” piece of trim. Both sides of the TV should be exactly the same.
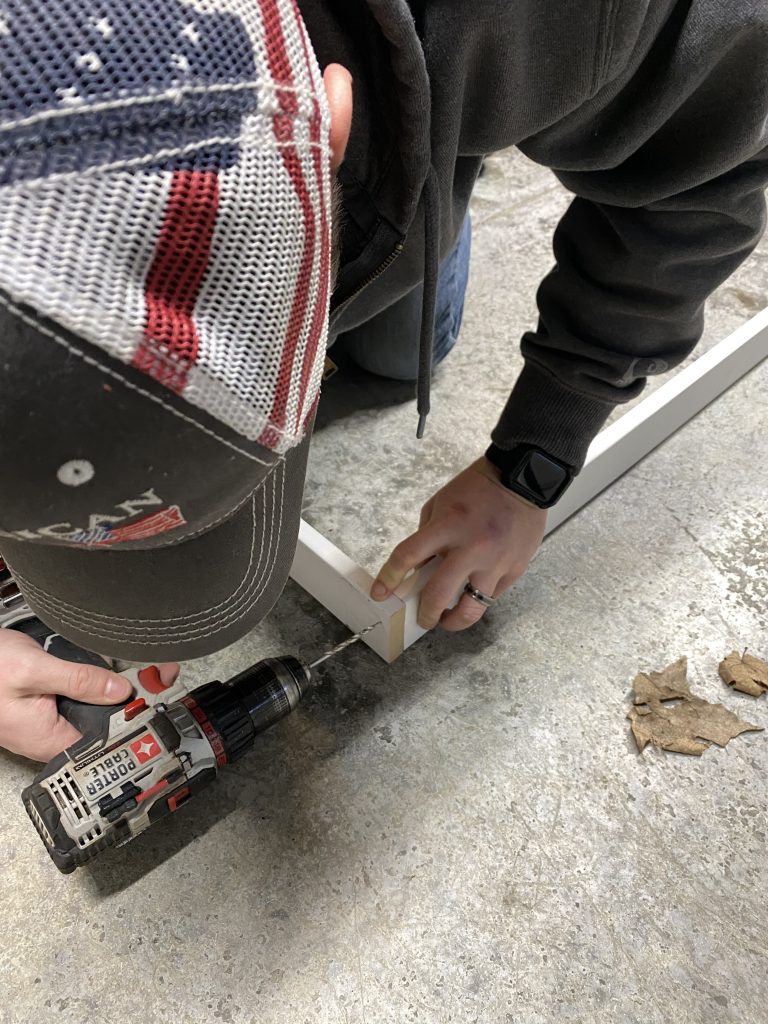
Step 4: Pre-drill your screw holes to prevent your wood from splitting. For the living room TV we had used real wood. For the bedroom TV we decided to try MDF. This was a much lighter, cheaper, alternative. However, eve though we pre-drilled the wholes the MDF still split a little. This is covered with the top trim regardless so you will never see it.
Step 5: Attach your two “side” cuts to your top and bottom cuts. Remember, the “side” cuts go on the outside .
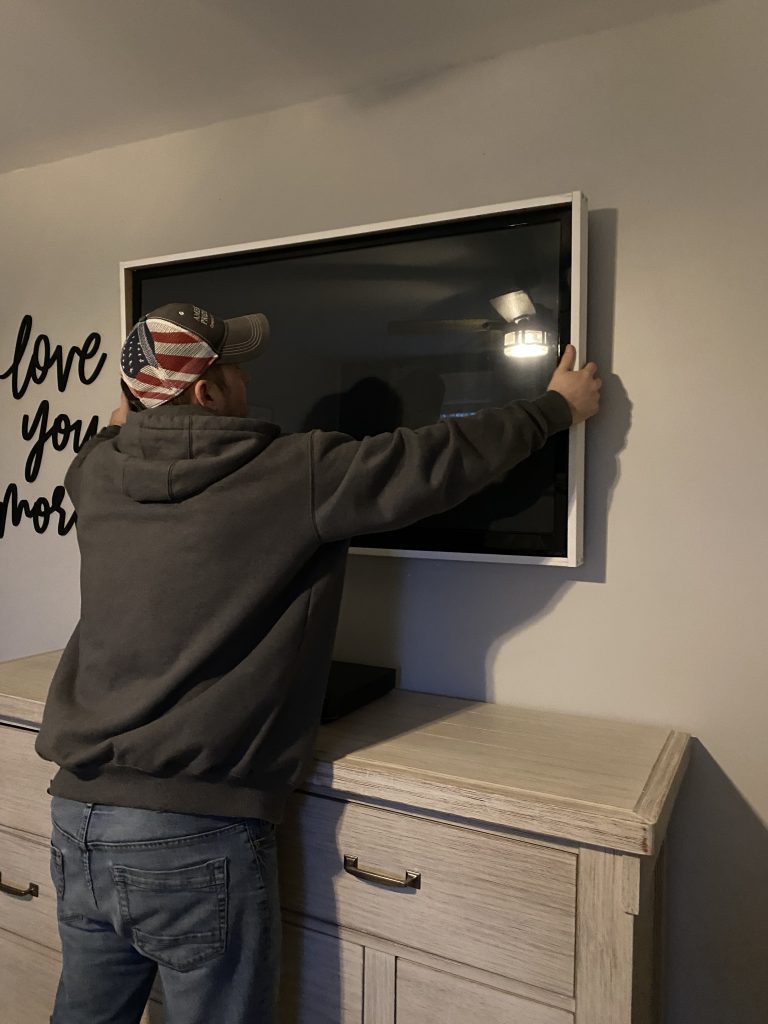
Step 6: Take your fame and make sure it fits snug on the TV.
Add Decorative Trim
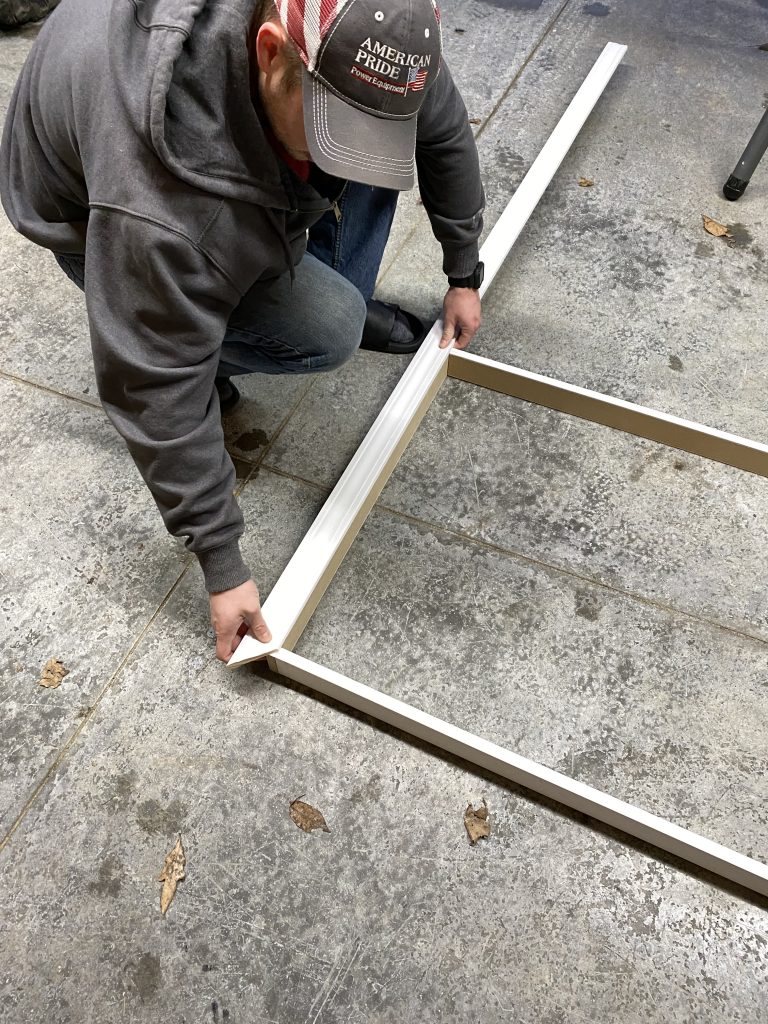
Step 7: Cut the end of your trim to a 45 degree angle. Using your inner frame as a guide, mark your trim to the inside corner of your frame.
Step 8: Working from Side, to Top, to Side, to Bottom, cut and attach your decorative trim to the tv frame. (Check out my stories for a more detailed explanation – Click HERE)
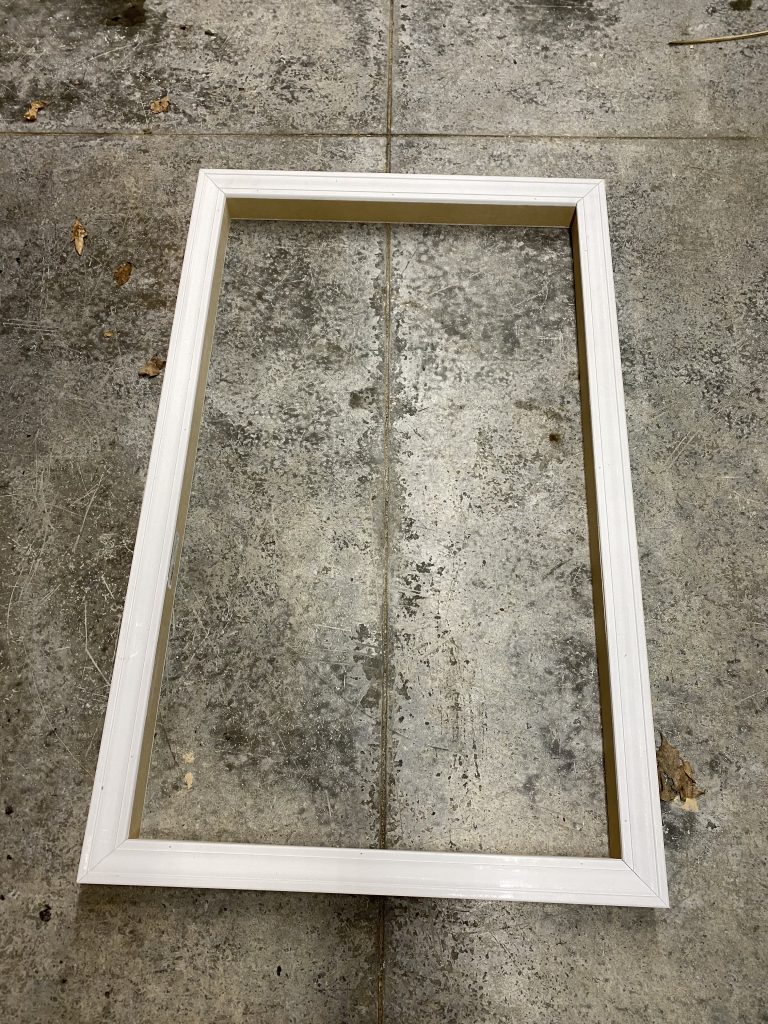
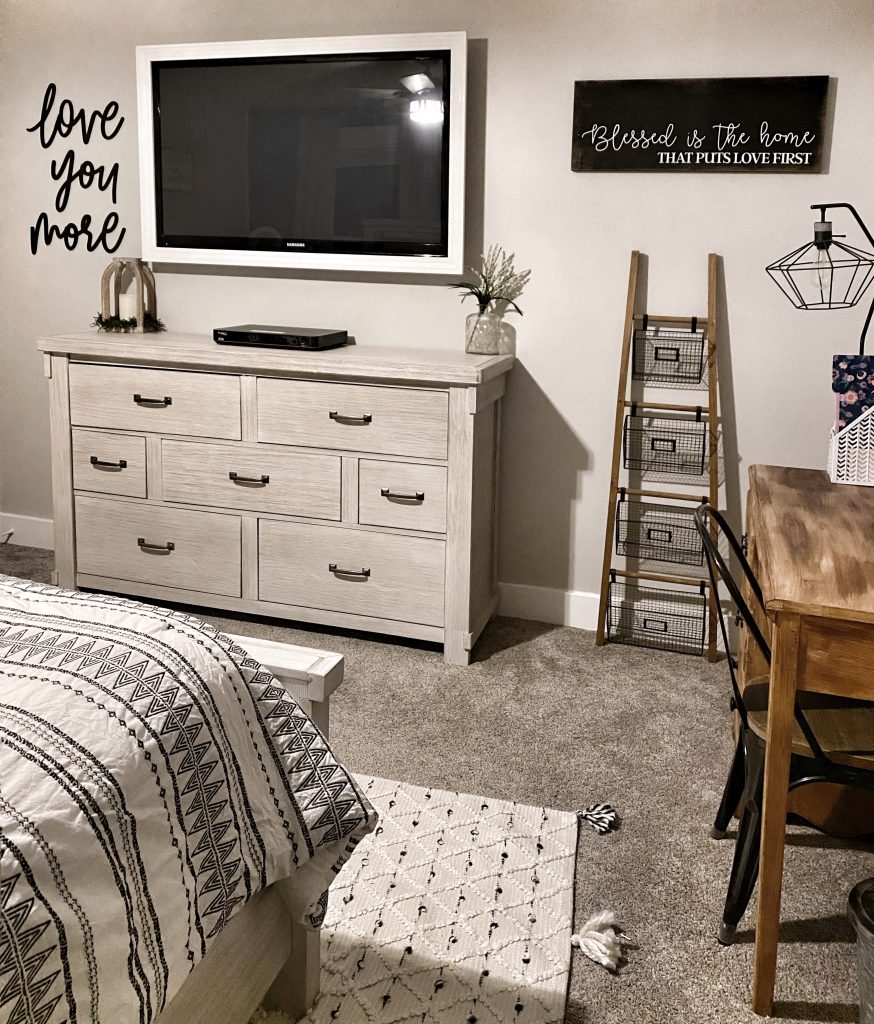
There you have it! A simple DIY TV Frame! Depending on if your TV mount is angled or not, your frame will rest directly on your tv. In our living room the mount is tilted, so we used a small strip of metal to attach the bottom to the wall so that it did not swing off. Our bedroom TV is flat, so it sits on the TV perfectly!
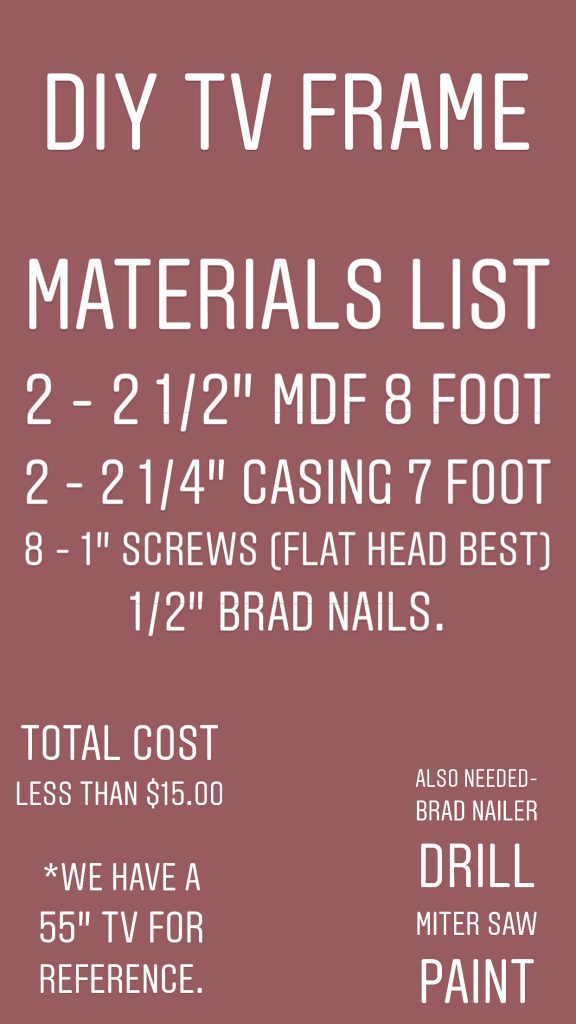
Materials List
The Finished Product!
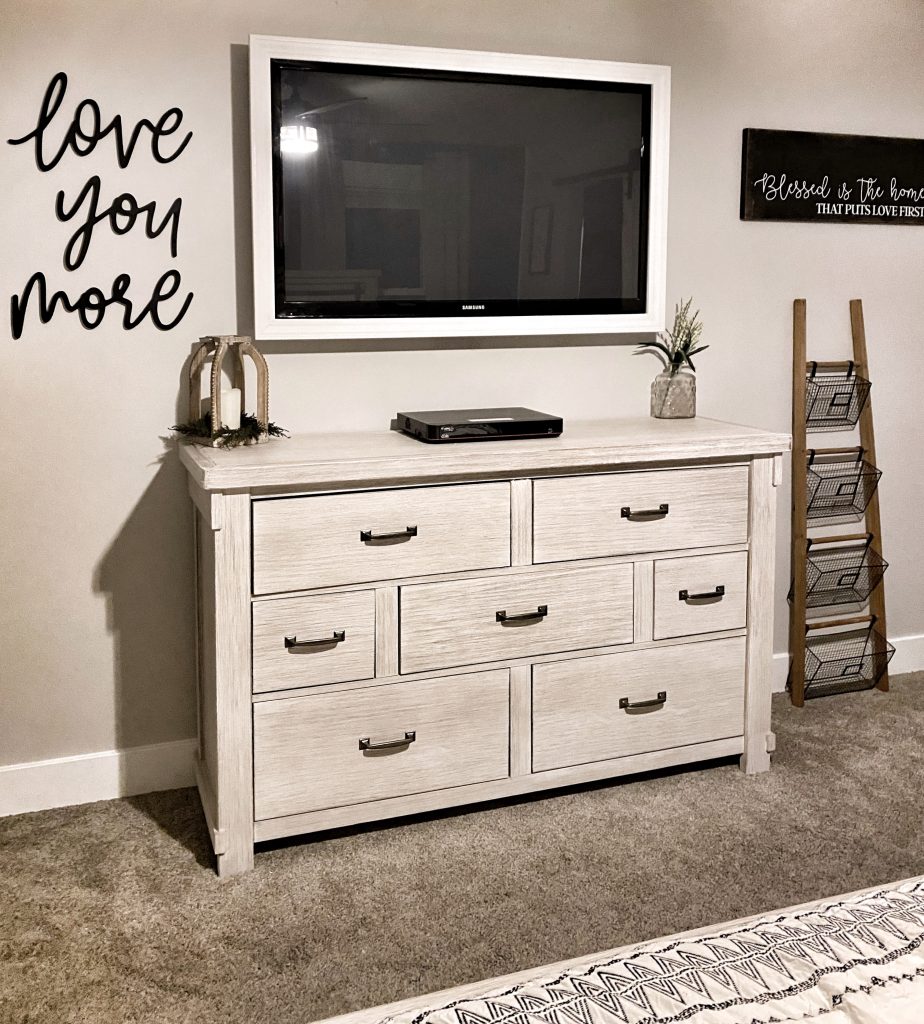
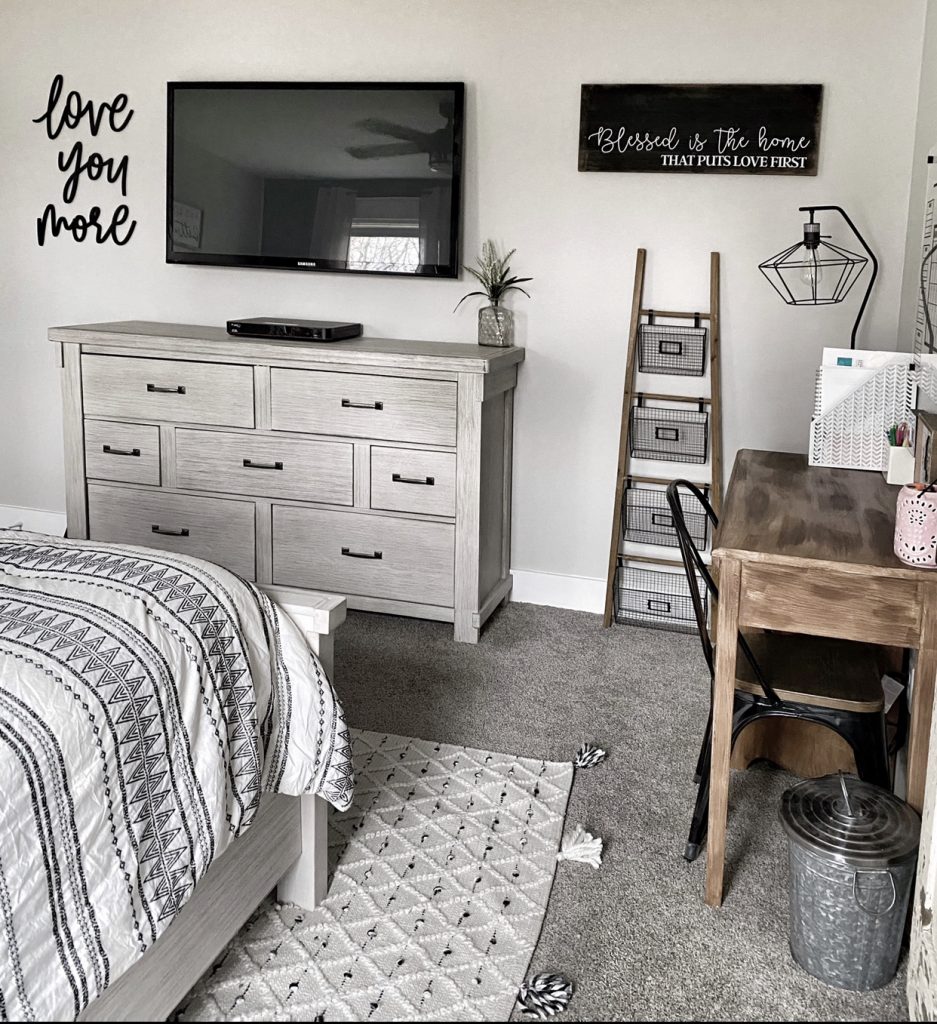
Aside from the lighting (daylight vs light bulbs) look at the difference this simple DIY made in my master bedroom! I absolutely love it! I plan to frame all of the TV’s in the house over time.
For more information on products used in my Master Bedroom – Click HERE
For general resources – check out my Resource Page – HERE
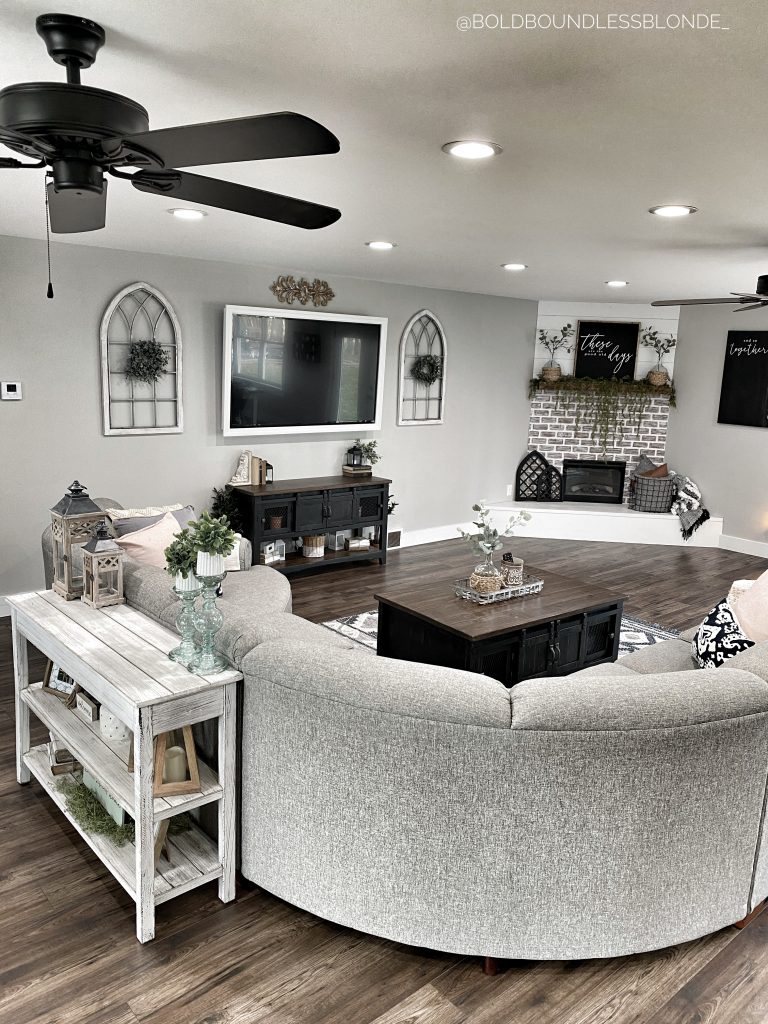
Living Room TV – Angled Mount
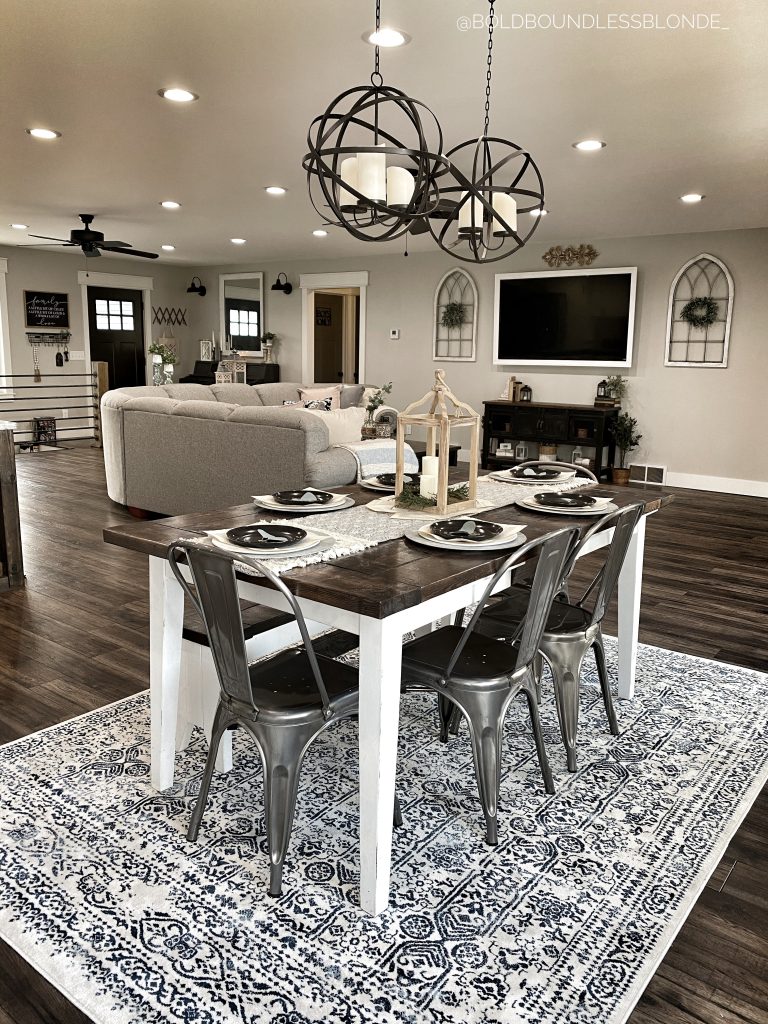
Do you have a link for your dining room rug?
All of my rugs are linked on my Boutique Rugs Blog Post! It is pinned to the top of my post 🙂
Where is your couch from?
Thanks!
All of the details can be found on my resources page 🙂
Good evening, Do you have a link to your new pillows and couch blanket?
Im sorry I dont! I picked those up at TJ Maxx!