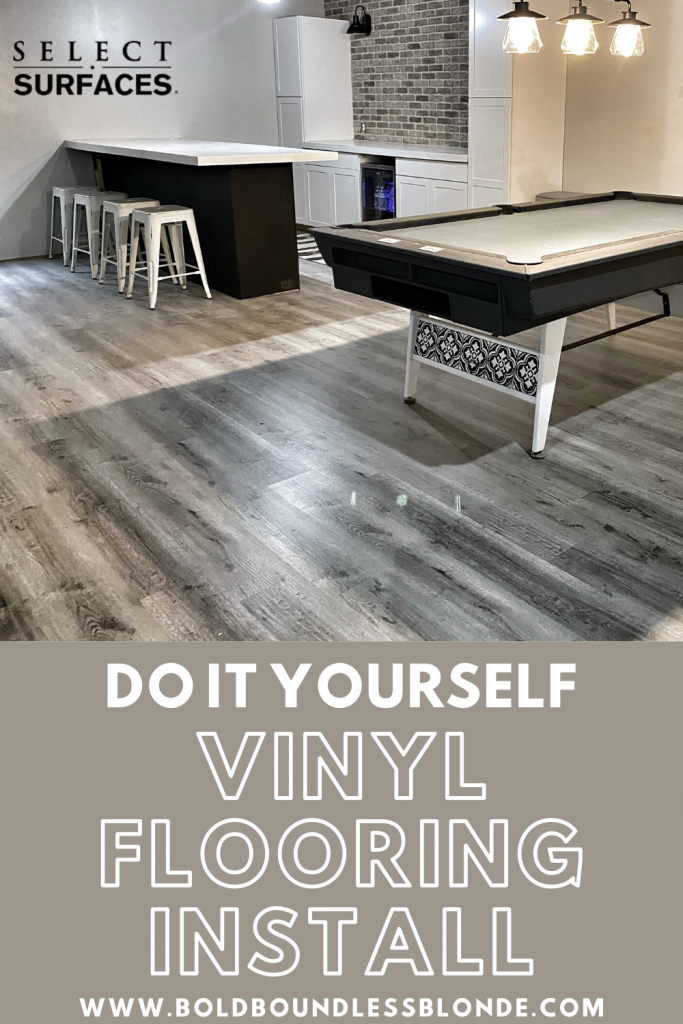
Select Surfaces Harbor Gray Vinyl Flooring
Bold Boundless Blonde contains paid advertising and affiliate links where a commission is received for the sale of products linked in a post. This blog abides by word of mouth marketing standards. I believe in honesty of relationship, opinion and integrity. The compensation received may influence the advertising content, topics or posts made in this blog. That content, advertising space or post will be clearly identified as paid or sponsored content. I partner with brands and products that I am passionate about and appreciate your support in making this blog successful.
Materials List
- Select Surfaces Harbor Gray Vinyl
- Vinyl Flooring Cutter – THIS WILL BE YOUR BEST FRIEND
- Install Kit
- 6 Mill Plastic
When we decided to finish the basement, selecting flooring was one of the major decisions that we had to make. I knew I wanted vinyl, for its durability and easy install. I had heard amazing things about Select Surfaces from other Bloggers and Customers so it was a no brainier to browse their available Vinyl Colors. Vinyl flooring is the best of both worlds. Harbor Gray combines the look of real wood with the durability of vinyl flooring. Select Surfaces flooring is stain resistant and 100% waterproof so I was confident it would be perfect!
I have installed several different floors over the years so I was eager to get started. This was not my first time working with vinyl so I was fairly familiar with the process. Installing your own flooring can save you thousands of dollars in labor cost. Once you get in the groove the process is simple and totally worth the effort!
The Install
The simple click installation system allows the planks to easily click together, requiring little to no effort and making this product extremely DIY-friendly. Once the floors were swept clean, we started by laying the 6-mil plastic directly onto the concrete. Select Surfaces Vinyl has as attached foam backer eliminating the need additional padding. If you were installing on sub floor you would not need the plastic. Starting in the in the back left corner of the basement, we worked our way from left to right laying the flooring.
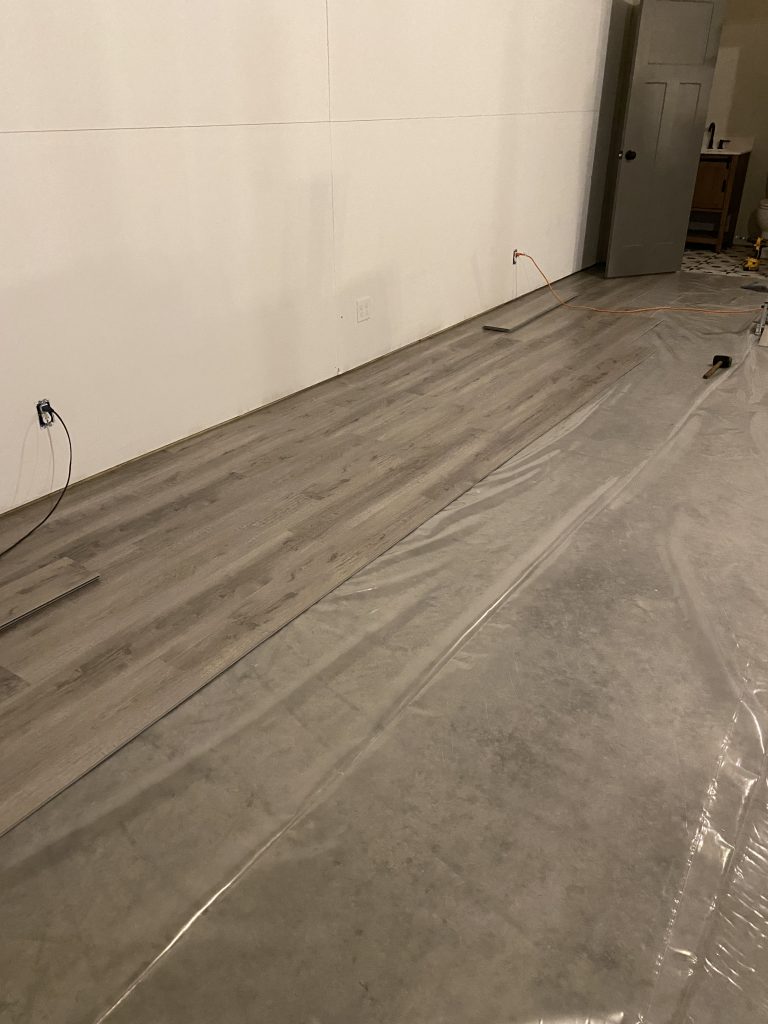
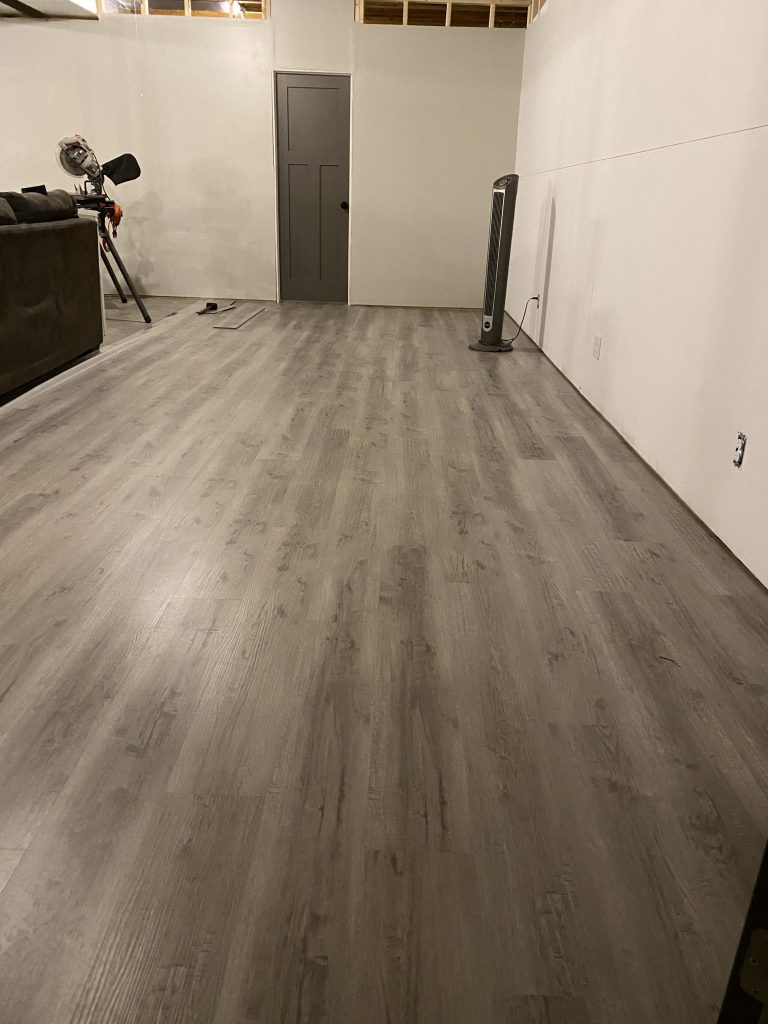
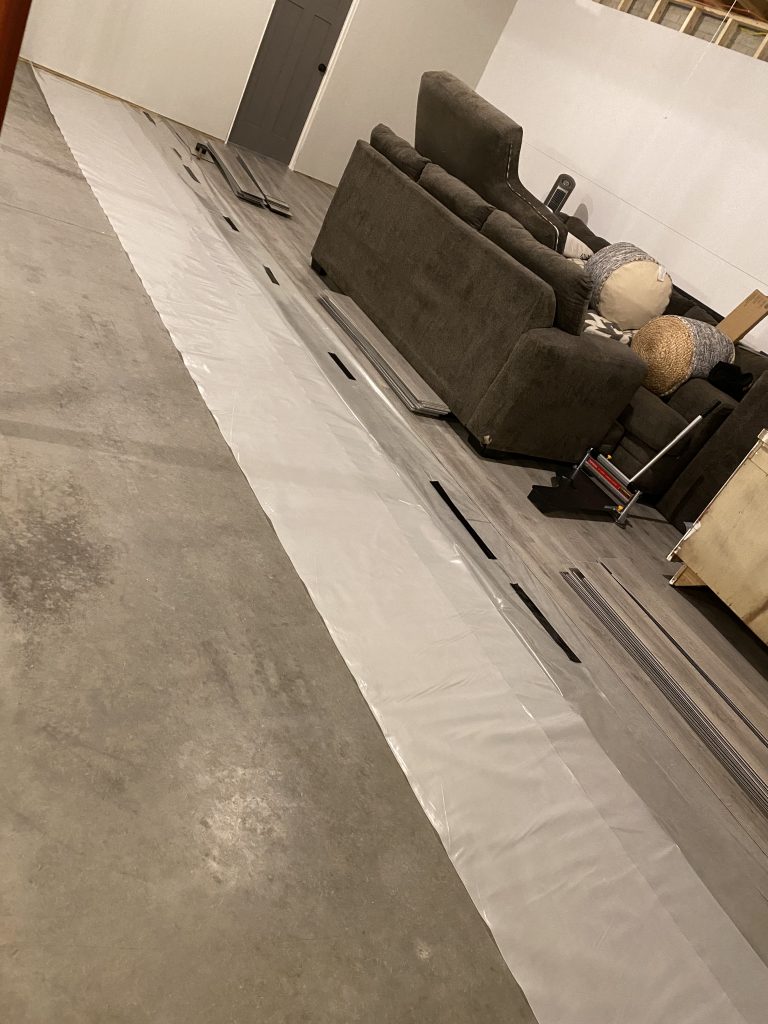
You can see here that I had my husband stack the flooring in piles which makes the install process more efficient. I typically would work with 3-4 rows at a time. When you reach the wall on the right side you use the remaining of the cut piece to start your new run on the left. Check out my Instagram stories HERE for a short video of the install and my “secret trick” that saves you TONS of time! You NEED the Flooring Cutter. It is literally a life saver!
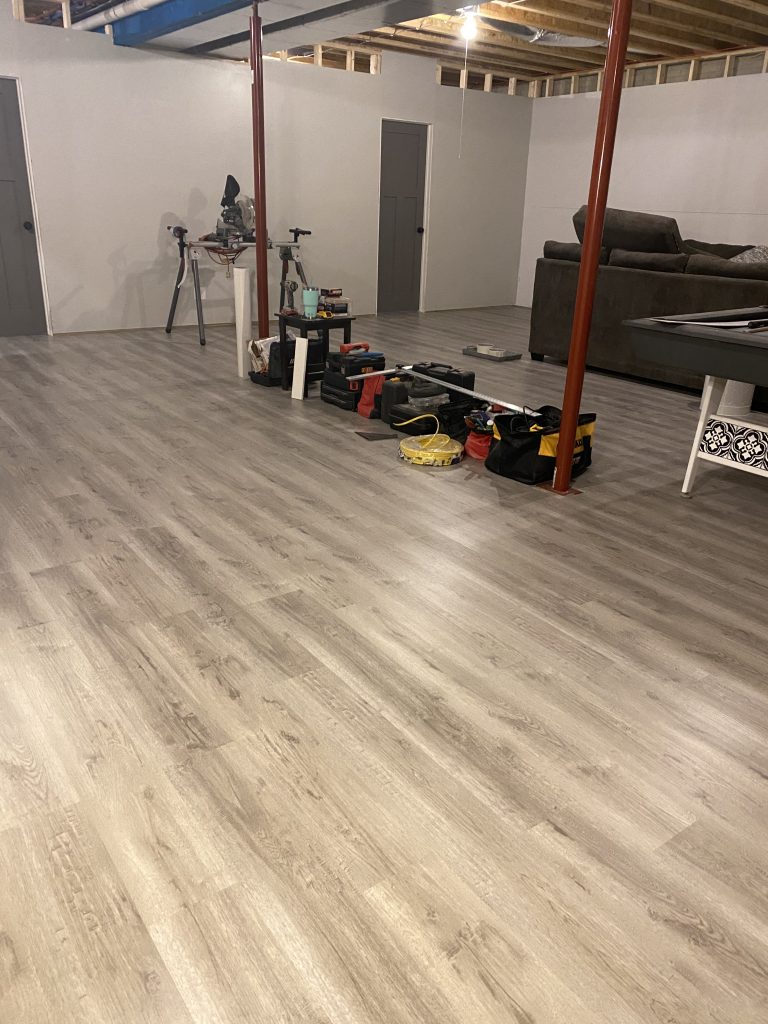
We worked our way through the flooring moving furniture as we went and making those not so fun cuts around the post. We (mostly I) laid over 1100 square feet of flooring in about 2 1/2 days. I am absolutely in love with the way it looks. Once all the flooring was done I went through and added trim for a more finished look.
The Finished Product
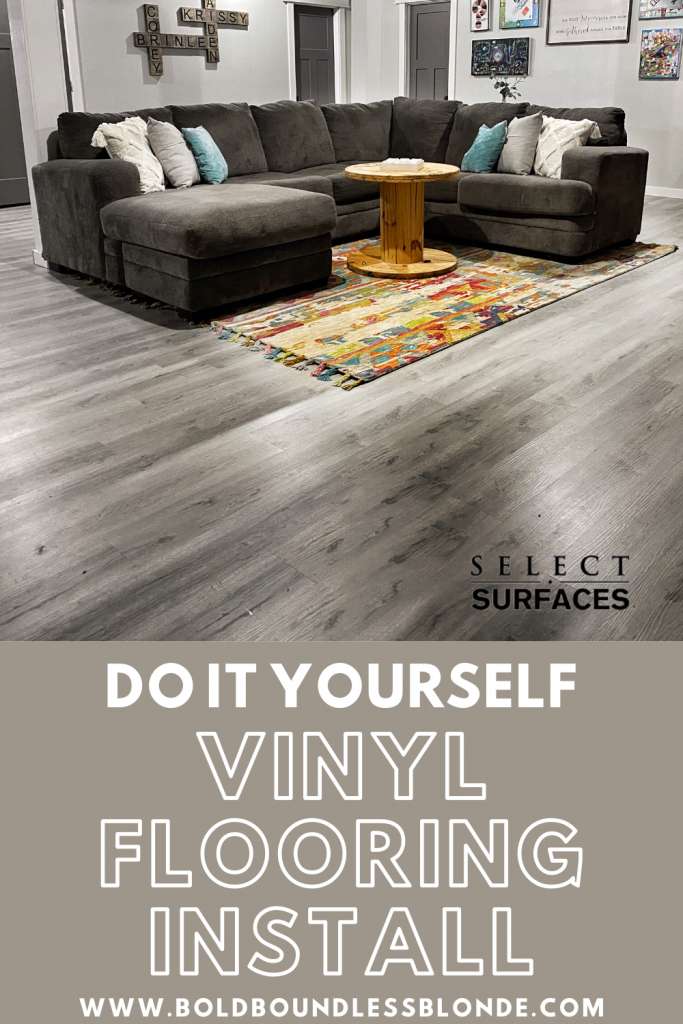
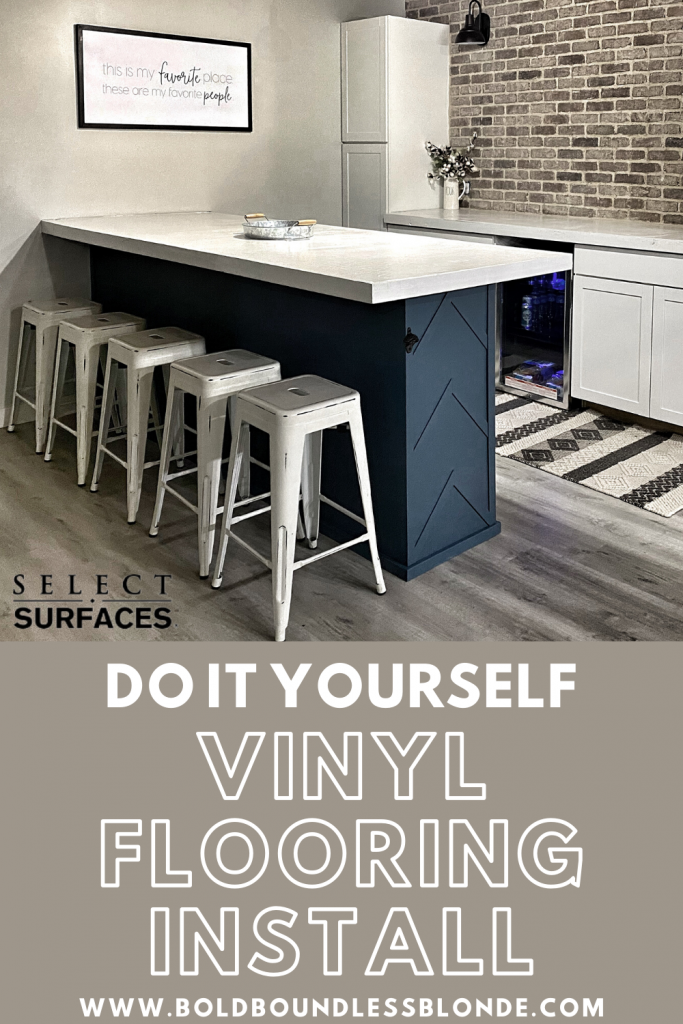
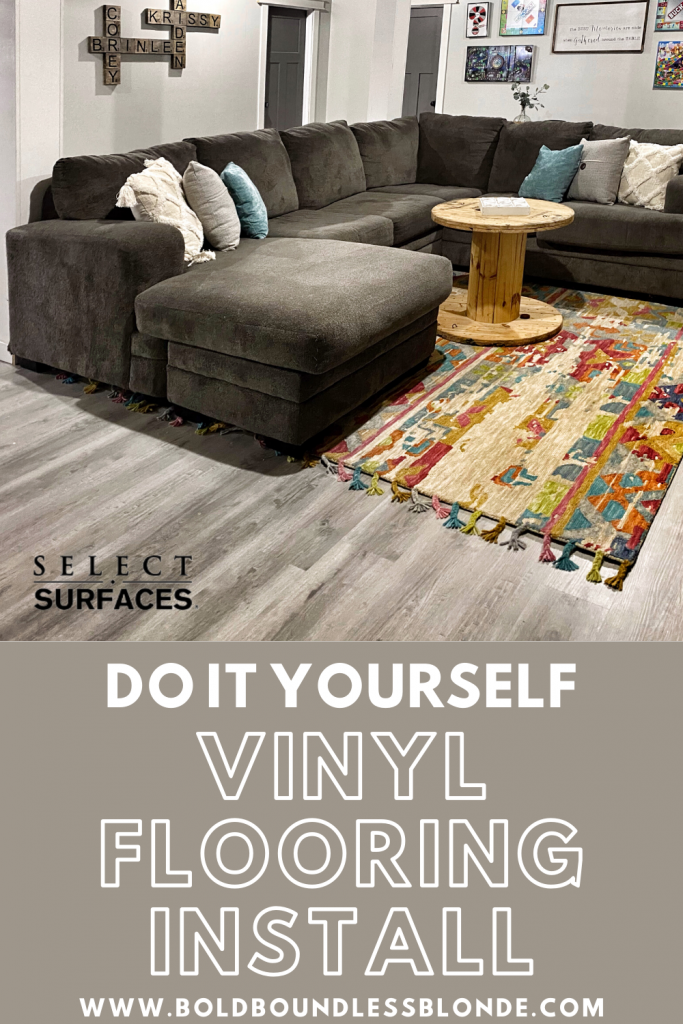
We have already made so many memories in our new finished basement from game nights to movie nights. I am so thankful to have found a flooring that will withstand heavy traffic and crazy kiddos! Here are some more photos of the finished product! It looks AMAZING! I am convinced the photos do not do it justice. I wish we had more natural light, however, it is the basement. lol

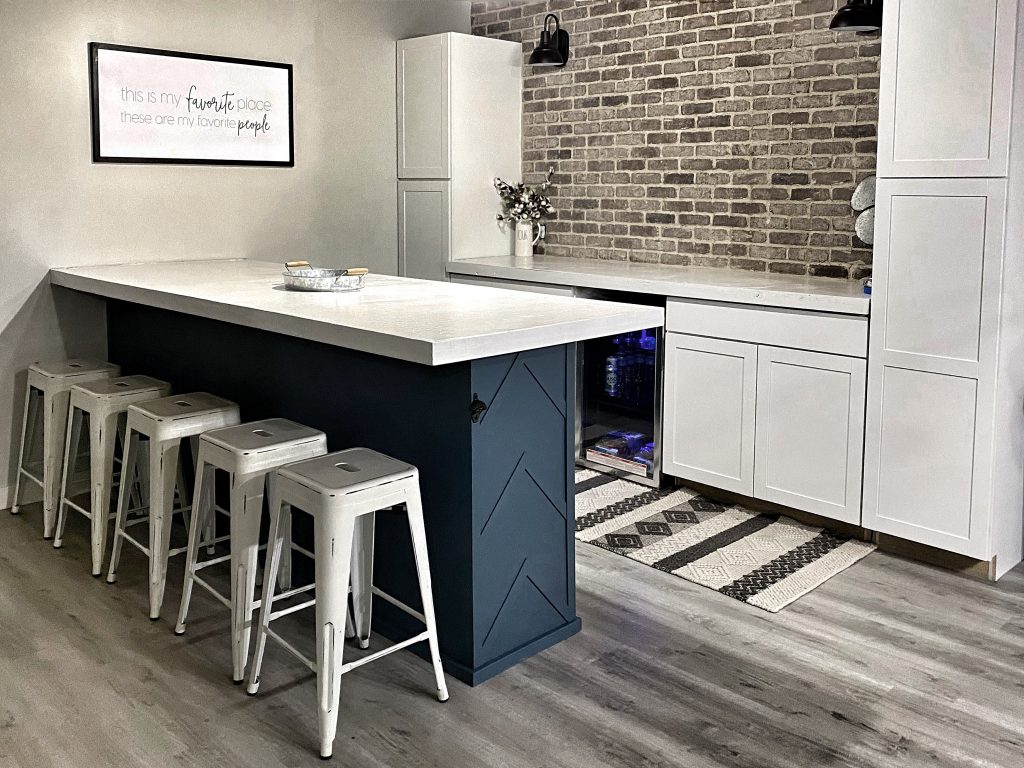
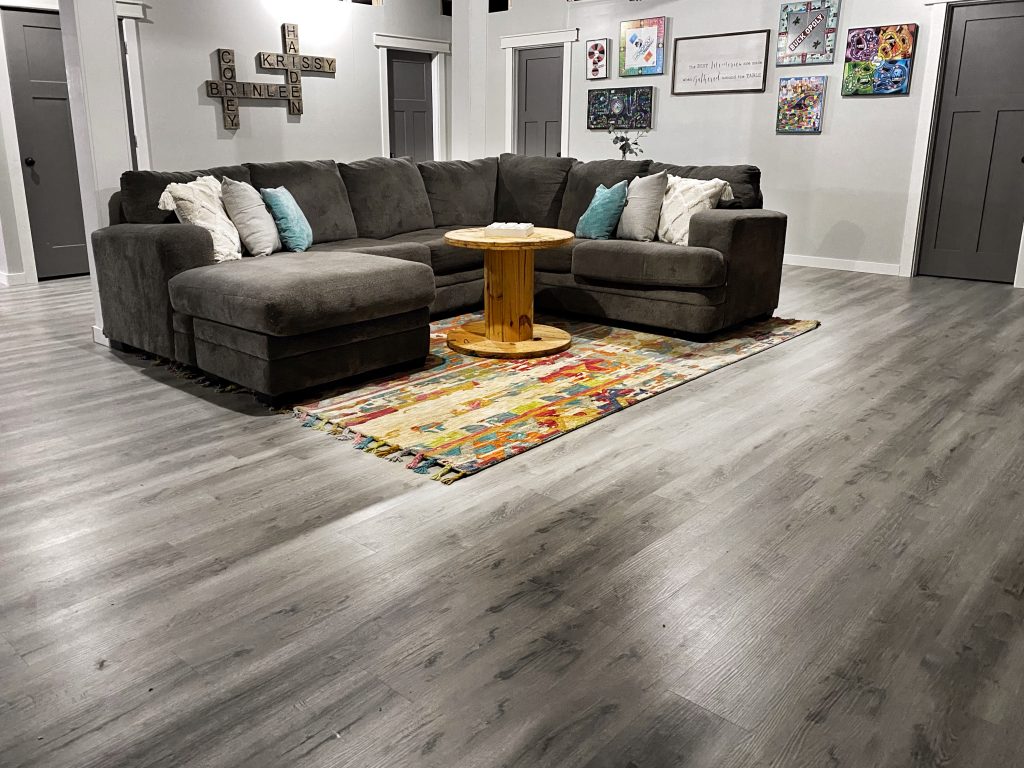
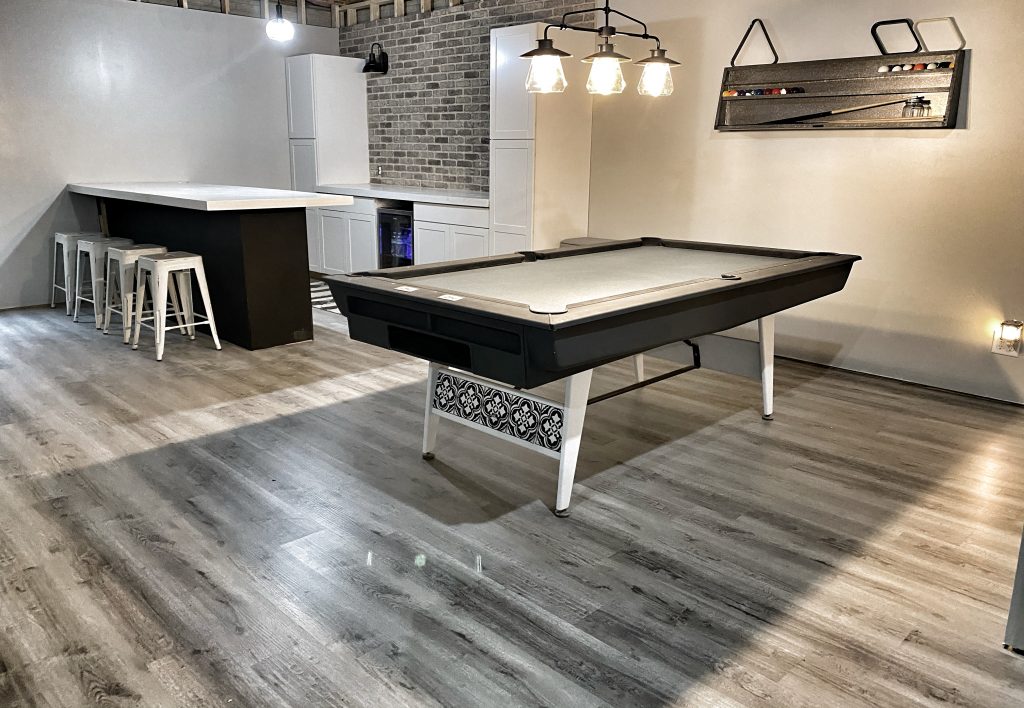
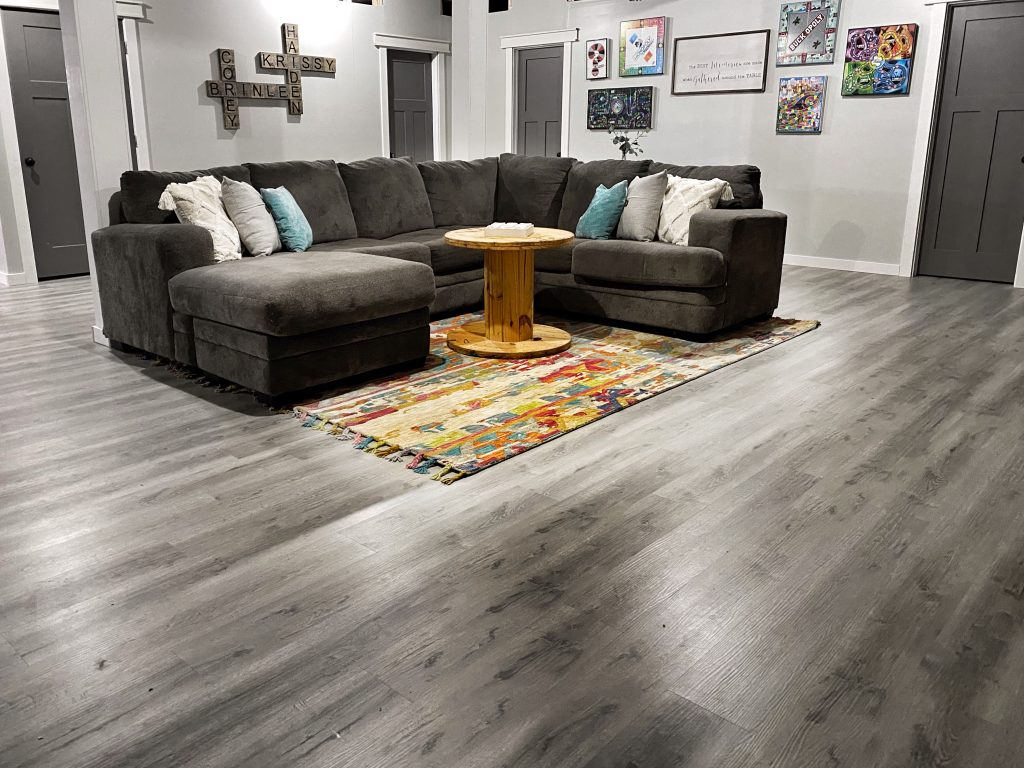
Are you considering a DIY Vinyl flooring install? Whats holding you back?
For more details and specifications, please refer to the Install Guide.
If your looking for details on other items found in our basement, please check out my Resources Page!
[…] color! We have installed Select Surfaces flooring in two other spaces of our home (HERE & HERE), so using their product was a no brainer! Select Surfaces™ Heritage Oak Spill Defense laminate […]
Great job on this project Krissy, gray is just gorgeous and elegant Krissy. Not a fan of this color but this one really catches my attention.