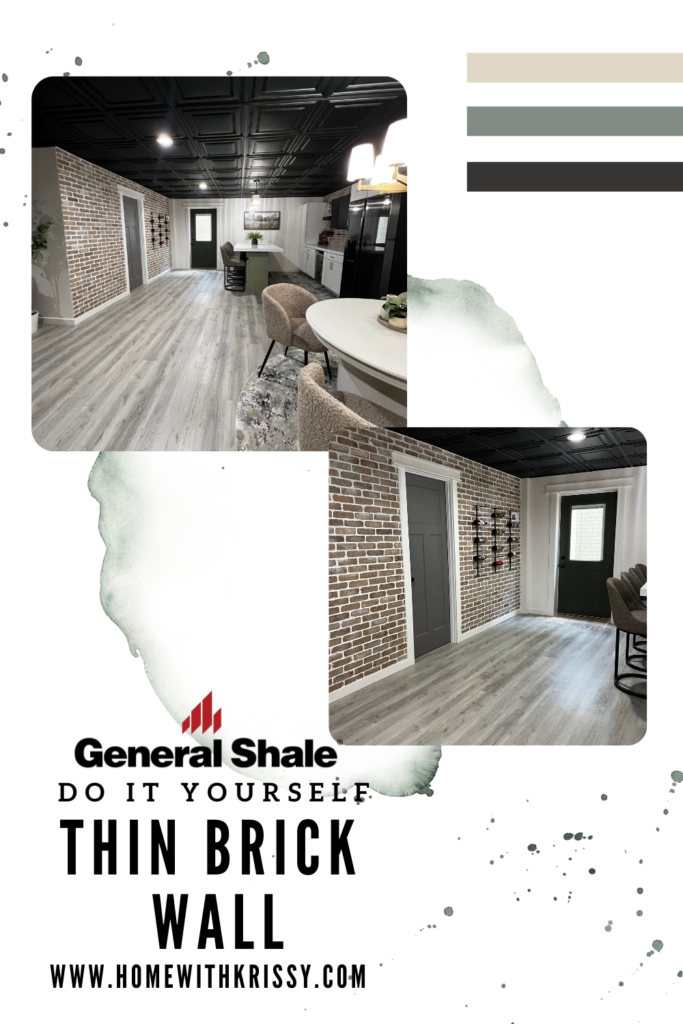
Home With Krissy contains paid advertising and affiliate links where a commission is received for the sale of products linked in a post. This blog abides by word of mouth marketing standards. I believe in honesty of relationship, opinion and integrity. The compensation received may influence the advertising content, topics or posts made in this blog. That content, advertising space or post will be clearly identified as paid or sponsored content. I partner with brands and products that I am passionate about and appreciate your support in making this blog successful.
THE PROJECT
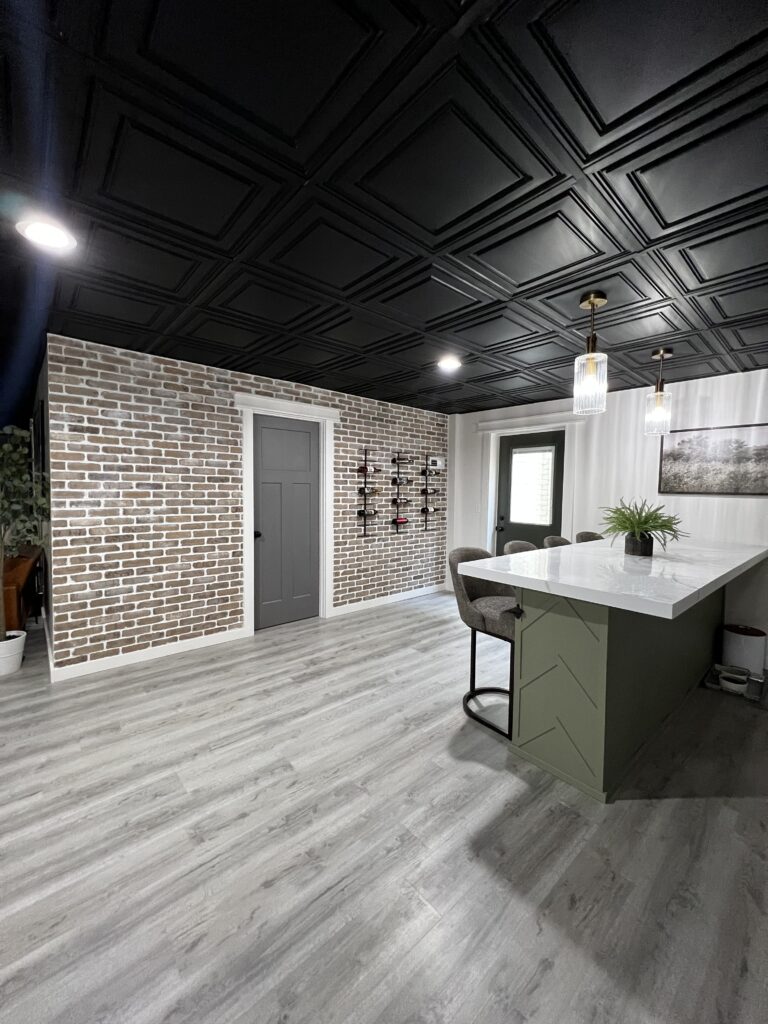
We have been working on finishing our basement since early 2020 and we are finally in the homestretch! We love this little bar area that we have created but it was missing something! MORE BRICK! While researching thin brick colors I stumbled upon IRONWORKS Thin Brick from General Shale and I was instantly in love!
THE BEFORE
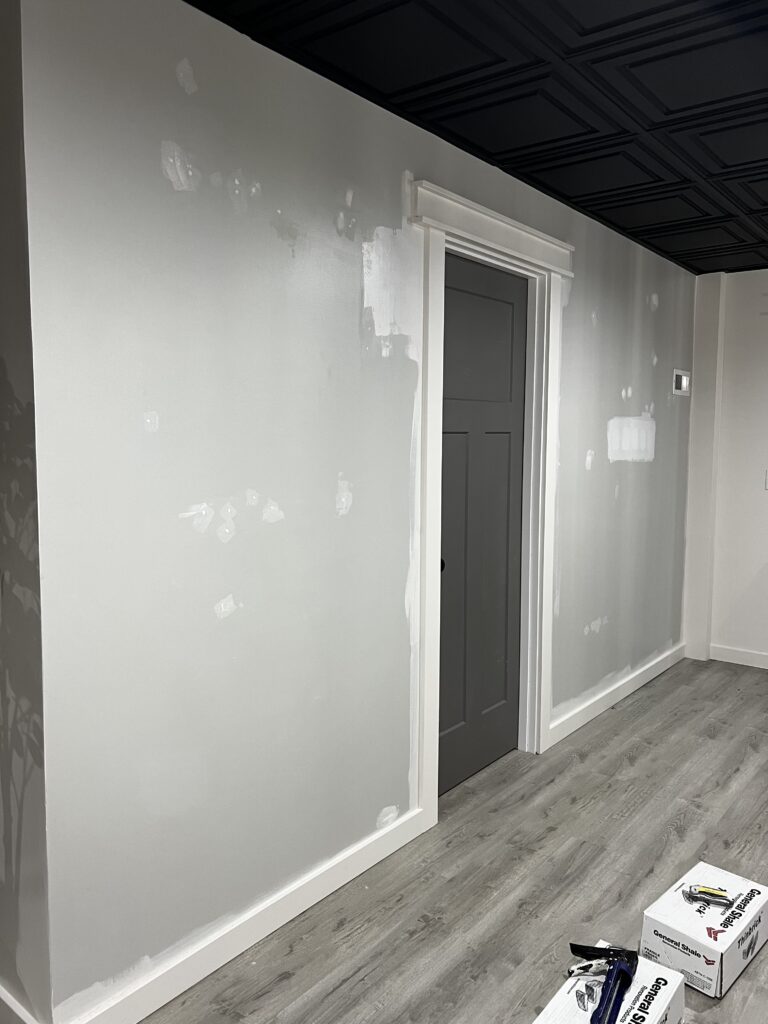
This wall was super bare in and desperate need of a face lift! I love the look of thin brick and knew it would look amazing! We have some thin brick on the backsplash of the bar so being able to carry that across the basement was perfect! I was able to pick up all the thin brick for this project at a local retailer of general shale products, Hamilton Parker! The pickup process could not have been easier and they have a beautiful showroom at their location as well that I was able to walk through and dream of future projects!
THE MATERIALS
- IRONWORKS THIN BRICK
- LOCTITE POWER GRAB
- 4 1/2″ SAW WITH DIAMOND BLADE – TO CUT THE BRICKS
- SPACERS – I ENDED UP CUTTING DOWELS, IT WORKED SO MUCH BETTER!
- GROUT
- GROUT BAG
- BRICK JOINTER
- SPONGE
- SHOP VAC – THIS IS OPTIONAL BUT THIS CORDLESS SHOP VAC WAS A LIFE SAVER!
THE PROCESS
After picking up the brick I had a CRAZY idea! My husband just happened to be out of town on a fishing trip and I thought it would be so fun to get the wall done while he was gone and surprise him!
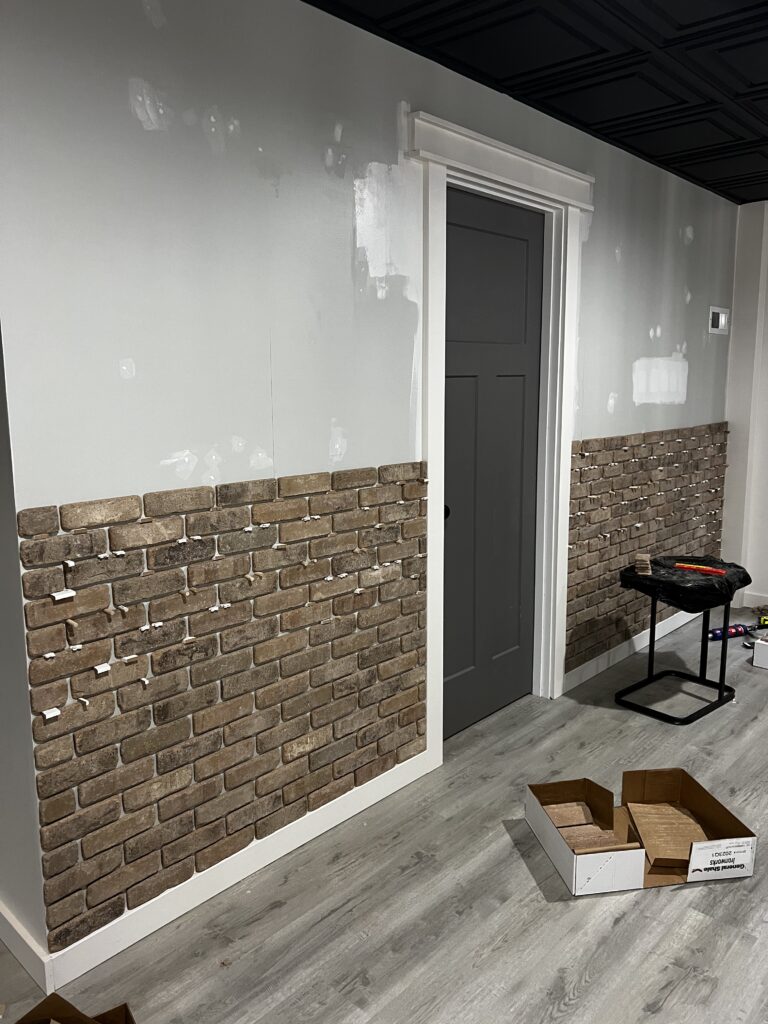
As soon as I got home I carried all the boxes to the basement and immediately got started laying the brick. I attached the brick to the wall using Loctite Power Grab adhesive! I used a diamond blade on my saw to cut the bricks, and used a hammer to distress the cut end to make them blend. For a more in depth tutorial check out my Instagram Highlight Here!
I worked for about 5 hours that night, and got back up at 5AM the next day to get back to work!
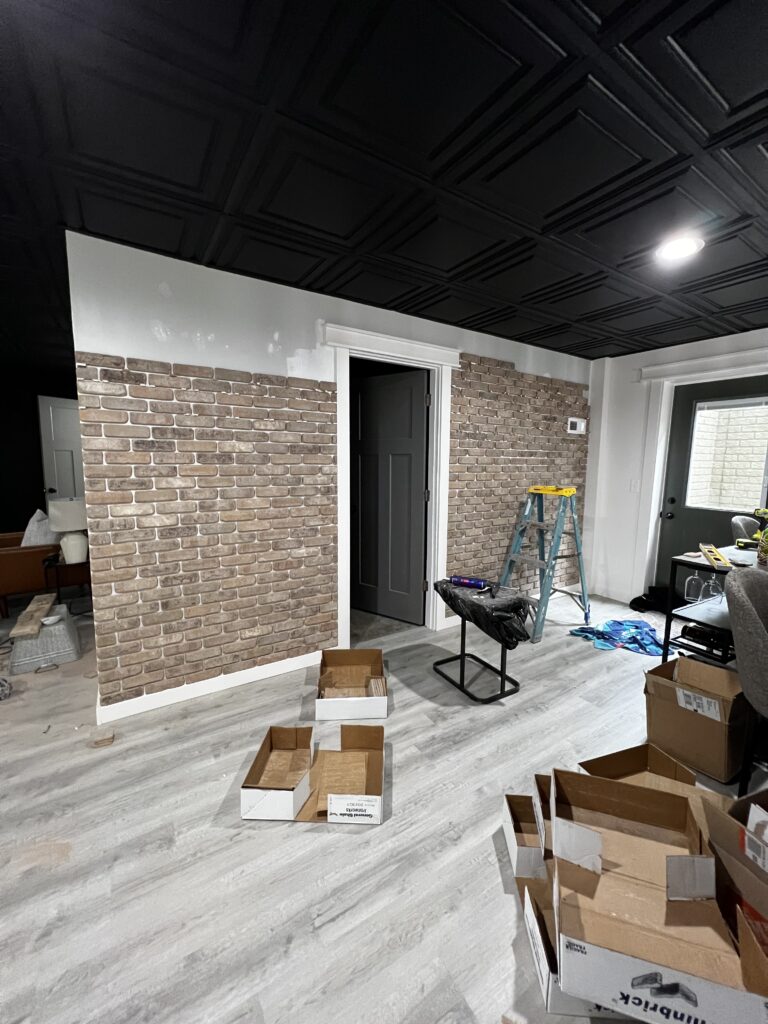
I worked a little on each side continually measuring to make sure they would meet perfectly above the door frame! My daughter had a softball tournament that weekend as well so with minutes to spare I put my last brick on the wall and ran out the door to get to her game! Overall it took me a little over 15 hours total to put up over 700 thin brick including dry time!
Check out this crazy before and after!

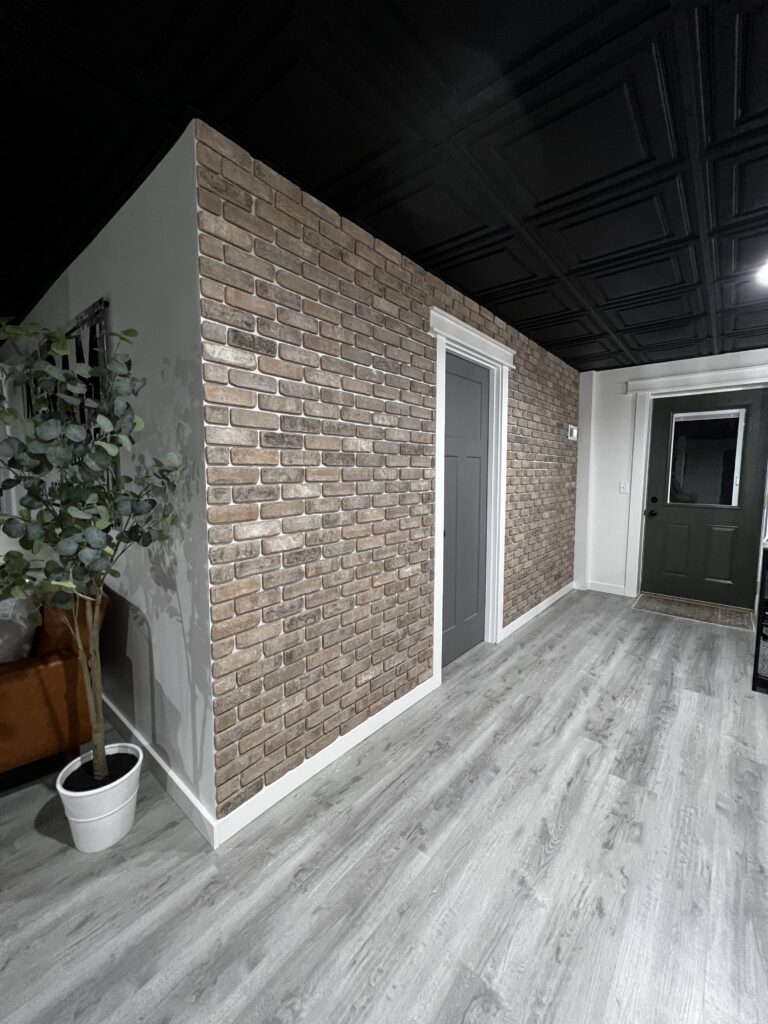
As luck would have it, my husbands fishing trip was rained out and he decided to come home early! I was a little disappointed that I didn’t get the grout on, but I knew he would still be so excited and shocked at how much I got done in the day and a half that he was gone!
He got home super late that night so first thing Sunday morning I was dragging him downstairs for his surprise! His reaction was great and totally made the non stop work worth it! Plus now that he was home, he could help me grout!
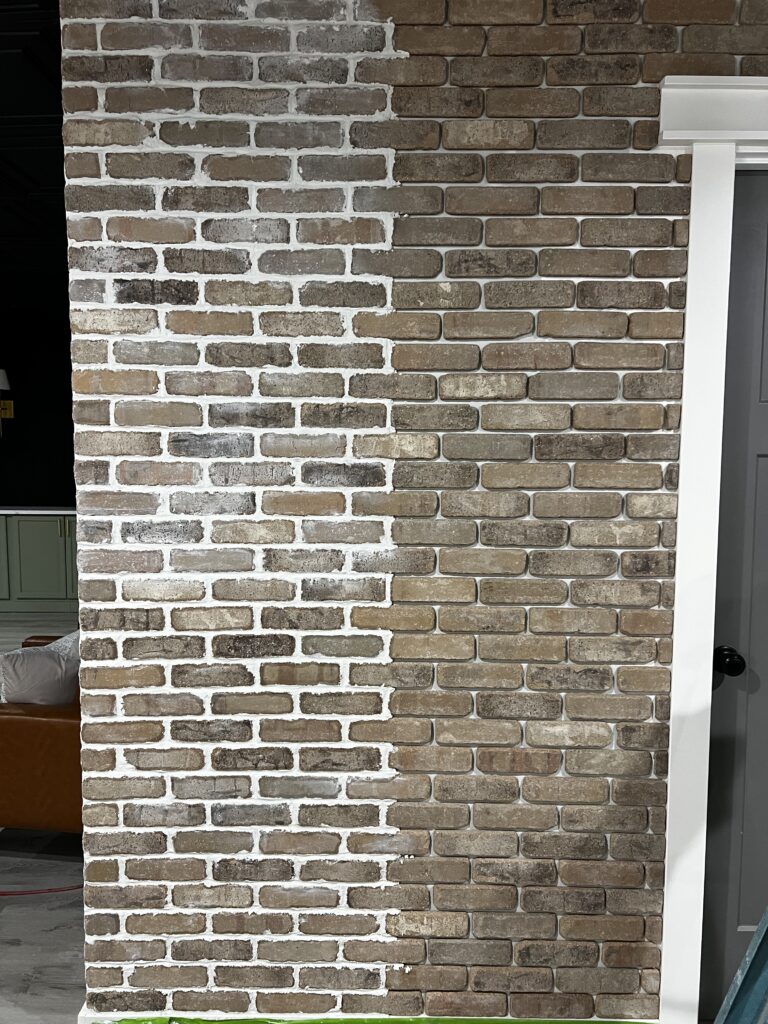
We used the grout bag linked above to apply the grout and a wet sponge to wipe any excess. Isn’t it crazy how big a difference the grout makes! It really made the thin brick pop! When the grout was ready I used the brick jointer to clean up the grout lines. PRO TIP – use the brick jointer! The last time I used my finger and rubbed all of my finger tips raw. It was not a good time.
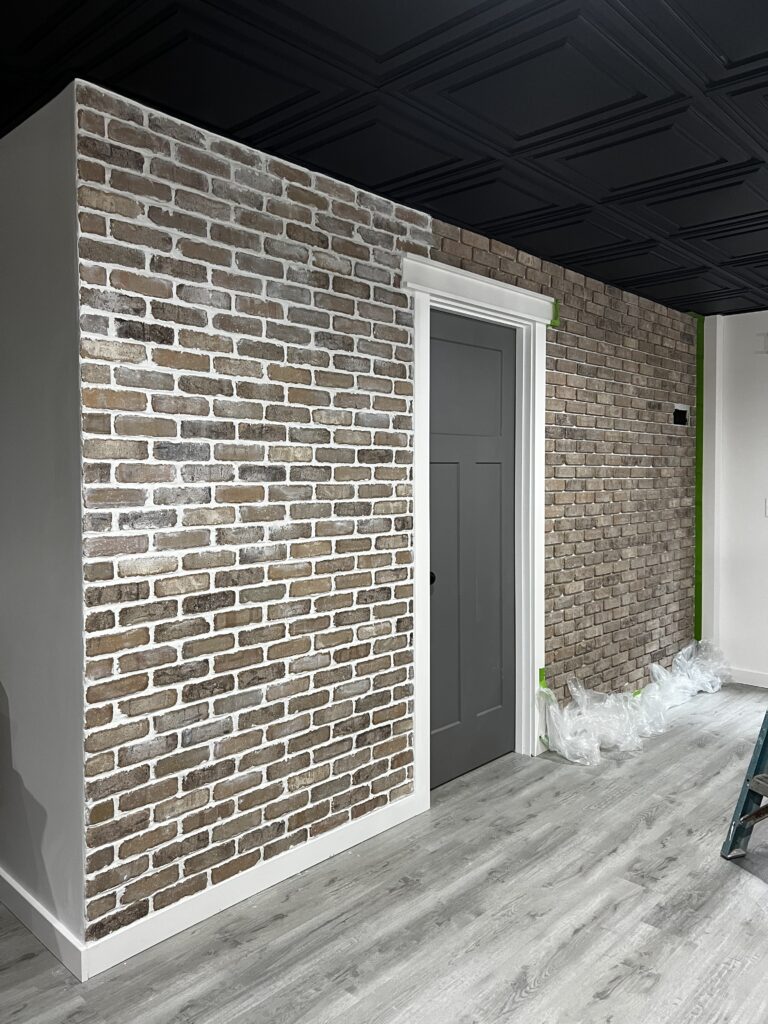
I HIGHLY underestimated the amount of grout that I would need and initially only purchased one bag. All together I used about 2 1/2 bags!
THE AFTER
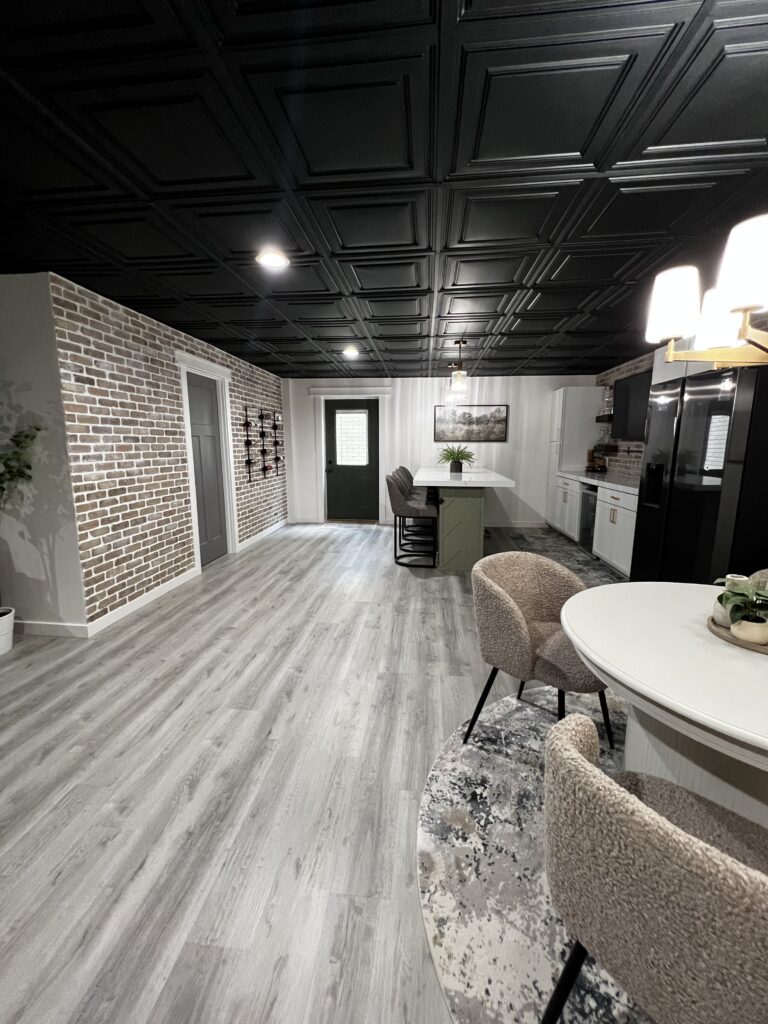
You GUYS!!!! I AM OBSESSED!!!!!!!! It turned out to be everything I ever wanted and more!
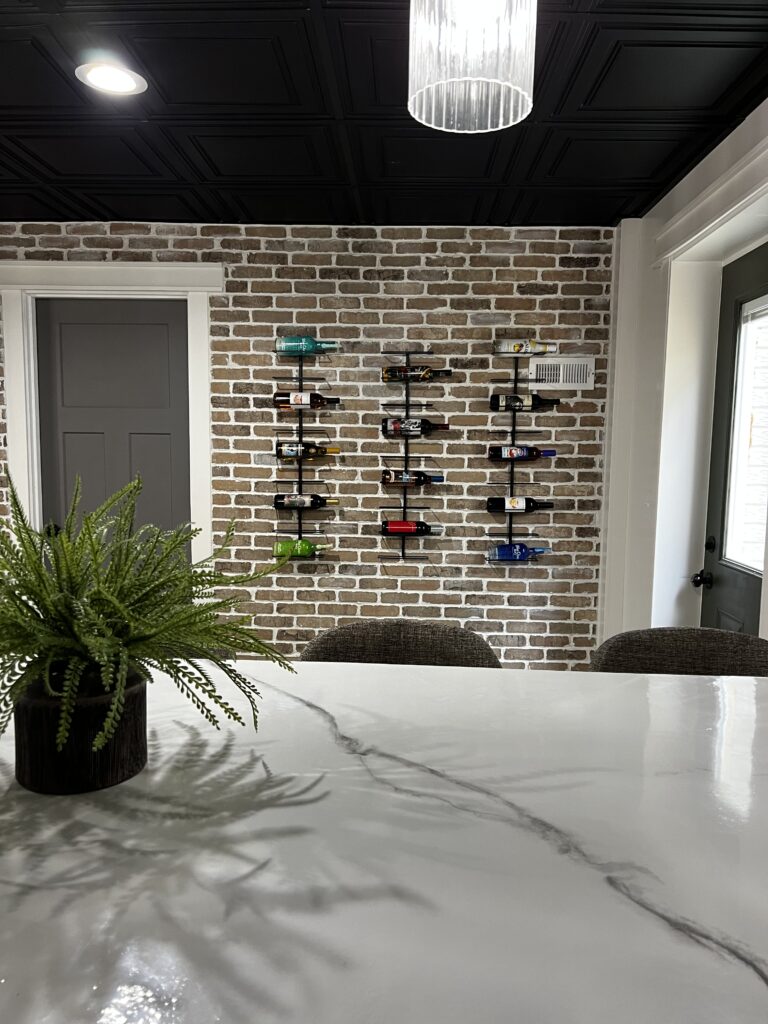
We added THESE wine racks from amazon for a finishing touch! I think I am going to spray paint the vent black so that it blends in more but for now I am soaking in all of the beauty this brick added to our basement! What do you think!
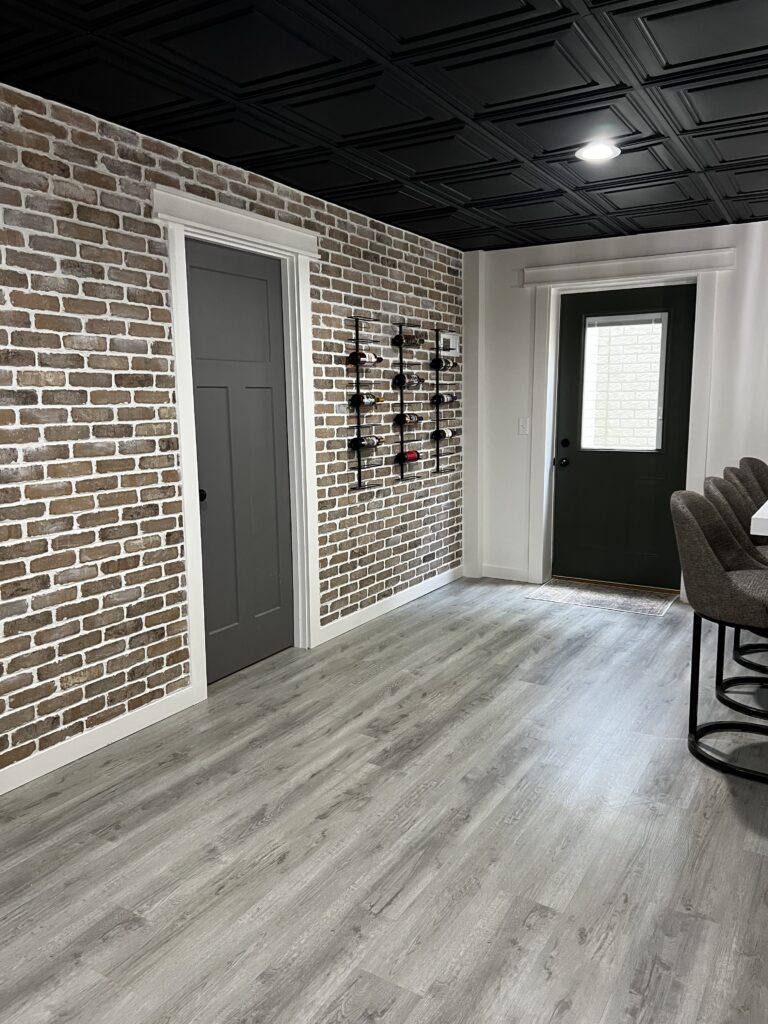
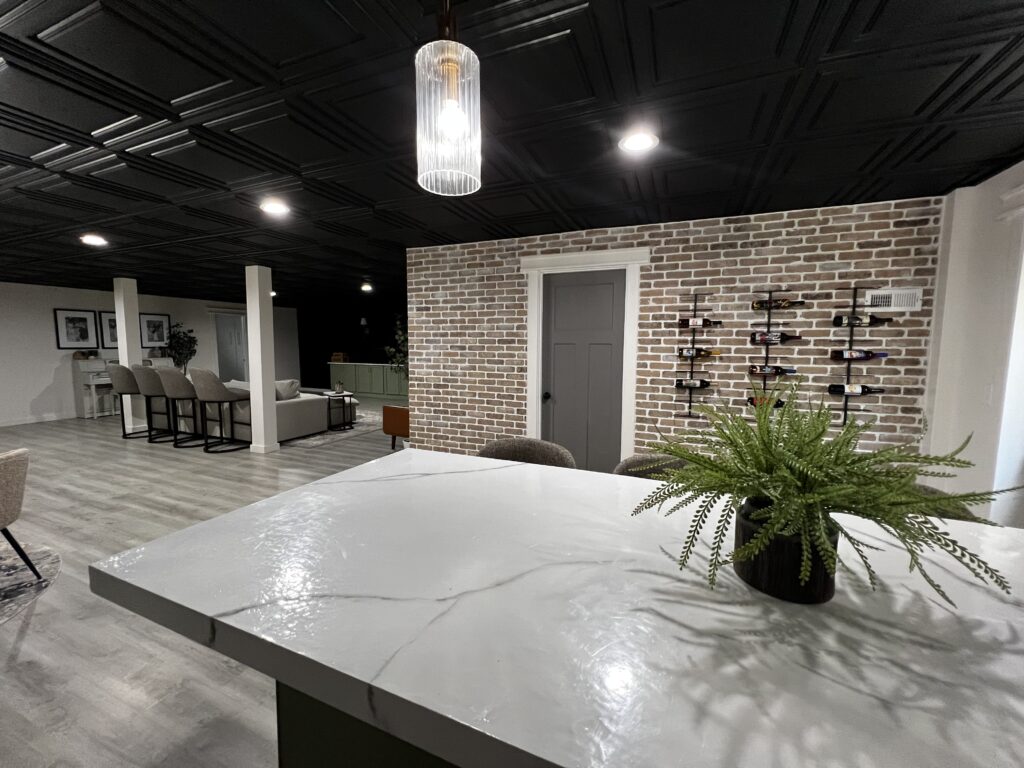
Refer to General Shale Installation Recommendations HERE!
Looking for alternative thin brick colors, check out all General Shale has to offer HERE!
Check out other details on my finished basement HERE!
Looking to shop other rooms in my home? Check out the list of rooms HERE!