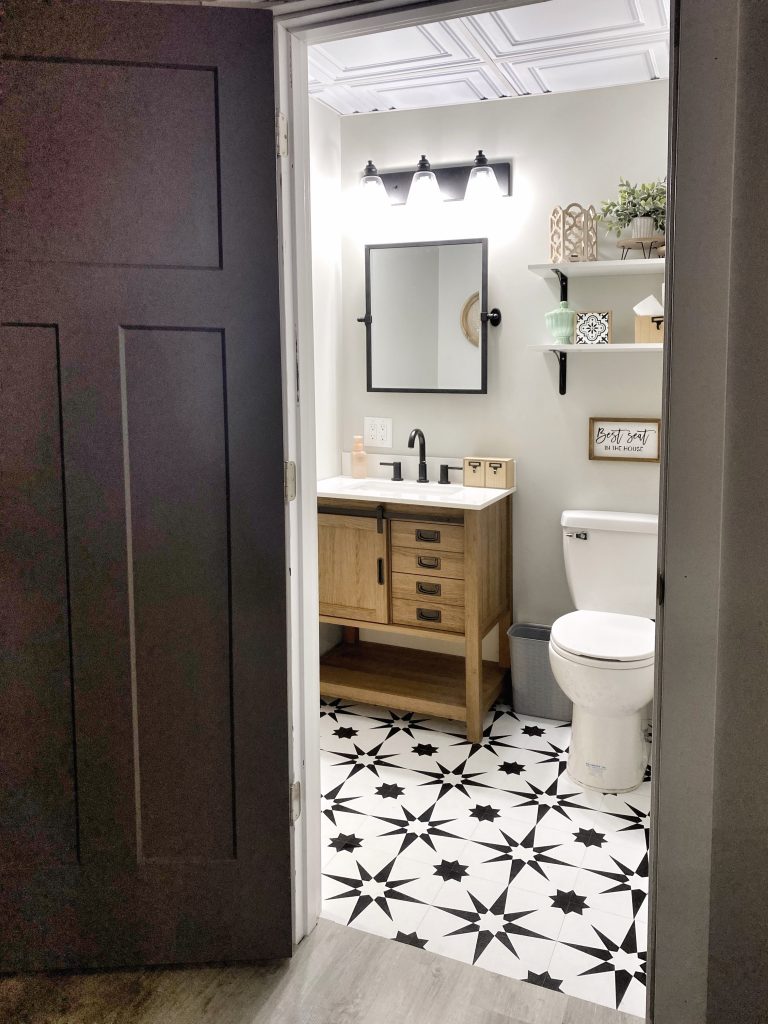
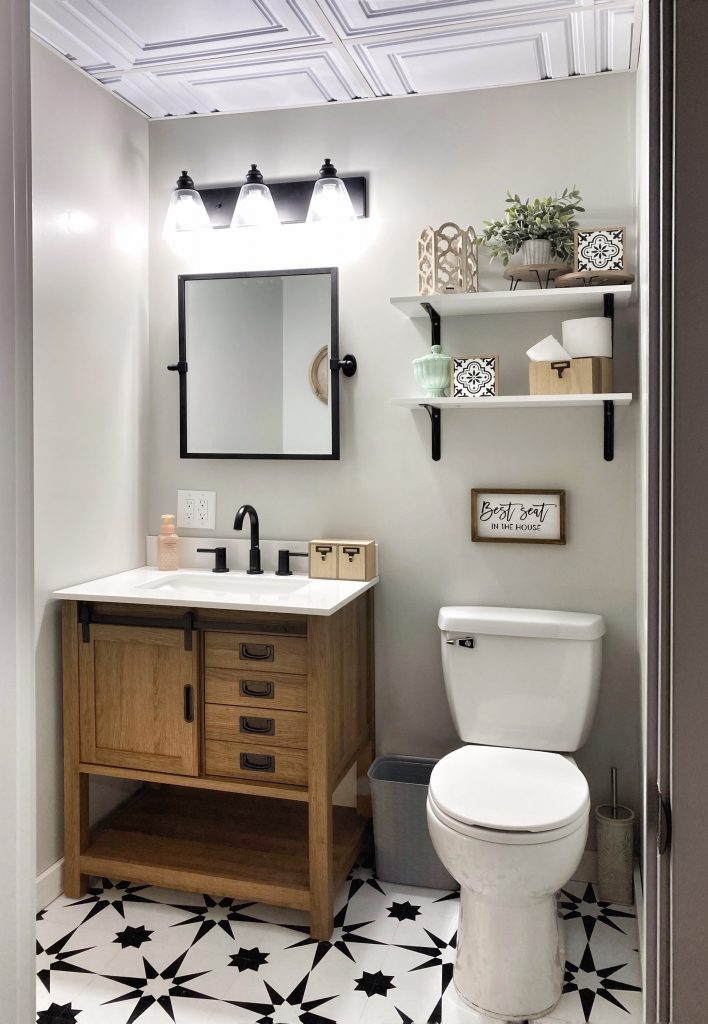
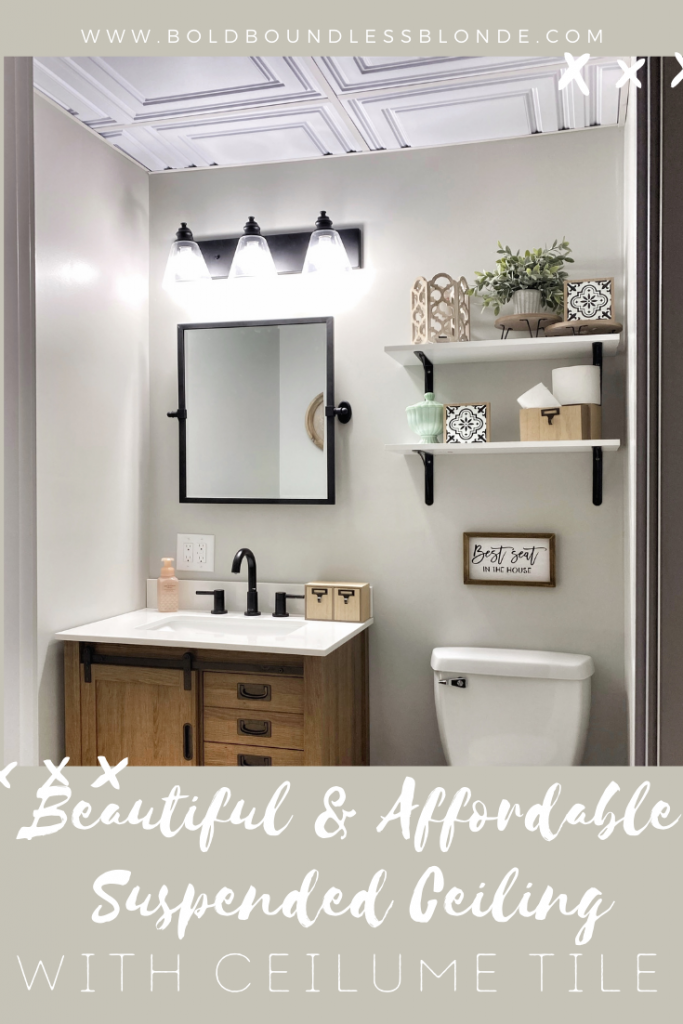
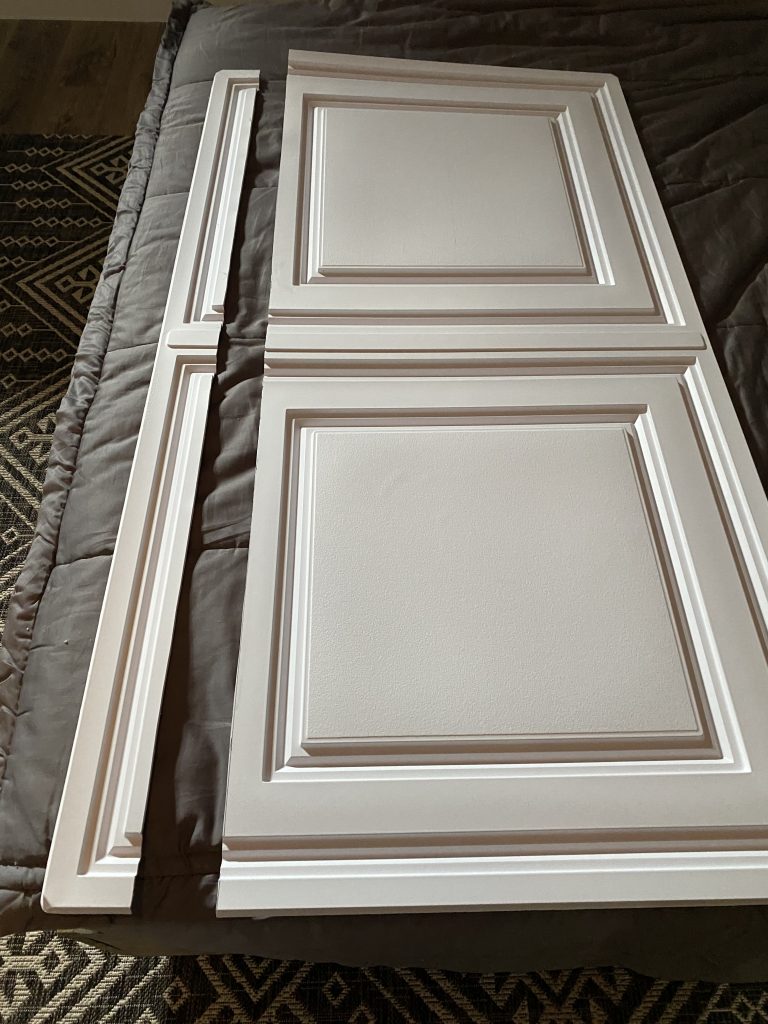
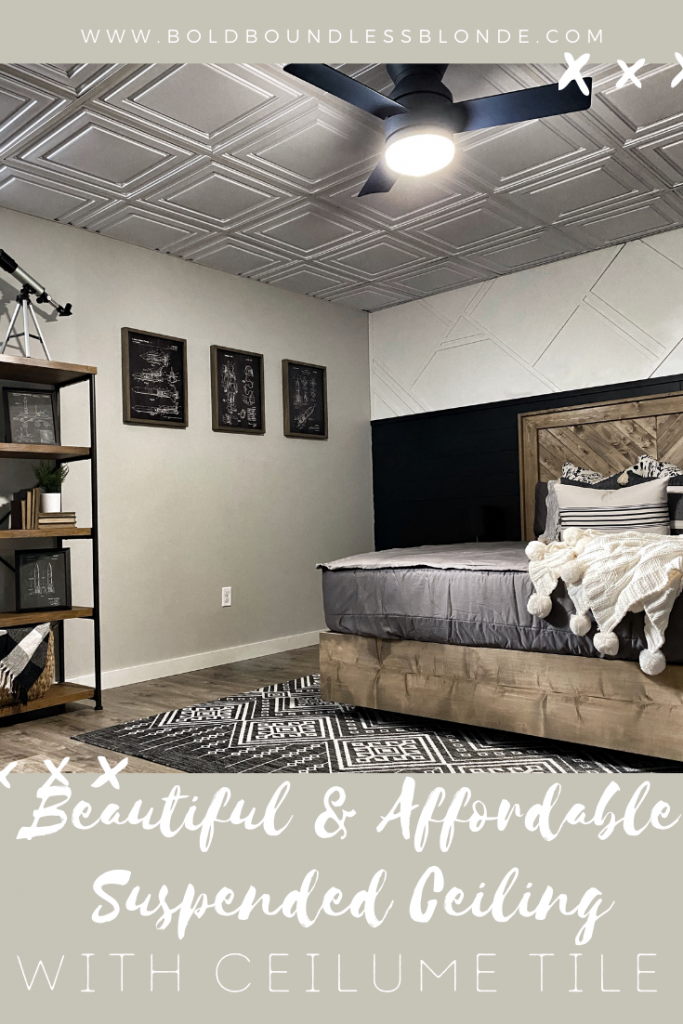
Goodbye ugly rafters, HELLO gorgeous Ceilume Ceiling!
Bold Boundless Blonde contains paid advertising and affiliate links where a commission is received for the sale of products linked in a post. This blog abides by word of mouth marketing standards. I believe in honesty of relationship, opinion and integrity. The compensation received may influence the advertising content, topics or posts made in this blog. That content, advertising space or post will be clearly identified as paid or sponsored content. I partner with brands and products that I am passionate about and appreciate your support in making this blog successful.
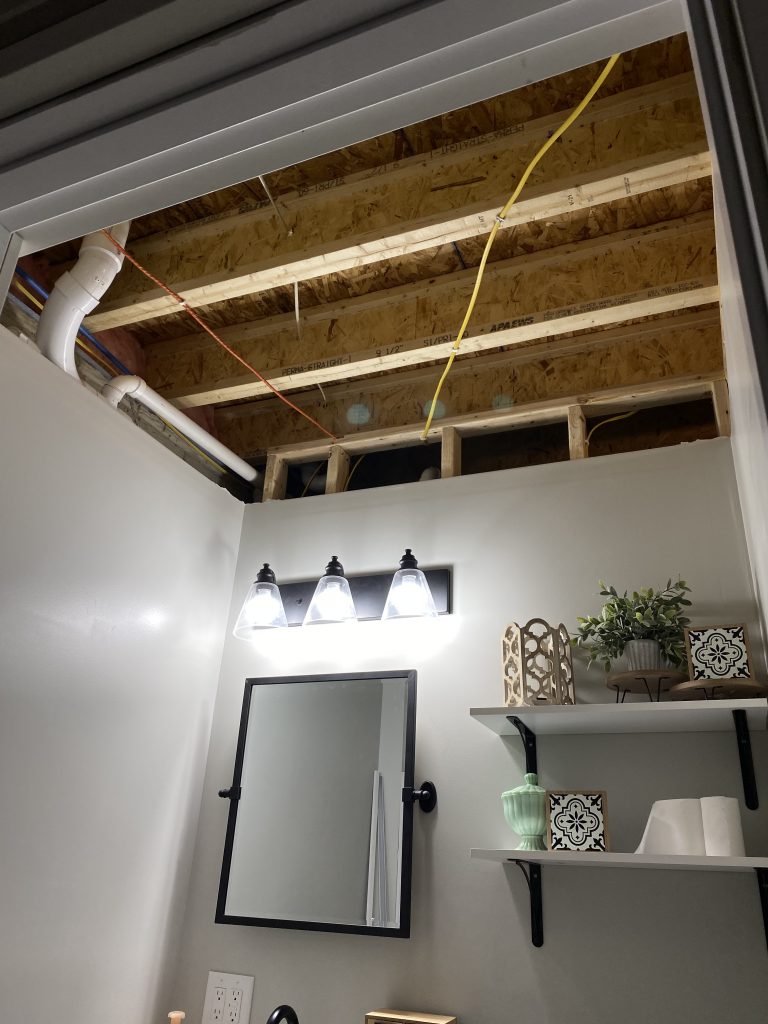
Ever since the day we started finishing the basement, the ceiling has been heavy on my mind. Obviously the unfinished ceiling is an eye sore, not to mention we only carried the drywall 8 ft. up so there is a gap to the top. If you’ve done any research on basement ceilings, you can relate that options are few and far between.
Drywalling the ceiling was not an option for us for several reasons. First being that all of the the plumbing and electrical is ran on the ceiling and if we ever needed to access anything I did not want to have to cut and repair drywall. Secondly, we wanted to be able to tackle the ceiling project on our own, and we are far from drywall experts.
Discovering Ceilume
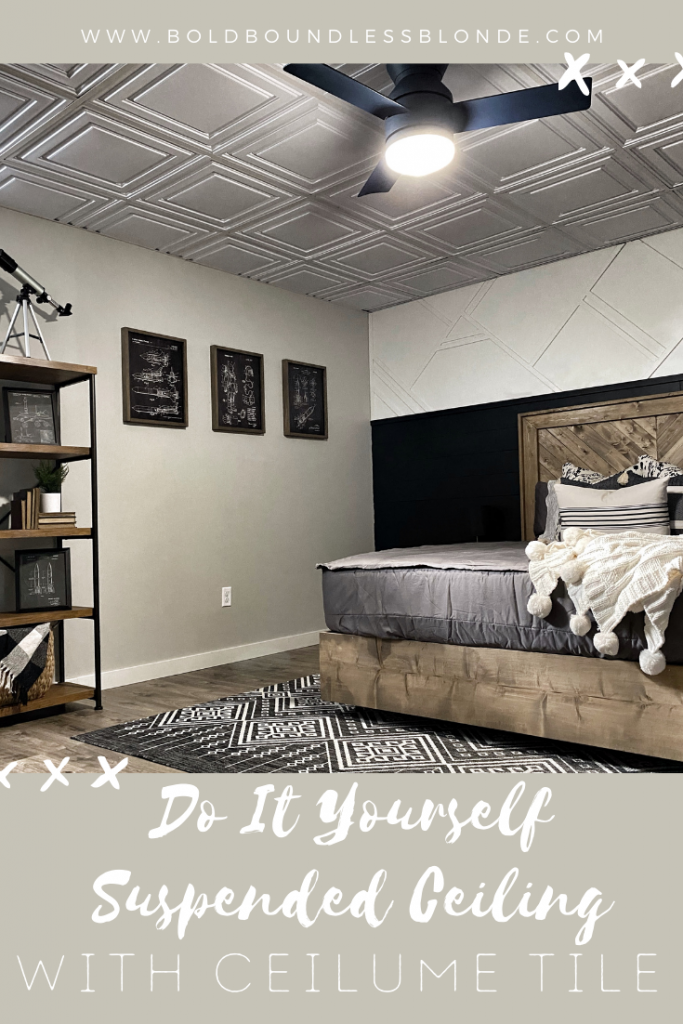
It was clear that a suspended/drop ceiling was our only option. I knew we could handle hanging the grid system, especially once I found this QUICKHANG ceiling kit. However, standard acoustic ceiling tile was not my style. Through a couple google and Pinterest searches, I discovered Ceilume and my whole outlook on drop ceilings changed! THEY WERE BEAUTIFUL!

For the start of our ceiling project, we were going to be finishing my sons room and closet, as well as our half bath. I requested some samples from Ceilume and instantly fell in love with their design, quality, and overall DIY friendliness! Ceilume has OVER 40 styles to choose from! Check out their website HERE to have your mind blown like mine!
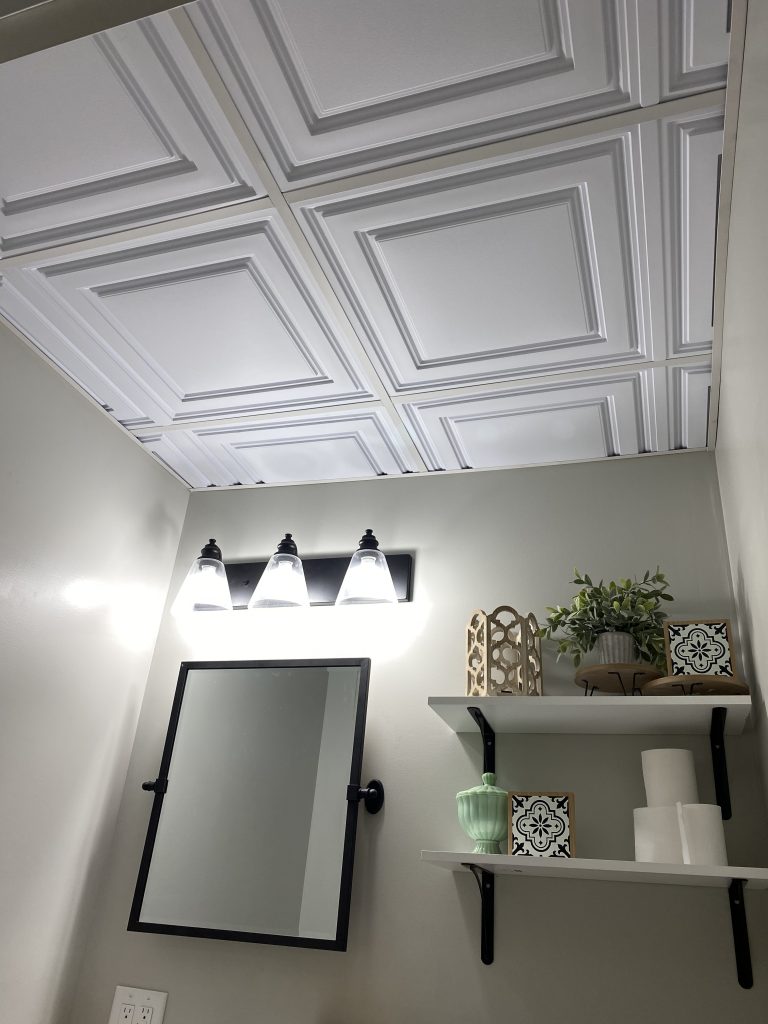
Before & After Ceiling
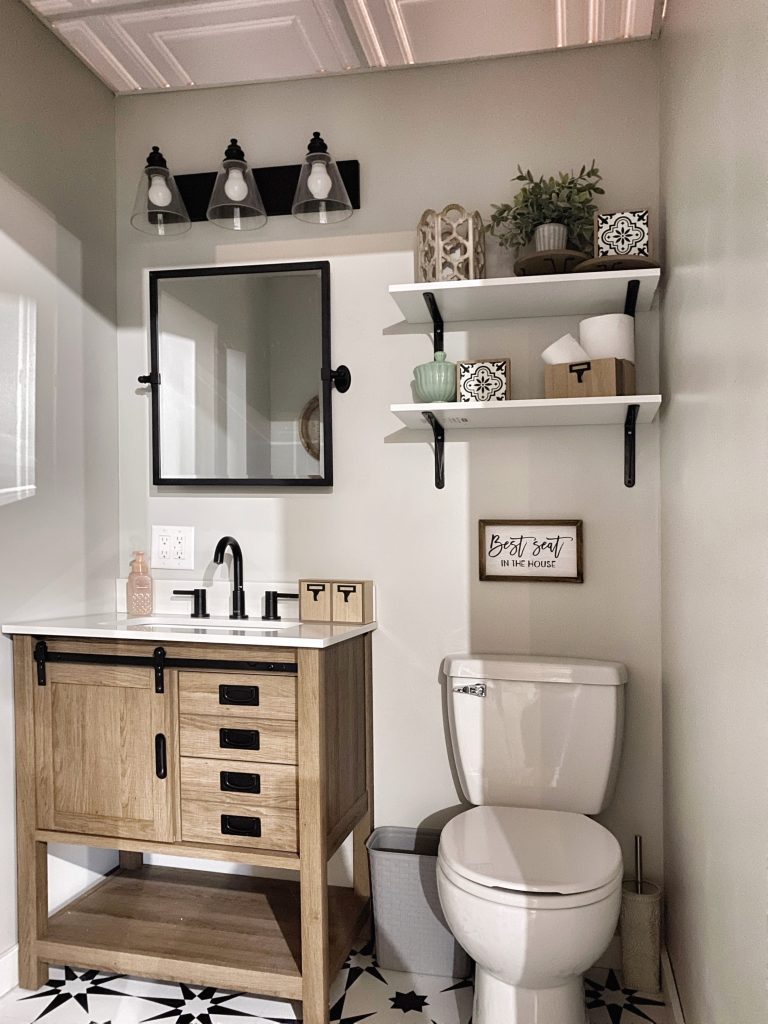
We decided to go with the Stratford Style for its design and affordability! Ceilume tiles can be ordered straight from Amazon with Free Delivery! The difference is REMARKABLE and I was able to do this half bath by myself while my husband was at work! That is how EASY this is to work with!
What You’ll Need
- Armstrong Quick Hang Ceiling Grid
- Ceilume Tile
- Tin Snips (to cut grid to size)
- Scissors (to cut tile, YES you can cut them with household scissors!)
- Clamps
- Hammer
- Magnetic Level
Installing the Grid
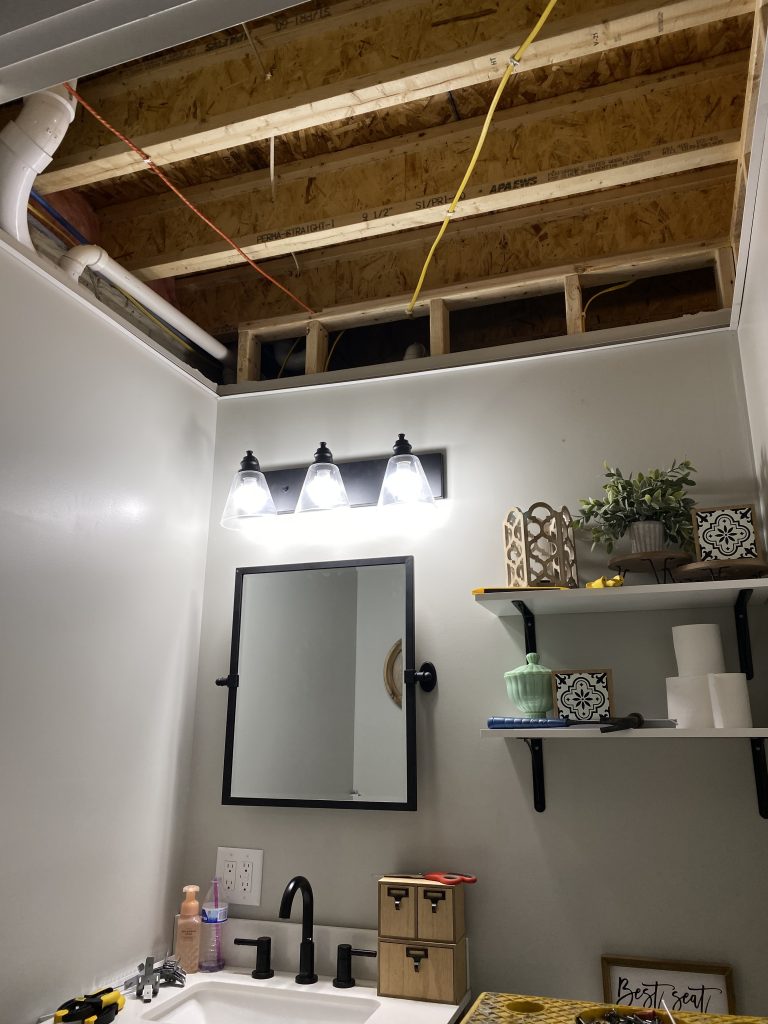
Start by attaching the L supports around the perimeter. Use your magnetic level to make sure they are all straight and level before attaching them to the wall! [[For more detailed installation instructions, refer to THIS]]
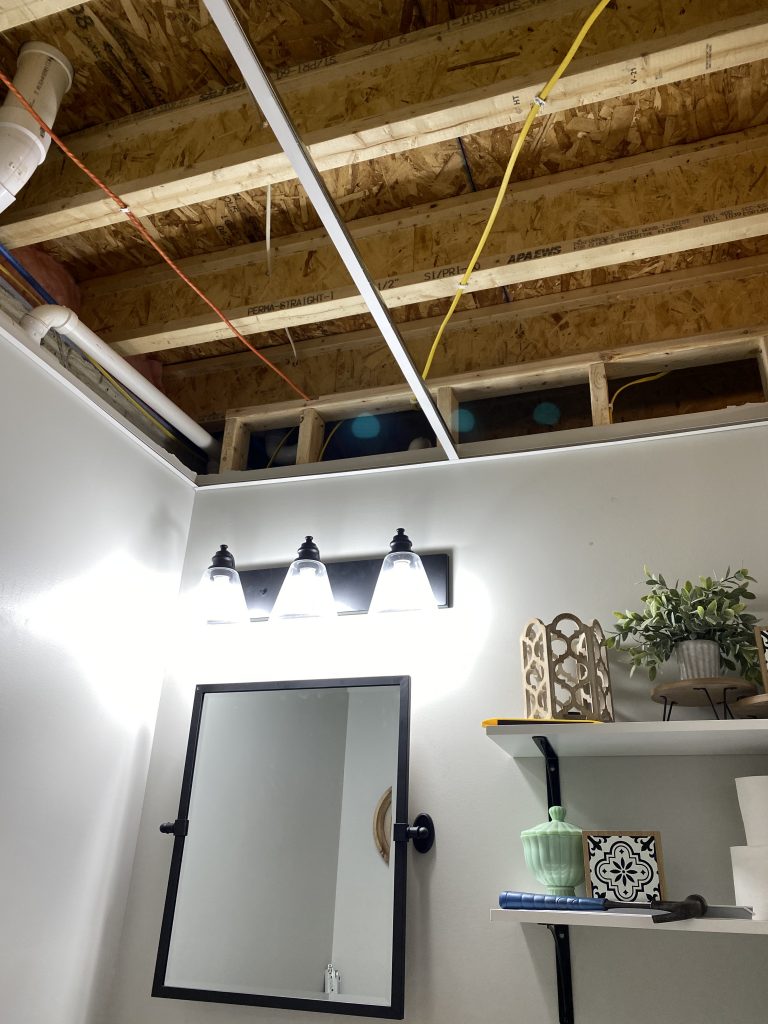
This half bath is small, so I only needed one main support beam which I chose to run down the middle. These metal quickhang brackets are what make this job so easy! They have small cleats that you hammer into place, then you can nail them in without them moving. Once they are in, you squeeze the metal to adjust the hanger up and down allowing you to easily level your ceiling without a bunch of wire.
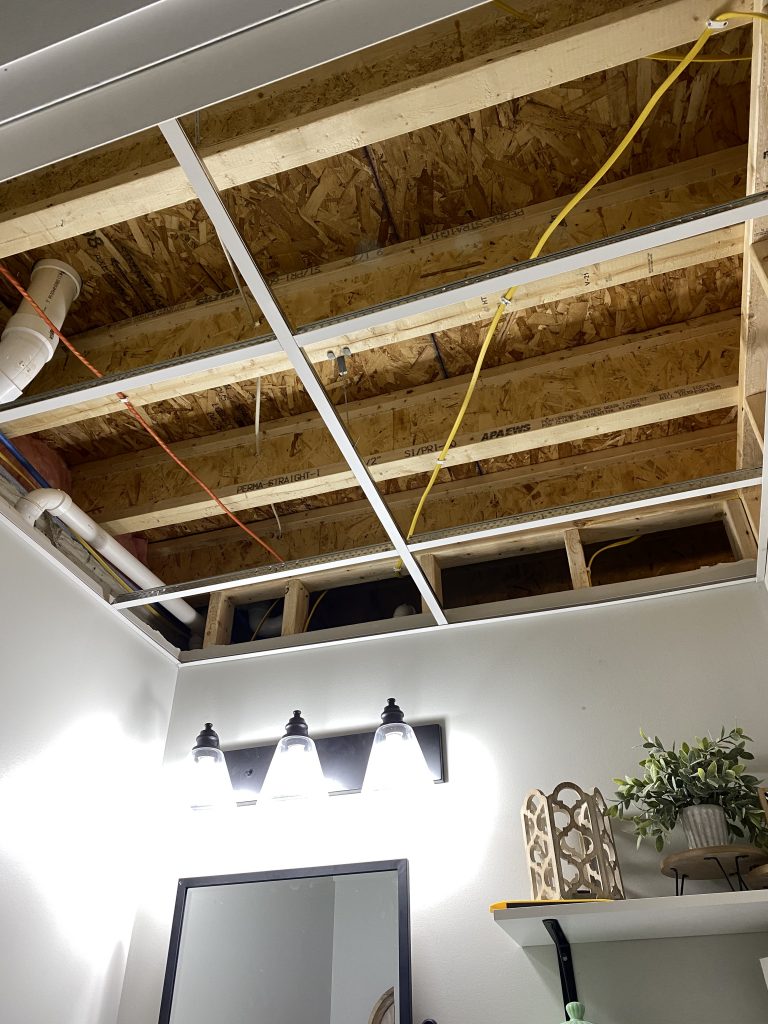
Once my main beam was installed, I measured and cut for my 4 side beams. They snap right into place and rest on the outside L support.
Installing the Ceilume Tile
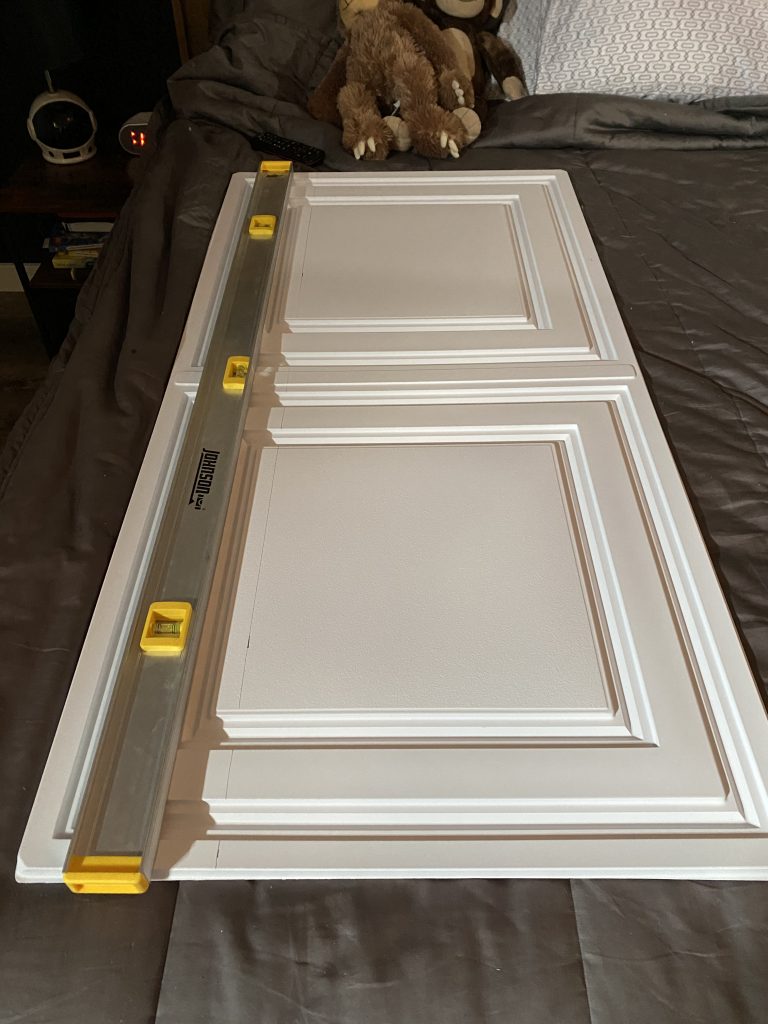
Once all my brackets were up, it was time to install the tile. Measure the length of your tile first, and use a carpenters level to mark a straight line. You can then cut through them easily with your scissors. (pictured above)
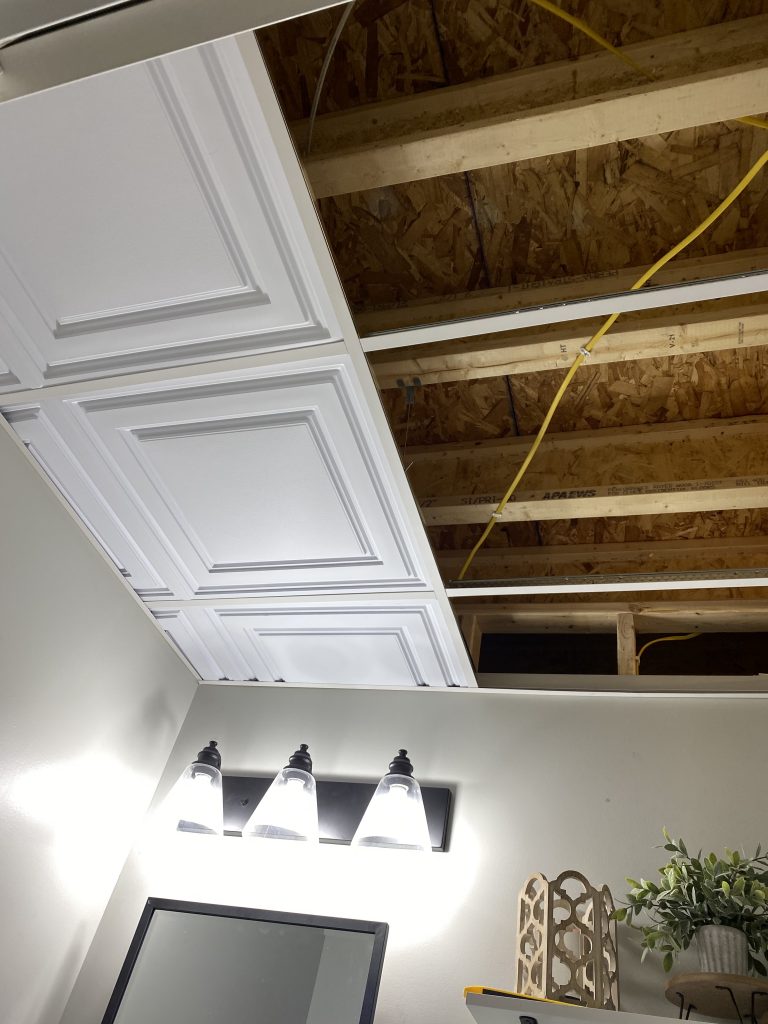
Working row by row, I installed the tile by simply cutting them to size and laying them in the grid. This part goes so quickly and is so satisfying! If your more of visual person, I have shared some of the install on my Instagram stories HERE. (you’ll have to click through to get to the ceiling)
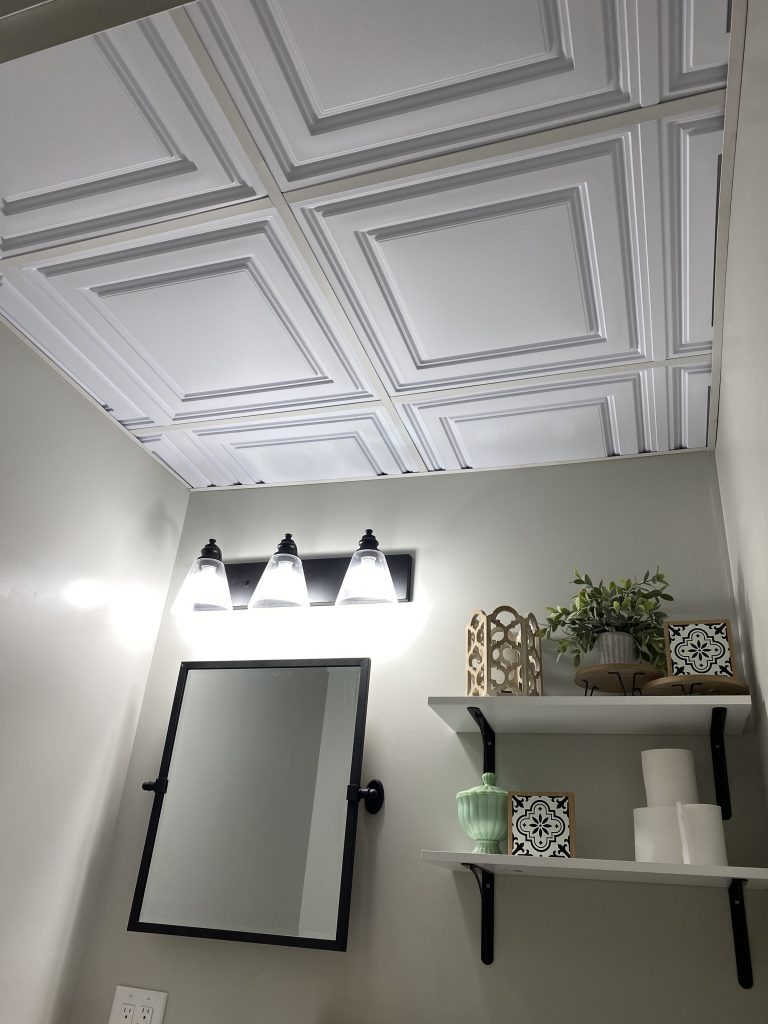
Just like that – my ceiling was transformed! I seriously can not rave enough about Ceilume Tile ! 10/10 recommend and I can not wait to tackle the main living space! In addition to install, you can easily replace your current tile with your favorite Ceilume design! Are you ready to swap out all your acoustic tile for Ceilume?
Ceilume has AMAZING customer service! They were able to help me identify the best way to address the window well in my sons room, as well as direct me to which brackets I needed to purchase for my light fixtures. I will definitely be using Ceilume for all future ceiling projects!
For More information on this basement bathroom, checkout my post HERE.
