We’ve all seen them…now make your own with my Do It Yourself – Stamped Farmhouse Book Tutorial!
This post contains affiliate links where a small commission is received for the sale of products linked at no additional cost to you. I only partner or promote brands and products that I believe in or have tried myself.
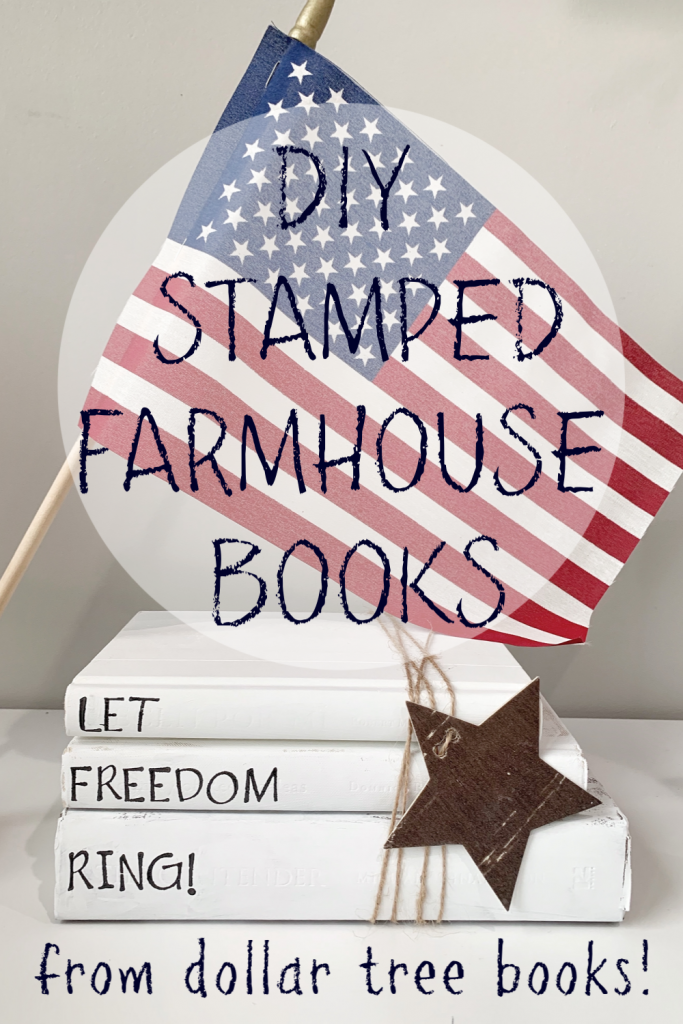
I have been wanting to make a set of these books since I first laid eyes on them. Suddenly Pinterest and Instagram was flooded with these gorgeous stamped farmhouse books! I know typically the books are made from old recycled books, but as their popularity grows its getting harder and harder to find them for cheap! So to keep this DIY budget friendly I turned to my one of my favorite budget stores – The Dollar Tree.
Supplies
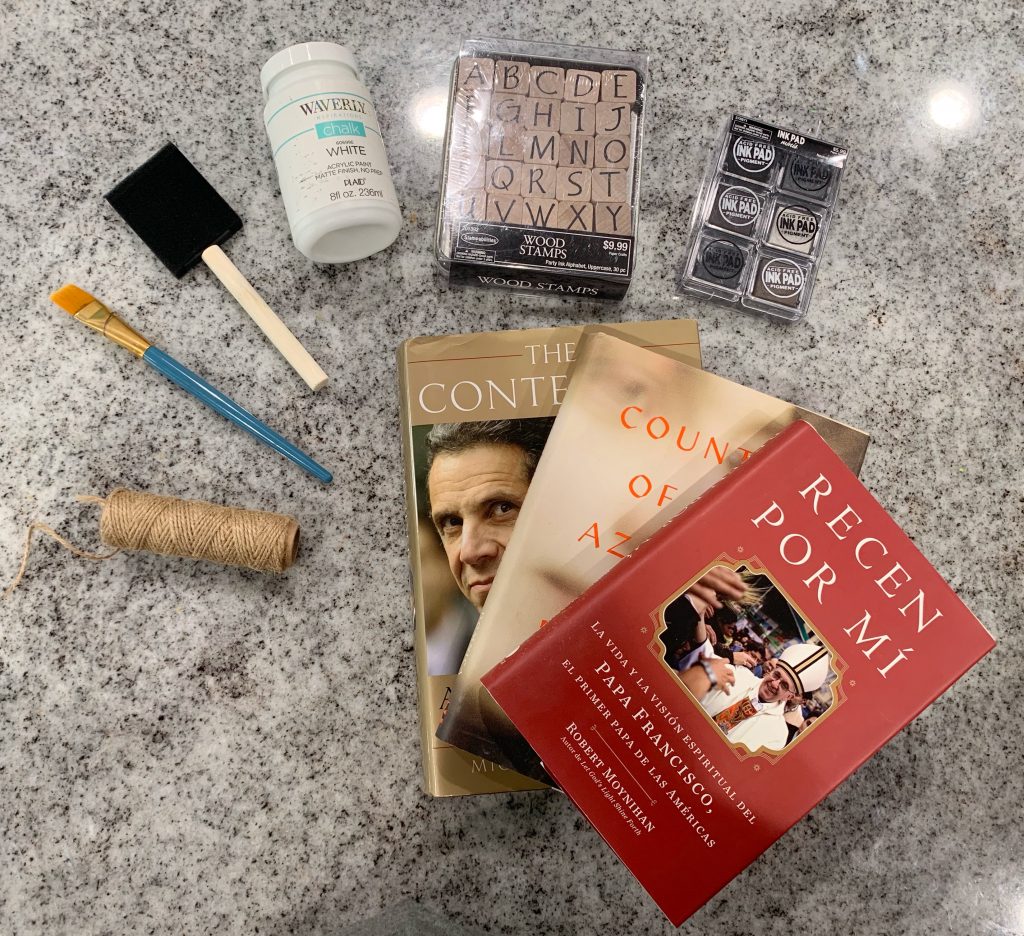
- 3 Books from the Dollar Tree ($3)
- White Chalk Paint ($6)
- Thin Twine ($1) – Can be purchased at Dollar Tree – but linked for bigger roll.
- Wood Stamps ($5)
- Ink Pad ($3)
- Paint Brushes ($2-3)
Initial Investment – Around $20.00 if you have absolutely nothing to start with. But even at a beginner DIY’er I would bet you have a few of these things already laying around the house! The best part is – you can make so many sets of books after you purchase your supplies and the only cost will be the books! The possibilities are endless! Name books, fall books, Christmas books, winter books, spring books, need I say more??
Step 1 – Prep Books
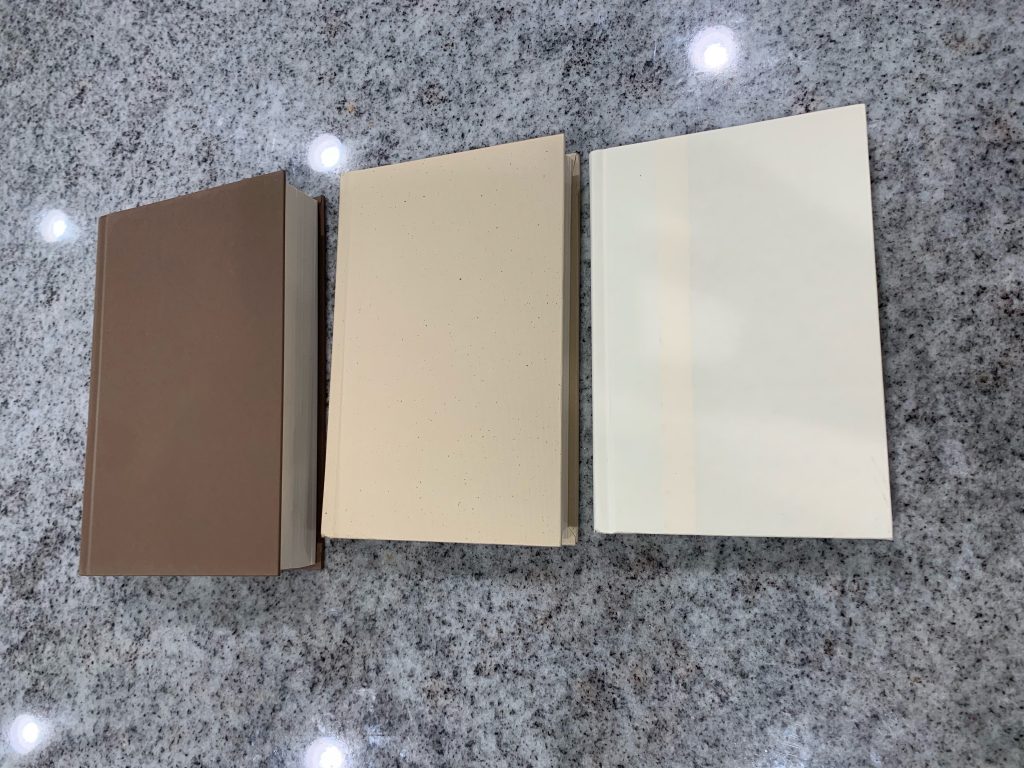
Start by removing the paper cover from your books. I got lucky and my books were already a neutral color underneath. But even if they aren’t you may just have to do two coats of paint instead of one!
Step 2 – Paint Books
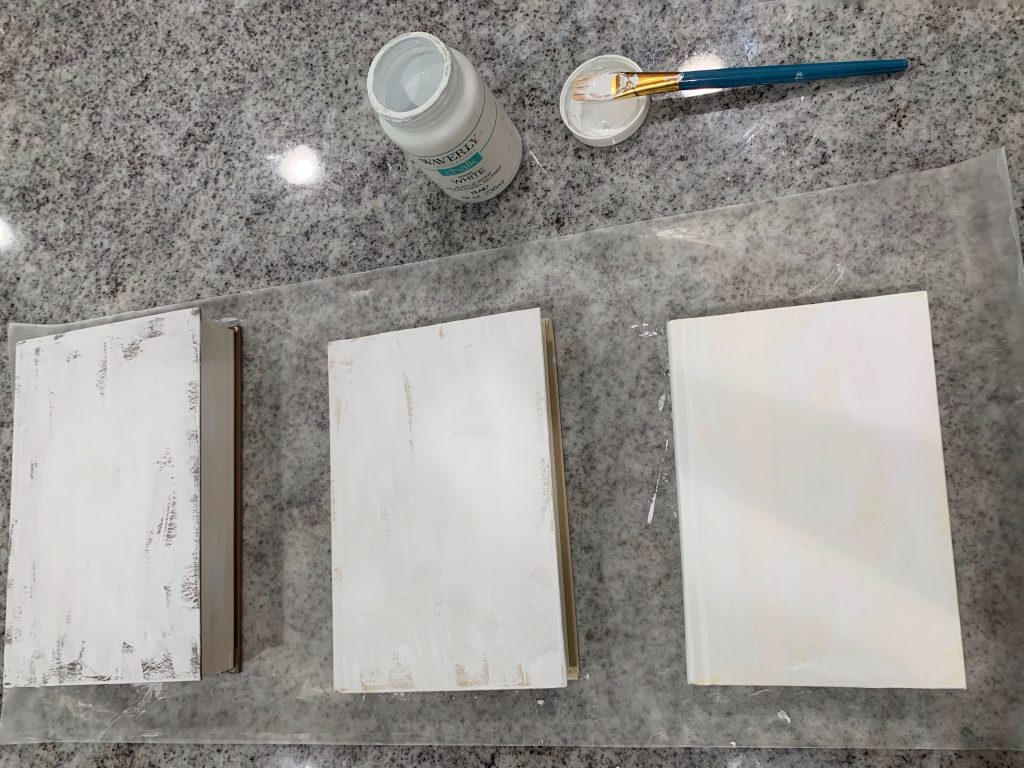
There really is no right or wrong way to do this. Just start slapping paint on those bad boys! I like to leave a little bit of the book to show through for more of a rustic look. But that is up to you! Let the books dry completely before trying to stamp them. Chalk paint dries relatively fast so this won’t take but a few minutes!
Step 3 – Stamp Books
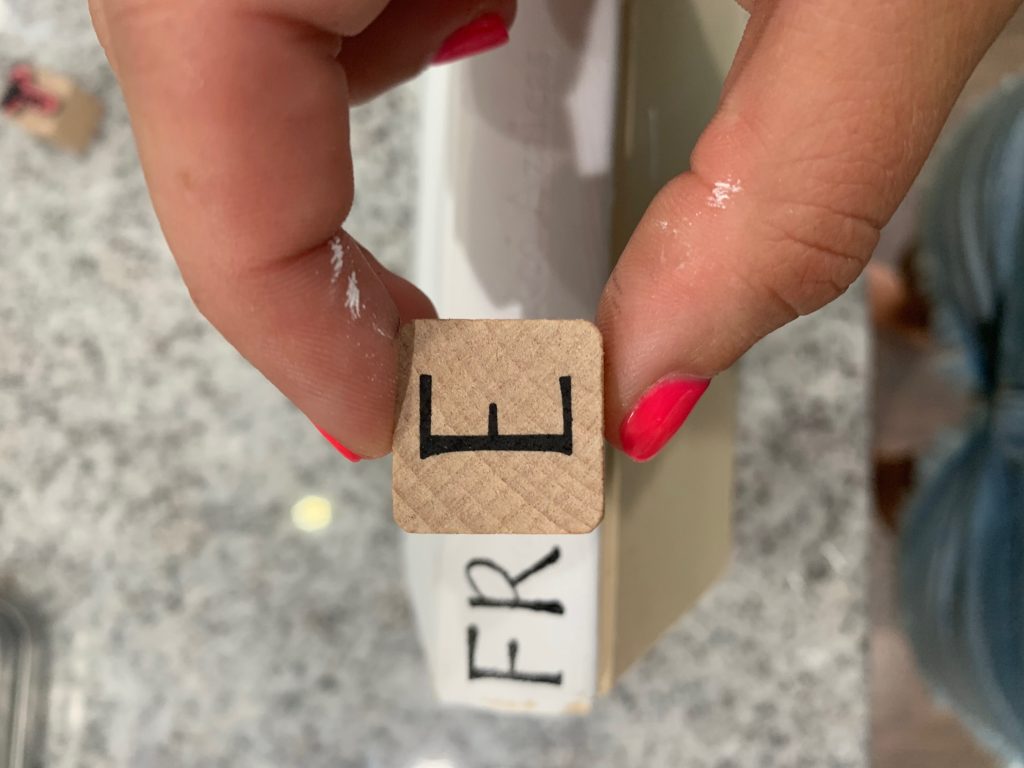
Starting from left to right carefully stamp the letters on the binding of your book. It’s okay if they are not perfectly straight… as my husband would say “it gives it character” aka – its fine I’m not fixing it. HAHA
Step 4 – Touch Ups

With Fourth of July right around the corner, I decided to start with some Patriotic Books! In my personal opinion three words looks best, but I would not do less than two, and no more than four to a stack. As you can see there are some marks around the letters where the ink spilled over. Once the ink is dry you can take a tiny paint brush and cover them up if you want a cleaner look.
Step 5 – Decorate

Once your books are dry, stack them as desired and wrap with twine. I had this extra wood star laying around from a banner I bought from target so I added it for a little extra flair. The possibilities are endless! Are you ready to take a swing at your own stamped farmhouse books?
Be sure to subscribe to receive post updates! Next up I will be sharing our Patriotic Farmhouse Decor Tour! If you’ve missed any of the previous Home Tour you can start it here.