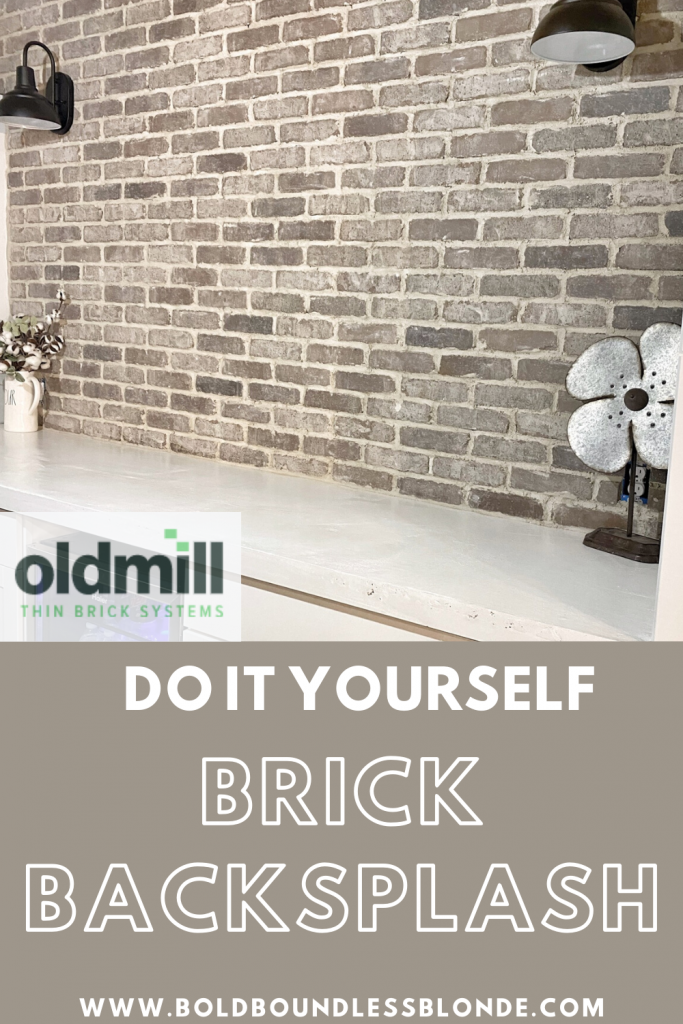
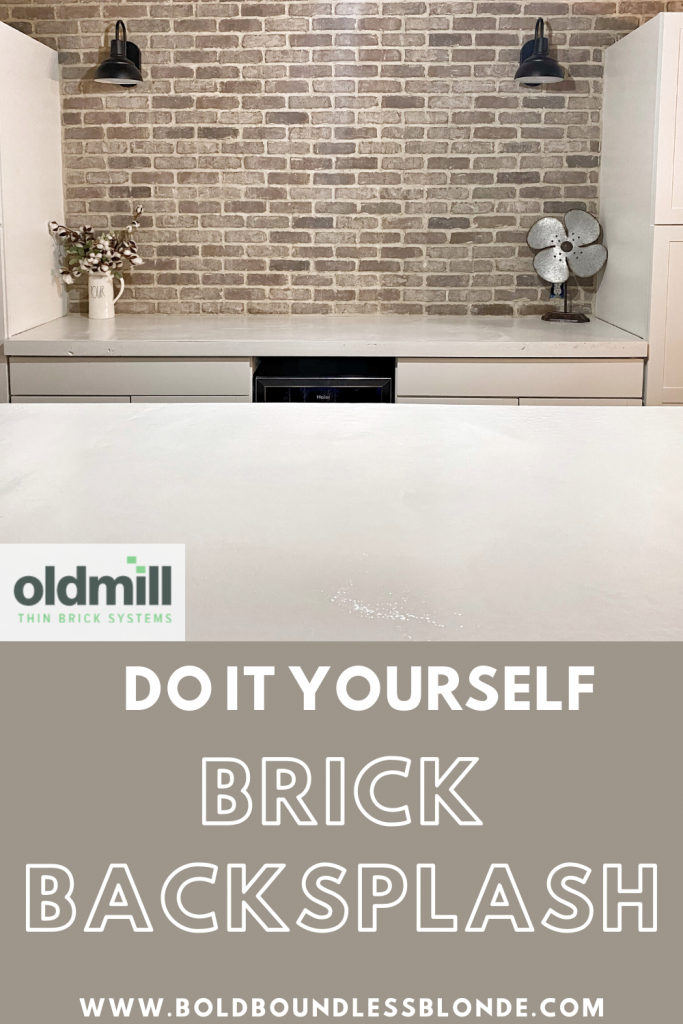
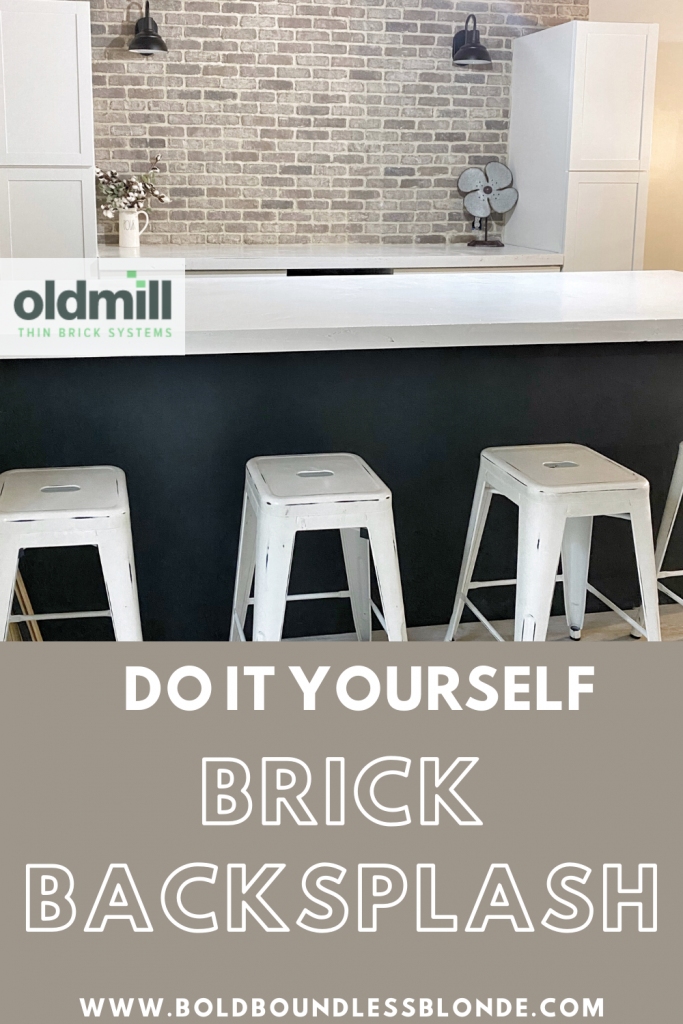
Old Mill Brickwebb Sheets are the perfect option for DIY Brick Backsplash!
Bold Boundless Blonde contains paid advertising and affiliate links where a commission is received for the sale of products linked in a post. This blog abides by word of mouth marketing standards. The compensation received may influence the advertising content, topics or posts made in this blog. That content, advertising space or post will be clearly identified as paid or sponsored content. I partner with brands and products that I am passionate about and appreciate your support in making this blog successful.
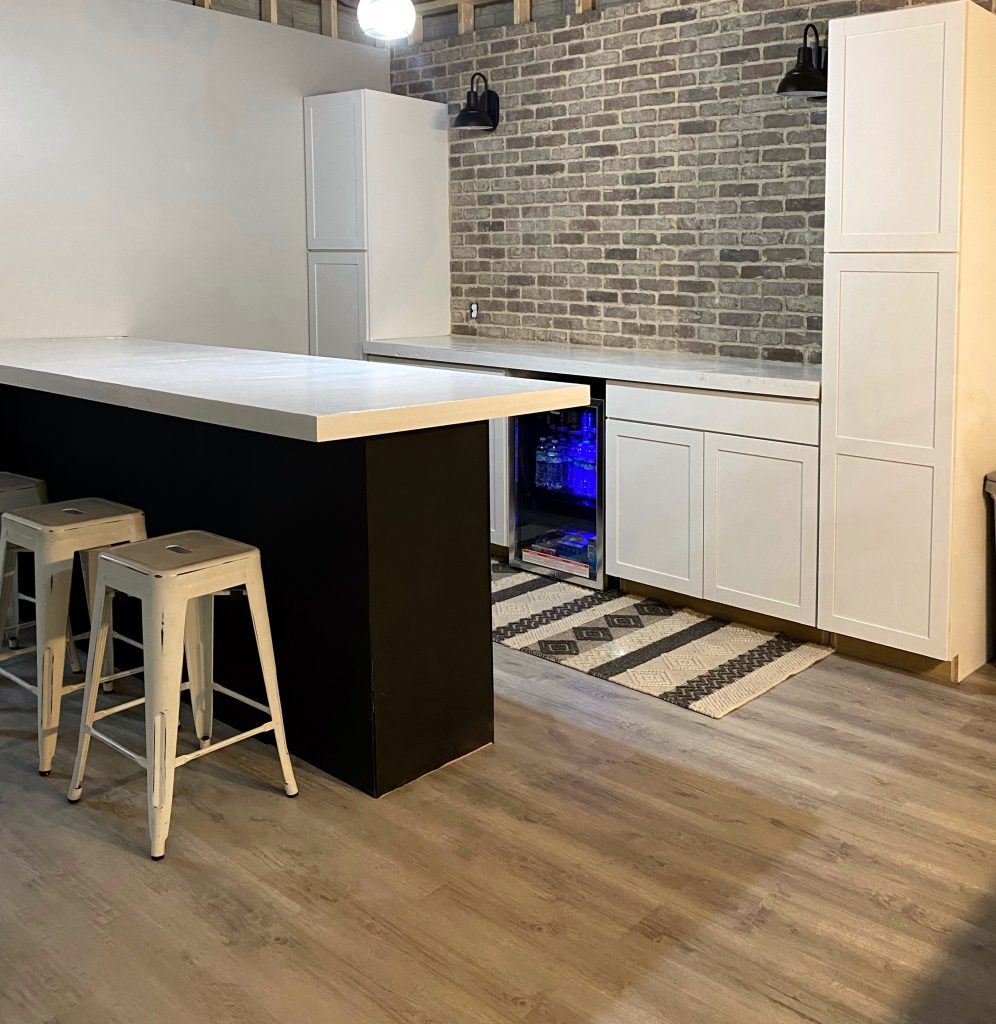
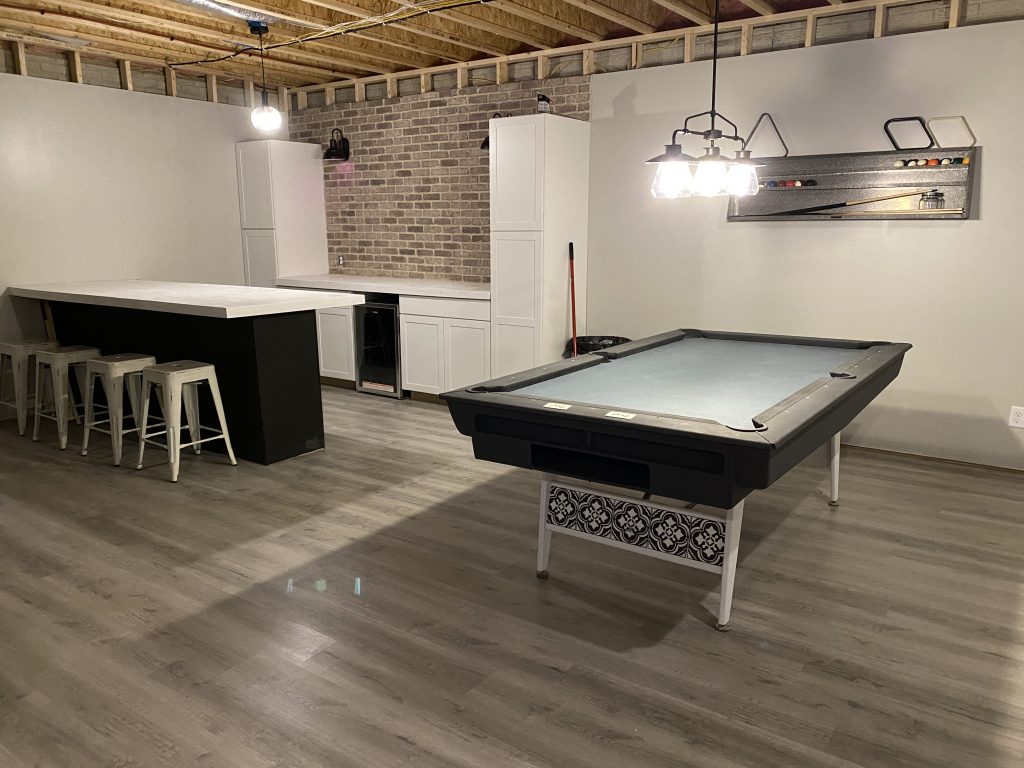
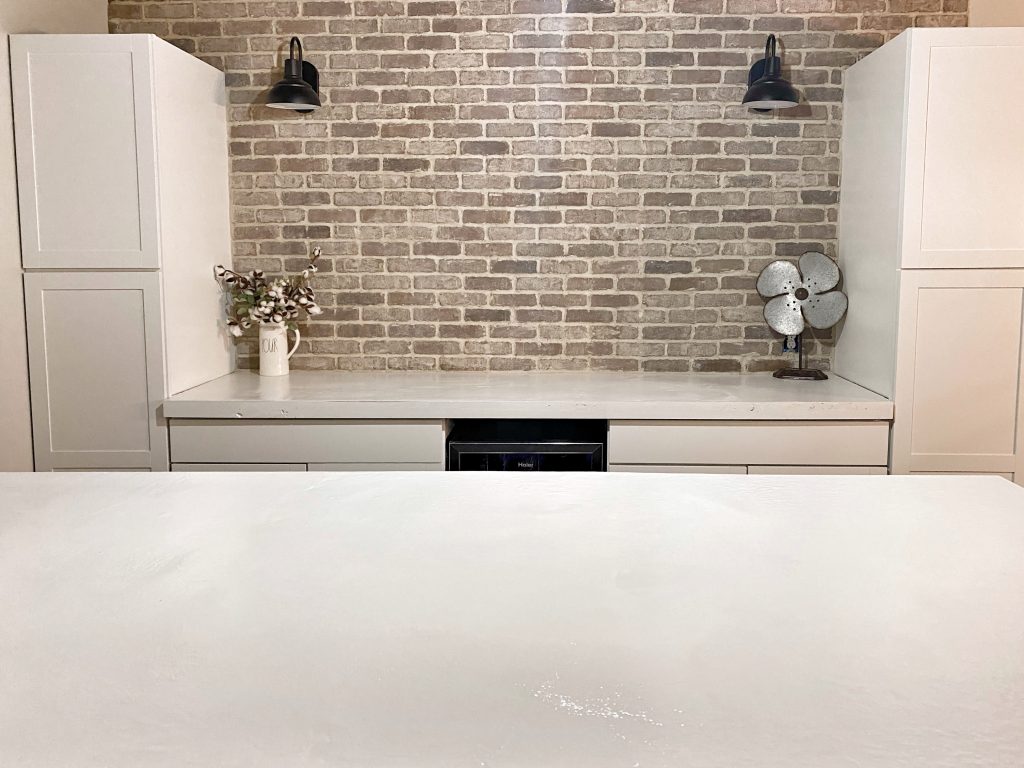
When we were designing the basement bar, I knew that I wanted more of a rustic backspash vs tile. When I seen the brickwebb that Kelsey @newbuild_newlyweds used in her kitchen, I knew exactly what I wanted to do! After browsing their several color options I decided on Rushmore. Check out this amazing before and after!
Supplies
- Old Mill Thin Brickwebb – Available on their website or at Home Depot
- Adhesive
- Sanded Grout – We used Biscuit
- Masonry Blade <- This is what I used
- Saw <- This is what I have
- Jointer
- Grout Bag
- Hard Bristle Brush
GETTING STARTED
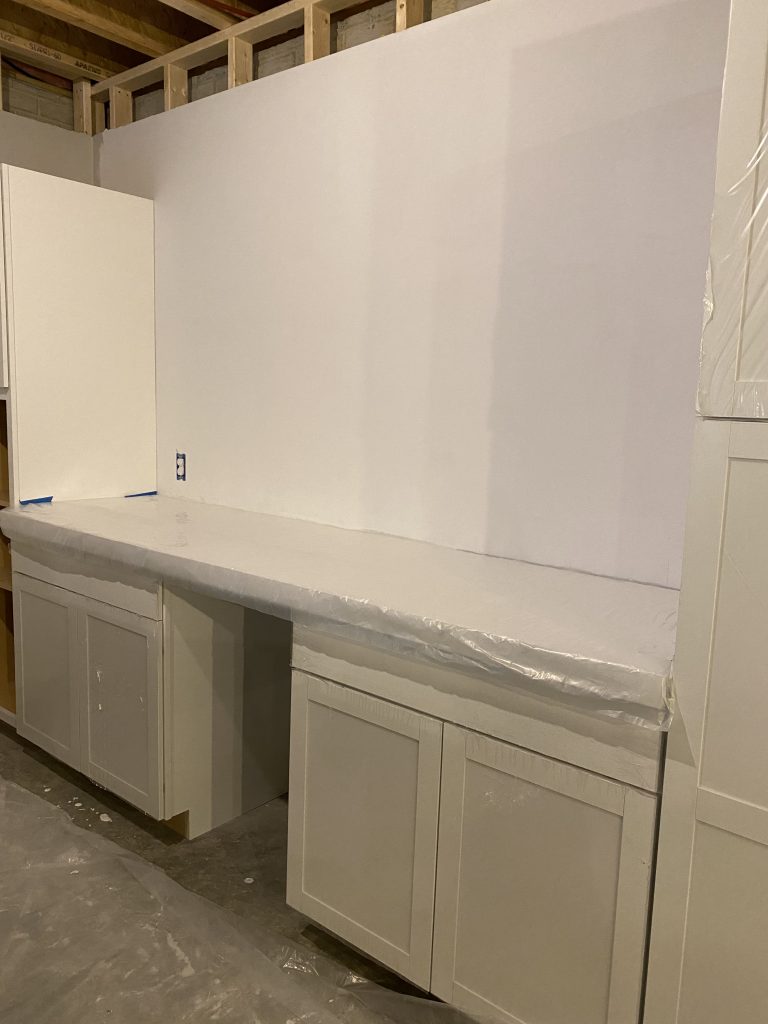
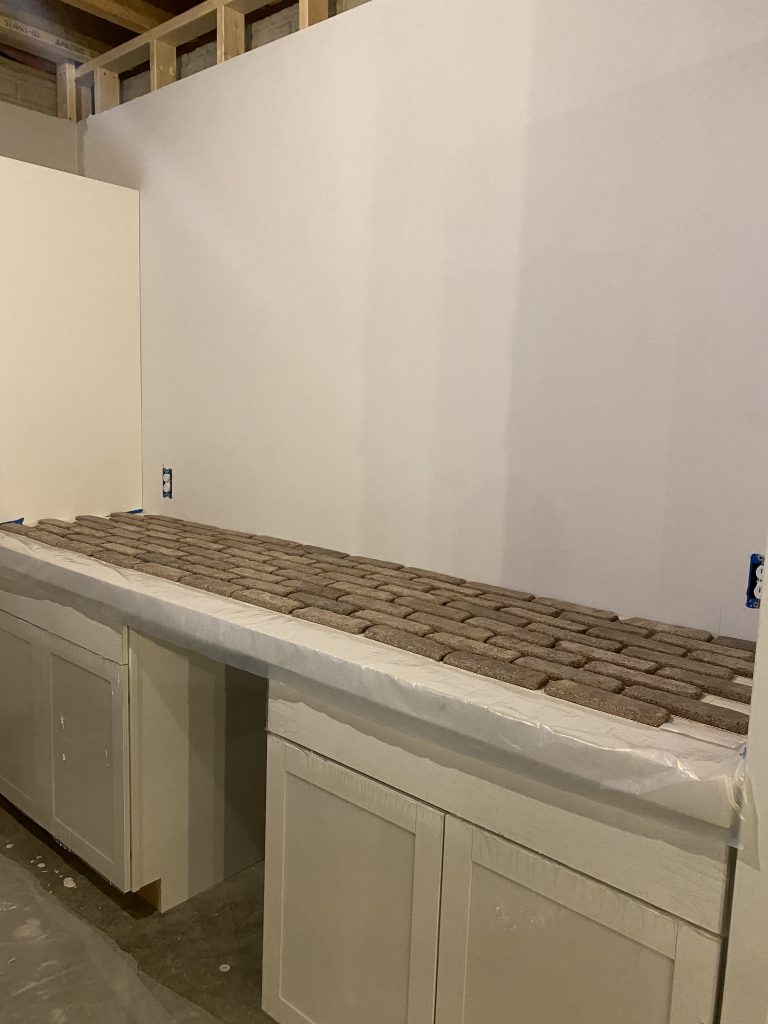
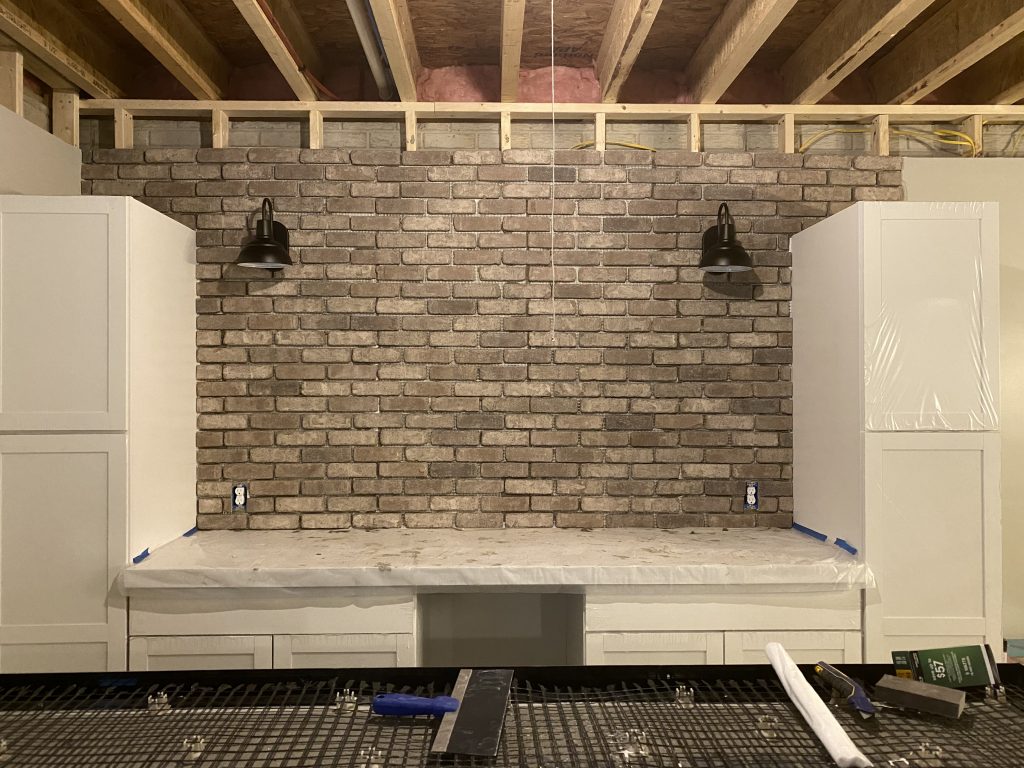
Before I started, I covered my new Concrete Countertops with clear plastic to protect them. The next thing I did was lay the brick out so I could get an idea of how they would lay, and how much I would need to cut.
Applying the Brick Backsplash
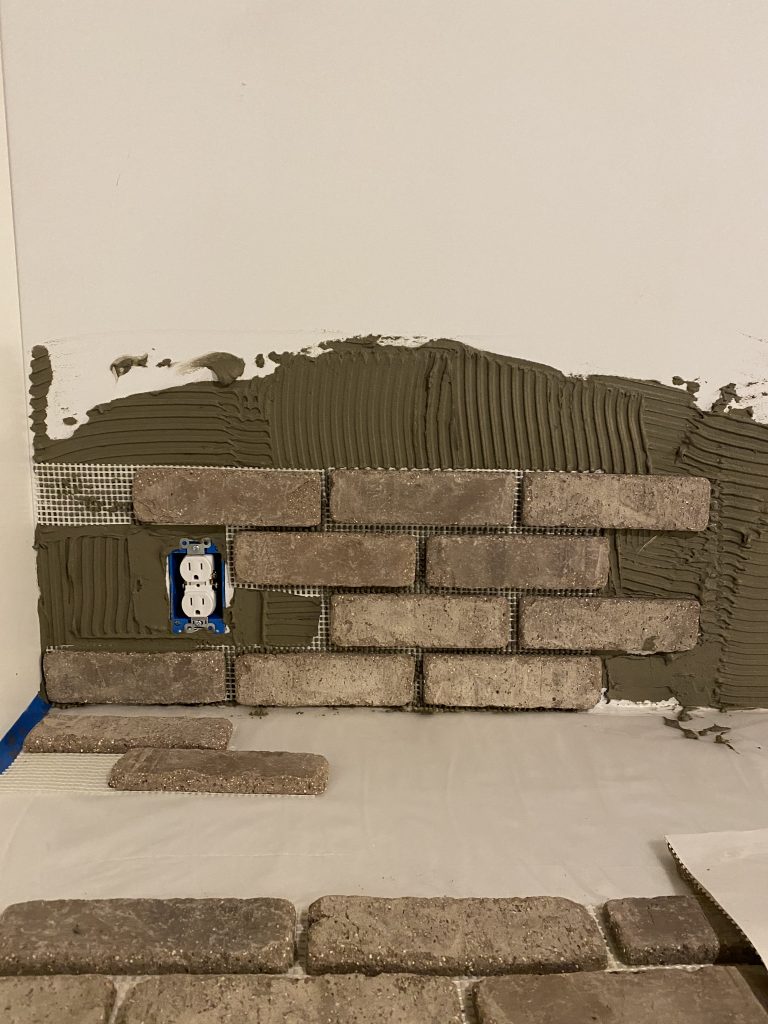
Working one section at a time I began placing the brickwebb sheets starting at the bottom left corner. I knew I would have flexibility at the top as we will eventually install a drop ceiling. So to prevent me from having to “rip” the bricks, I thought it would be easier to start at the bottom. I used a level across the top and every so often to ensure I was applying it straight.
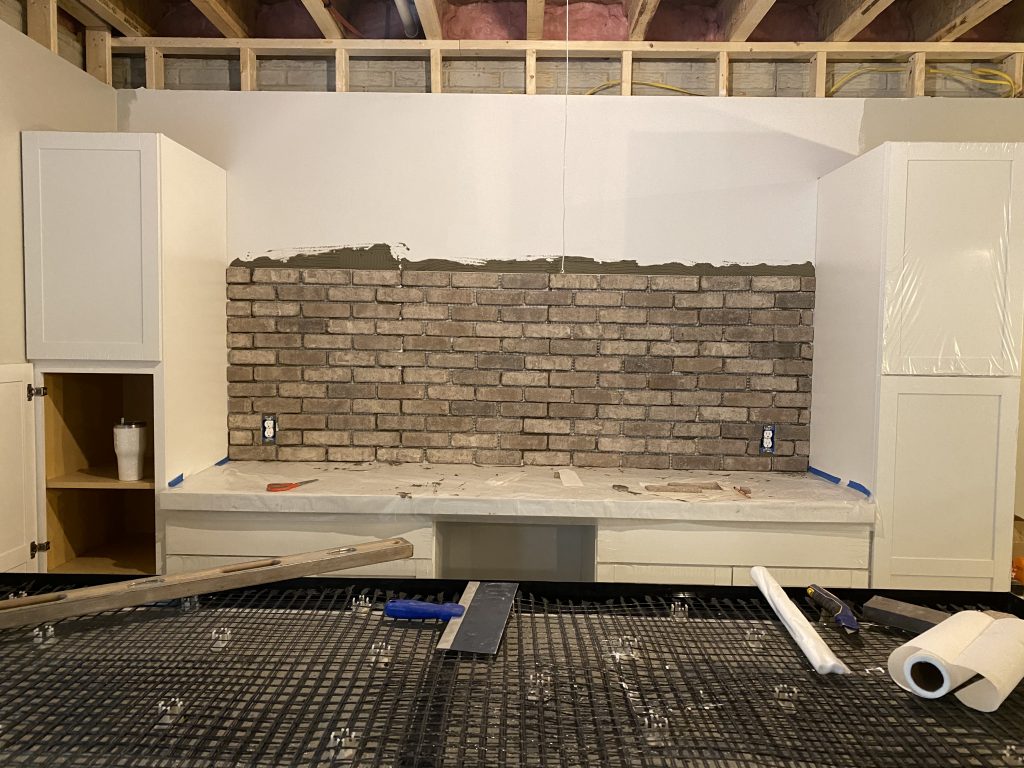
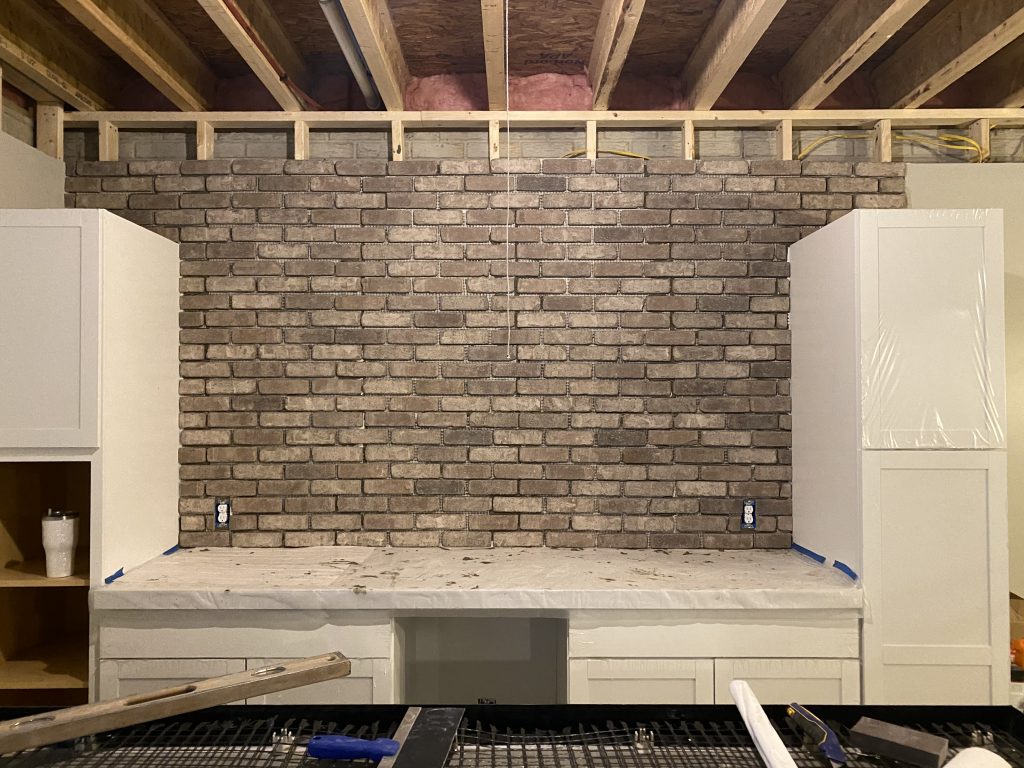
This process went fairly quickly as my end cuts were all the same size so it was easy to fill in the gaps. We knew that we wanted to hang these sconces so we went ahead and put the bracket up before grouting so that we did not have to drill through the grout. These sconces are NOT hardwired. I use THESE battery operated puck lights in them vs having to run electric. This will work with almost any sconce. You just use double sided adhesive to stick the puck light up in the sconce where the bulb will go and your ready to roll!
Grouting the Brick Backsplash
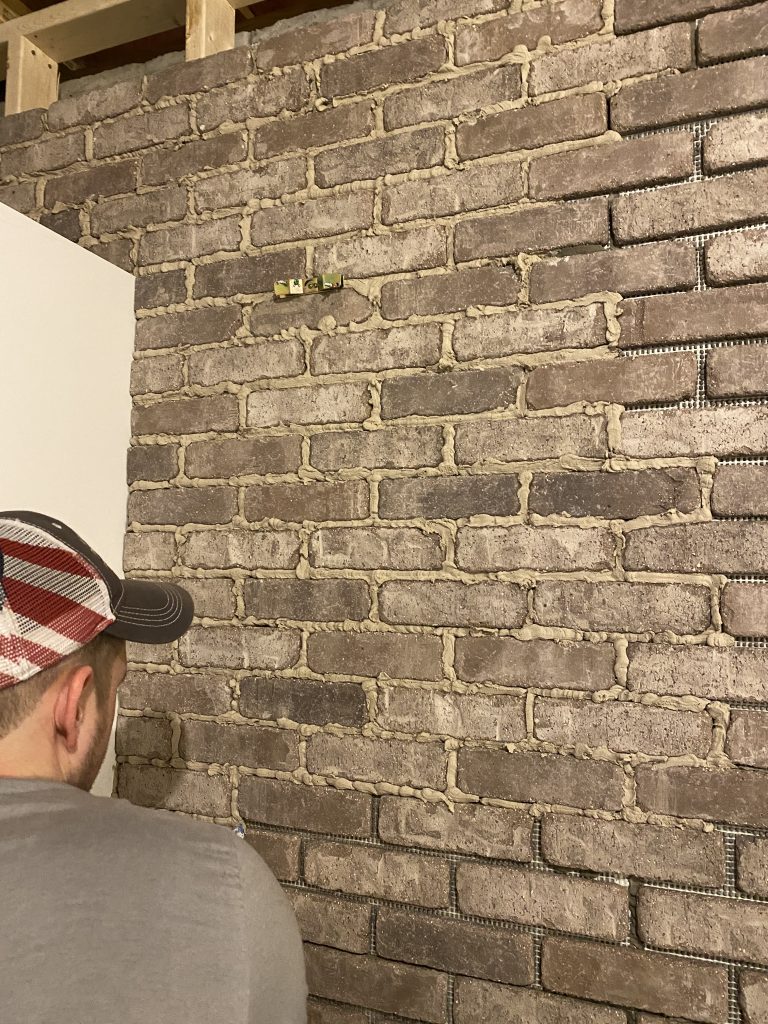
Using a Grout Bag, apply the sanded grout into the joints of the brick. This gets kind of tiring so I enlisted the help of my handy hubby for this part! As he went through and grouted, I would follow behind and wipe off the excess grout in the joints. You should use a jointer for this. I used my finger because the store I went to didn’t have one… and I had blisters on my fingers that were very painful. So I DO NOT recommend doing it that way.
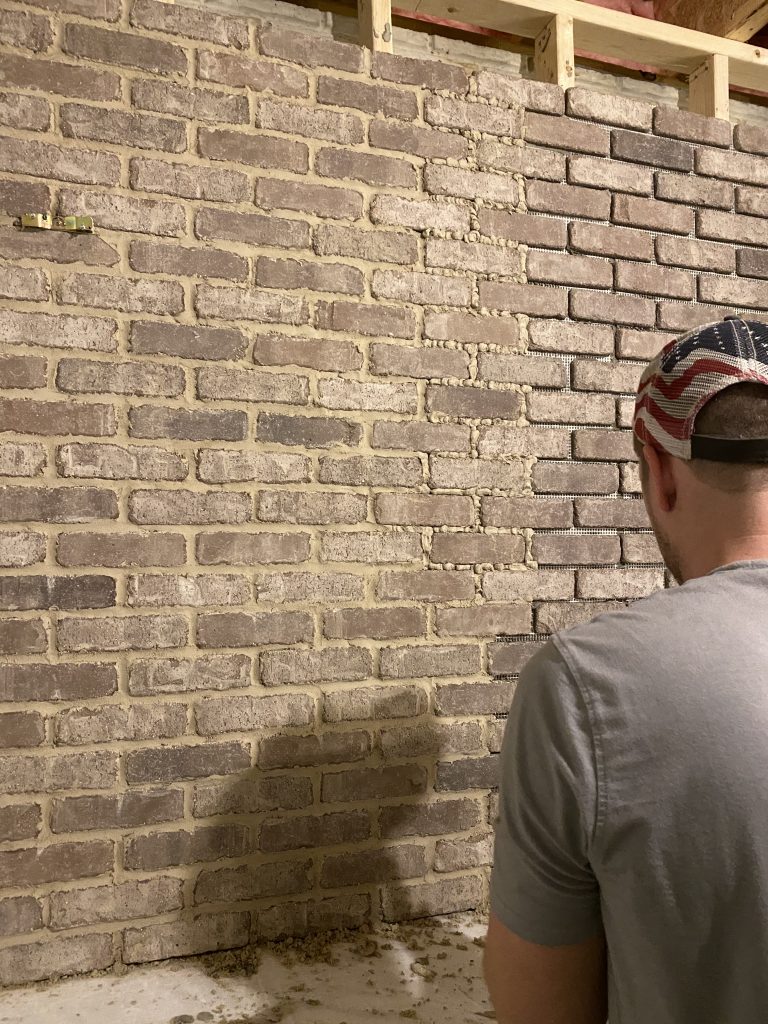
The below picture is a good visual of before during and after the grout, from right to left.
FINISHING MY BRICK BACKSPLASH
Once everything was dry, I went over the entire backsplash with a bristle brush to wipe away the excess grout. This part gets a little dusty but it cleans up easily! I am so in love with the finished product and already have plans on where I can use Old Mill Thin Brick other places in my home!
Are you ready to take on your next DIY? Why not start with this!
Hello,
What color of sanded grout did you do?
Thank you!
We used alabaster grout!
Great! I have the brick and am just gathering the materials. A little nervous! Your project looks great, so I’m hoping mine turns out just as nice! Thanks for your reply and wish me luck! Haha
Good Luck!! Im sure it will look perfect!
Which Old Mill Thin Brickwebbing did you use for this? I love it, has an old look to it!
It is Rushmore 🙂
This is beautiful! I have the brick and I’m going to attempt this project! My one question is…did you adhere the brick right on drywall or did you use cement board? Thanks!
I put it directly on the drywall 🙂