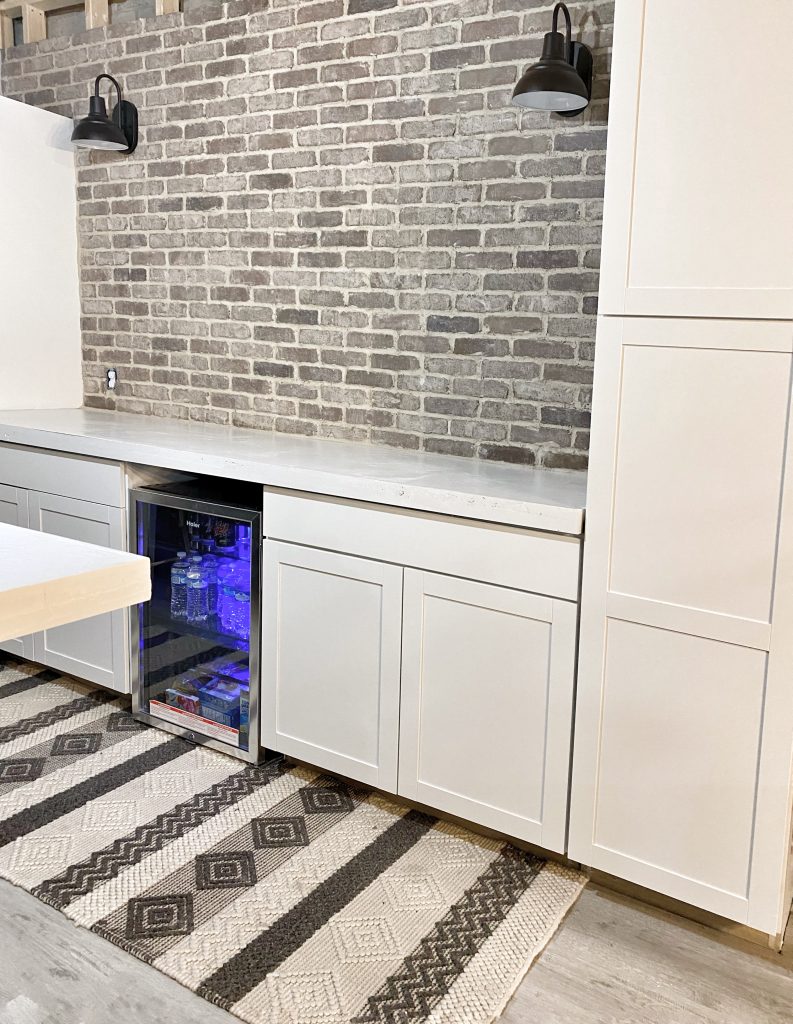
Beautiful White Concrete Countertops for our Basement Bar
Bold Boundless Blonde contains paid advertising and affiliate links where a commission is received for the sale of products linked in a post. This blog abides by word of mouth marketing standards. I believe in honesty of relationship, opinion and integrity. The compensation received may influence the advertising content, topics or posts made in this blog. That content, advertising space or post will be clearly identified as paid or sponsored content. I partner with brands and products that I am passionate about and appreciate your support in making this blog successful.
When we were simply in the planning phase of our basement renovation, I knew right away that I wanted concrete countertops. We were putting in a bar and I loved the rustic/industrial vibe that concrete countertops have. I began doing a ton of research and I stumbled upon Concrete Countertop Solutions.
It was like all of my questions had been answered! This amazing company not only has a genius break away form (Z Counterform), but they sell everything that you need in one place for beautiful concrete counters! Not to mention, their customer service is absolutely one of the best I have ever worked with! My husband built the bar a “wee bit” too big so we quickly realized we were going to be short on concrete mix. A quick email to Concrete Countertop Solutions and they had the additional product I needed shipped and to my door within 3 days. Talk about service!
Overall Experience
Our overall experience with the Concrete Countertops kit was great! It was definitely a learning curve for all involved as we had never worked with concrete before, but the outcome was totally worth it. I have three main tips I would like to share.
- Invite helping hands! The more hands on deck the better. The concrete is heavy and there are several steps involved. Having more people available to help for round two (the island) was definitely a game changer!
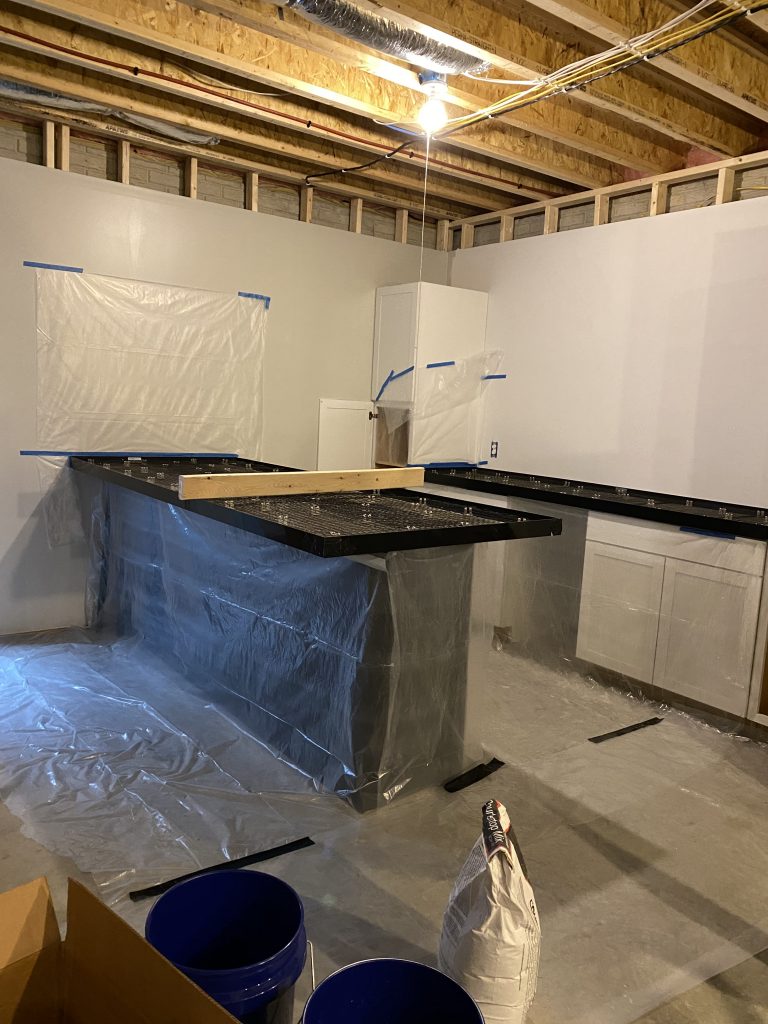
- Have the proper tools… See those 4 drills sitting in the photo below. We were convinced we could mix the concrete with a drill. While we DID end up doing this, we had to cycle through all of the drills to keep them from burning up. Not the best idea. Looking back I totally should have just rented a mixer. It would have been much easier.
- Make sure everything is taped and covered. It gets MESSY. Luckily for us our cabinets were new and already covered in plastic which helped. But when your slinging concrete around it tends to find its way into places you couldn’t imagine.
Please keep in mind that this post is just MY personal experince and use of Concrete Countertop Solutions Z Counter Form Products. This is not my kitchen so I was not super particular about them being 100% smooth. I love all of the character that these countertops have. Also keep in mind that I have no sink to work around. Although, they do have products to cover all of this. Please click HERE to check out their Product Information page. Their representatives are amazing at calculating product and tool needs. Trust in THEM!
Products/Tools
- CEMENT BOARD – 1/2″
- CEMENT BOARD SCREWS
- SILICONE
- DUCTAPE
- PLASTIC SHEETING (TO COVER FLOORS AND CABINETS)
- Z COUNTER FORM – WE USED SQUARE EDGE
- WHITE CONCRETE MIX
- WHITE COLOR-PACK
- Z CLIPS
- FIBER MESH REINFORCEMENT
- 5/8″ SCREWS
- EPOXY SEALER
- FOAM ROLLER & TRAY
- CONCRETE MIXER
- MEASURING CUP
- SANDING SPONGE
- CHROME FINISHING TROWEL
- LEXAN FLOAT
- SCREED <- WE USED THIS FOR THE BACK COUNTER AND A CLEAN 2X4 FOR THE ISLAND BECAUSE IT WAS TOO WIDE.
Step 1 – Cement Board

Cut your 1/2″ cement board to the length and width of your cabinets. The countertops can withhold up to 12″ of overhang for an island without requiring additional support! We left an overhang on three sides and we love it!
Step 2 – The Forms
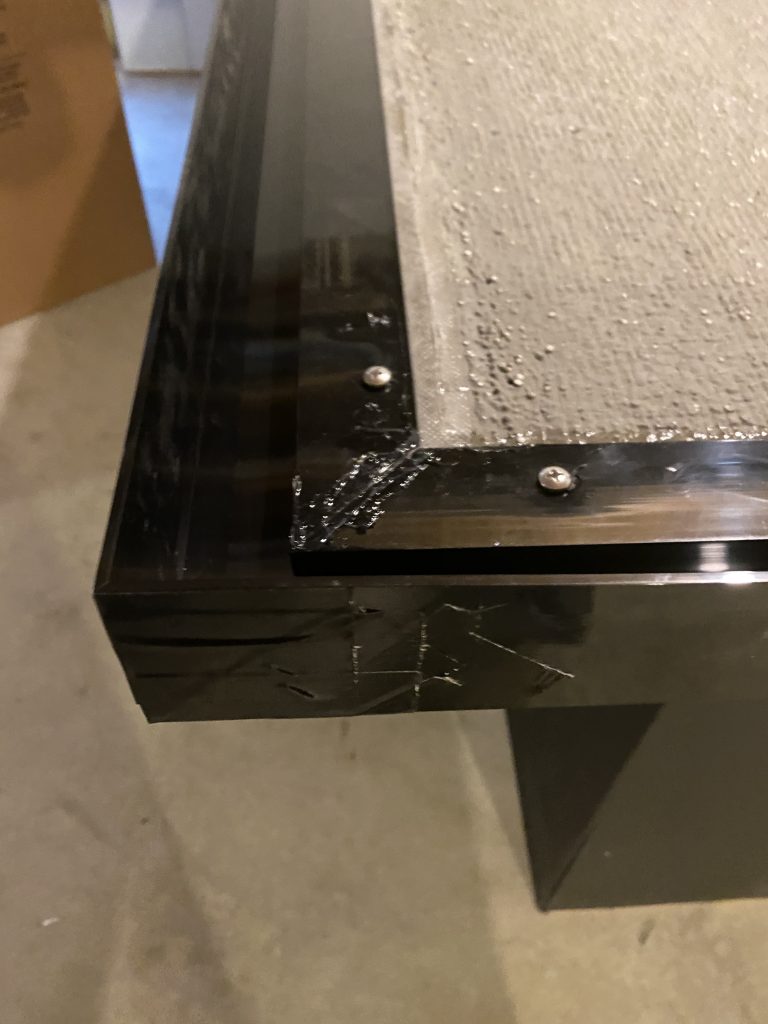
As I stated above we used the Square Edge Form. They have several different options to choose from. But I love the simplistic look of the square edge! You will use the 5/8″ screws to attach your forms to your cement board. Once your forms are attached use silicone caulking to seal all of the edges and cracks. This is super important so that your concrete does not leak out. We also used ductape to secure the corners as you can see above.
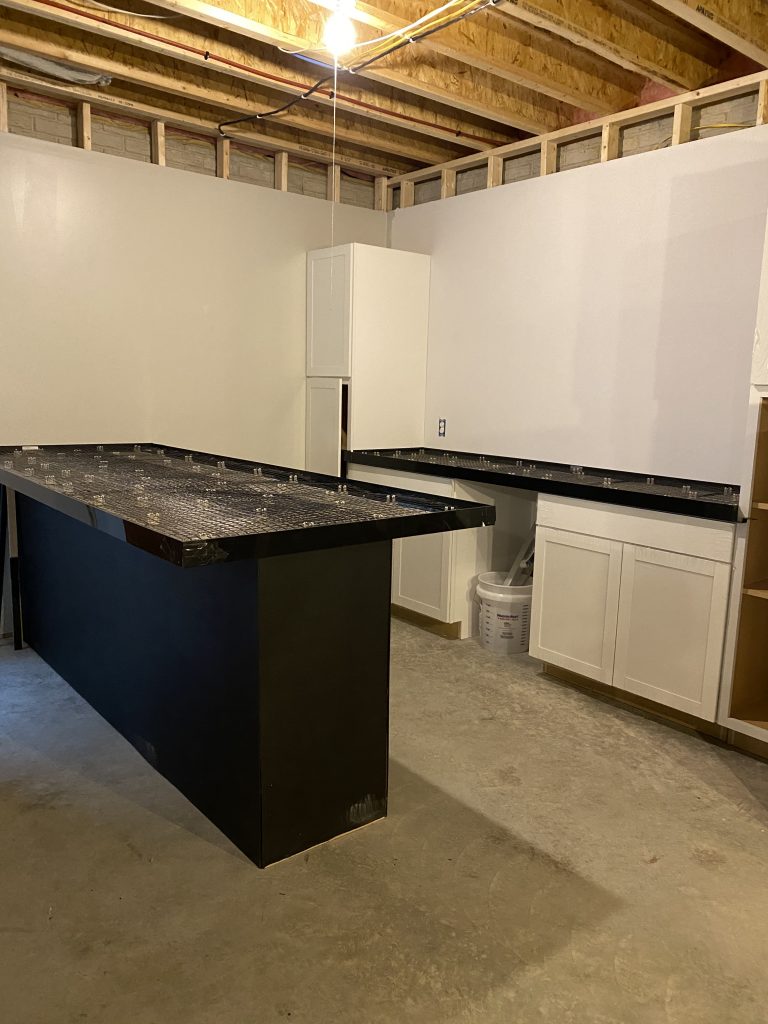
Next you will install the fiber reinforcement mesh using the Z Clips. The Z Clips hold the mesh in the proper depth of the concrete for the most support. You will use the 5/8″ screw to attach the Z Clip to the cement board, then the mesh clips right in.
Step 3 – LETS GET READY TO…POUR CONCRETE
As I mentioned above, your definitely going to want to tape and cover everything in the vicinity. We mixed our concrete inside…again not our smartest idea, and everything was covered in dust. I highly recommend mixing it outside or in a garage.
I wish I had taken more photos of this process, but honestly once we got started we were all hands on deck between mixing, pouring, and leveling the concrete that my main focus was to get the job done! You will mix the concrete one bag at a time, and use a consistent amount of water with each batch. You will work the concrete from one side to the other with the float.
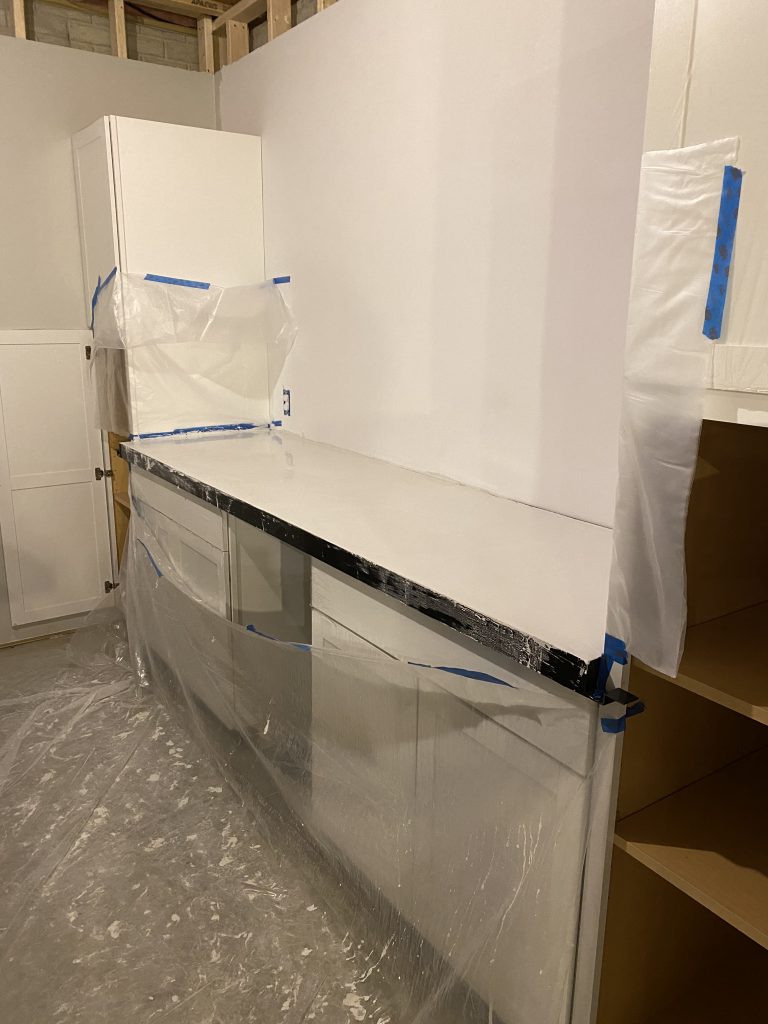
Once you reach the top of the form you will use the screed to level the concrete. You will want to make sure that you vibrate the edges of the form to release any air bubbles. Ours still had a few in the end but I don’t mind them! However, they do sell a filler if we ever wanted to fill them in. Once the concrete begins to set you will use the chrome finishing trowel to smooth everything out. Again, since this was our basement bar I didn’t mind them being textured.
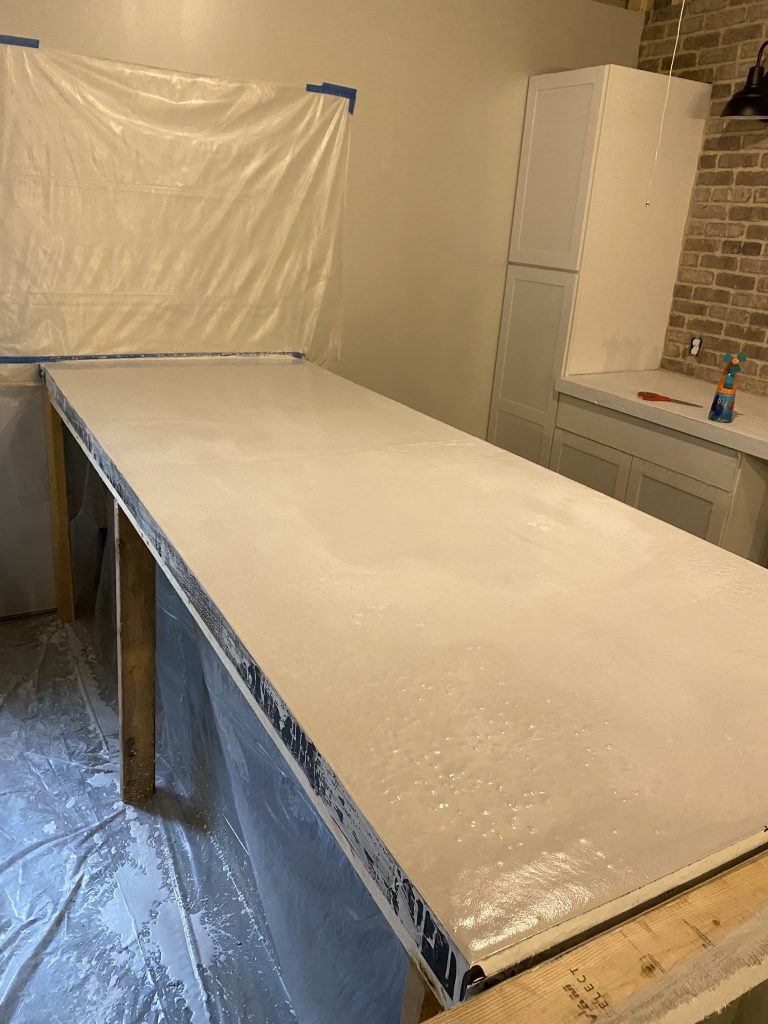
Step 4- Finish and Enjoy!
The process for the island was pretty much the same, however we did need to add some additional 2×4’s to support the cement board until it was set to prevent sagging. After your coutnters are completely hardened, you will take a sanding sponge to break away any excess on the top of the form before you break it off to prevent chips, then snap off the forms. This was the scariest yet most exciting part of the whole process.
You will then take the two part epoxy and seal the counters with multiple coats. Aren’t they BEAUTIFUL! I am totally obessed with them. While we haven’t really gotten to have anyone over due to the pandemic, I can not wait to enjoy these beautiful concrete countertops with friends and family for years to come!
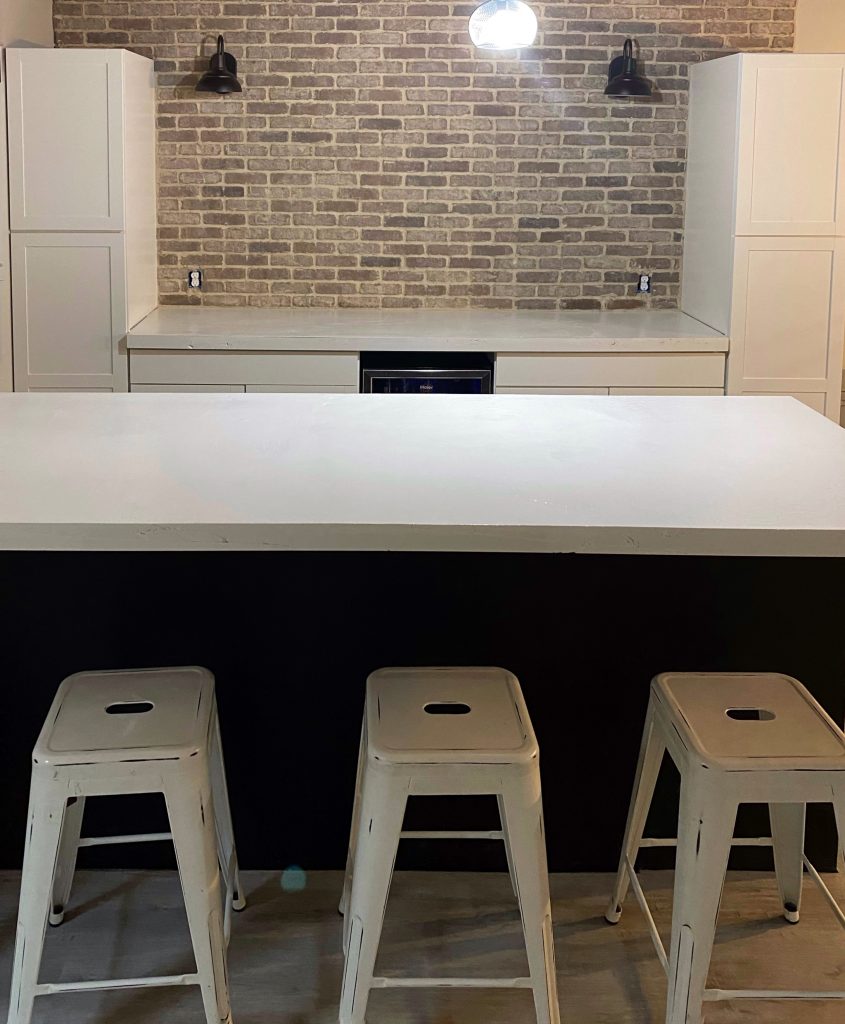
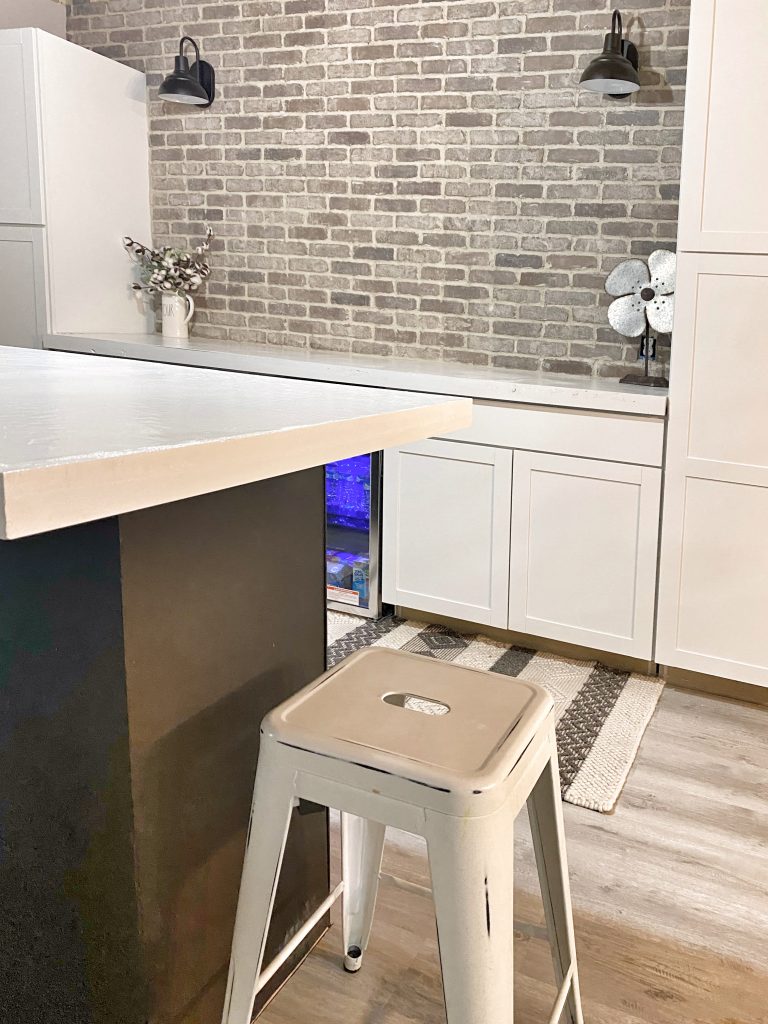
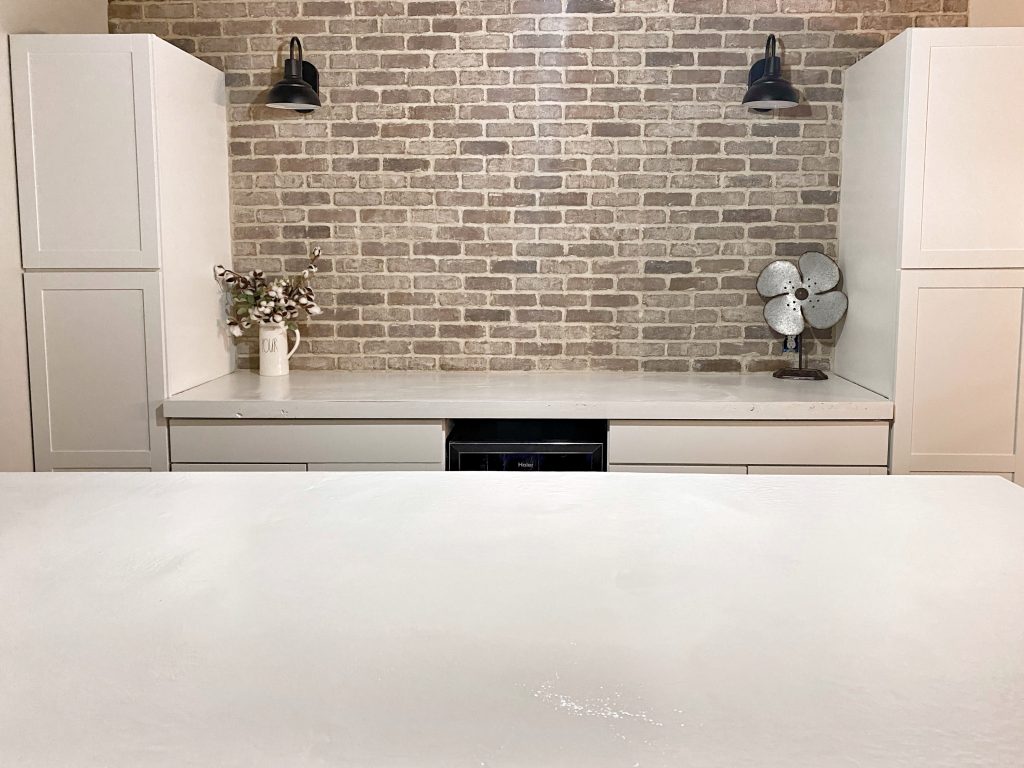
Is there a room in your home that is dying for some Concrete Countertops? I hope this post inspires you to go for it!
Looking for more product information and inspiration? Check out my Resources Page HERE.