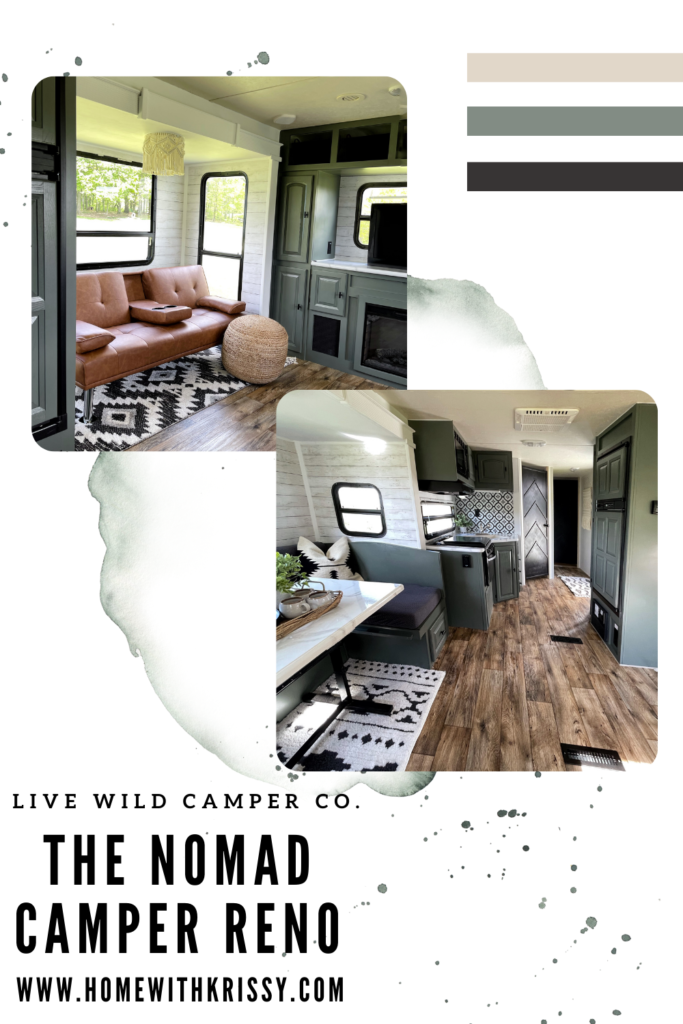
Live Wild Camper Co. -Our First Camper Reno
Home With Krissy contains paid advertising and affiliate links where a commission is received for the sale of products linked in a post. This blog abides by word of mouth marketing standards. I believe in honesty of relationship, opinion and integrity. The compensation received may influence the advertising content, topics or posts made in this blog. That content, advertising space or post will be clearly identified as paid or sponsored content. I partner with brands and products that I am passionate about and appreciate your support in making this blog successful.
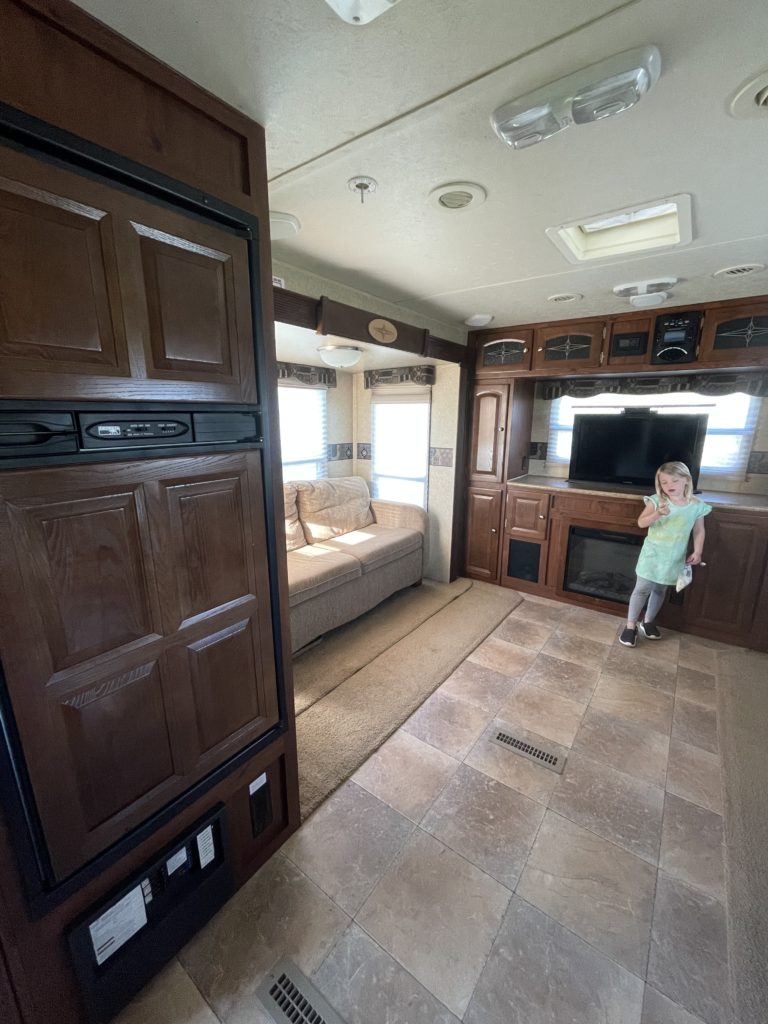
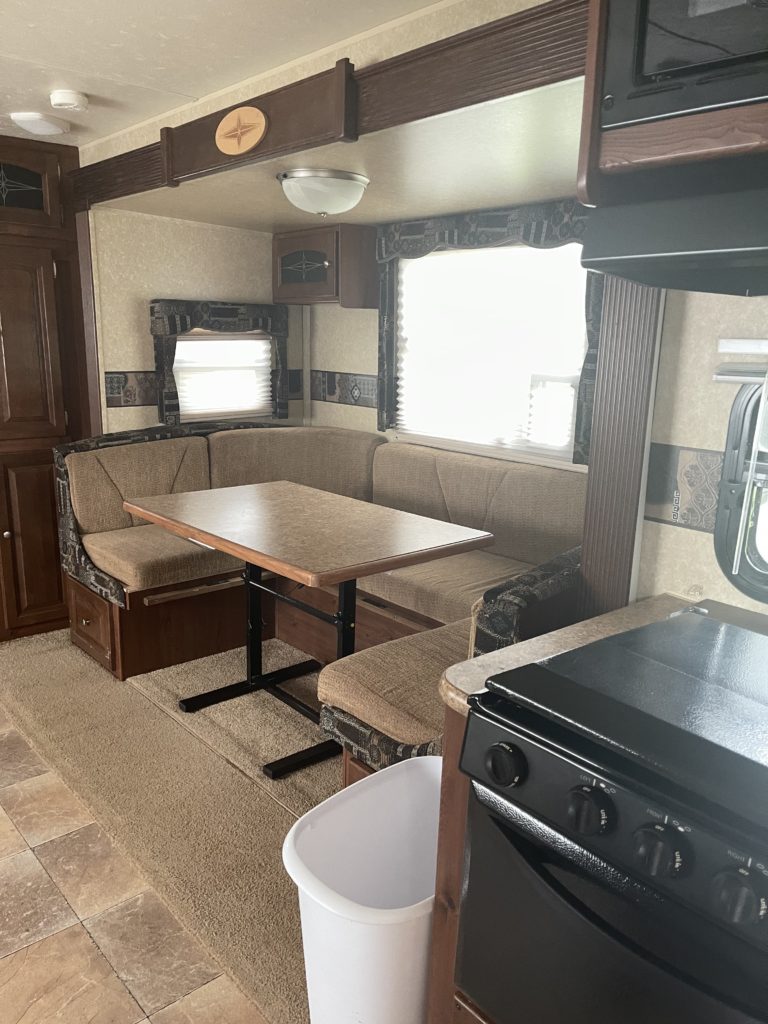
Living Area
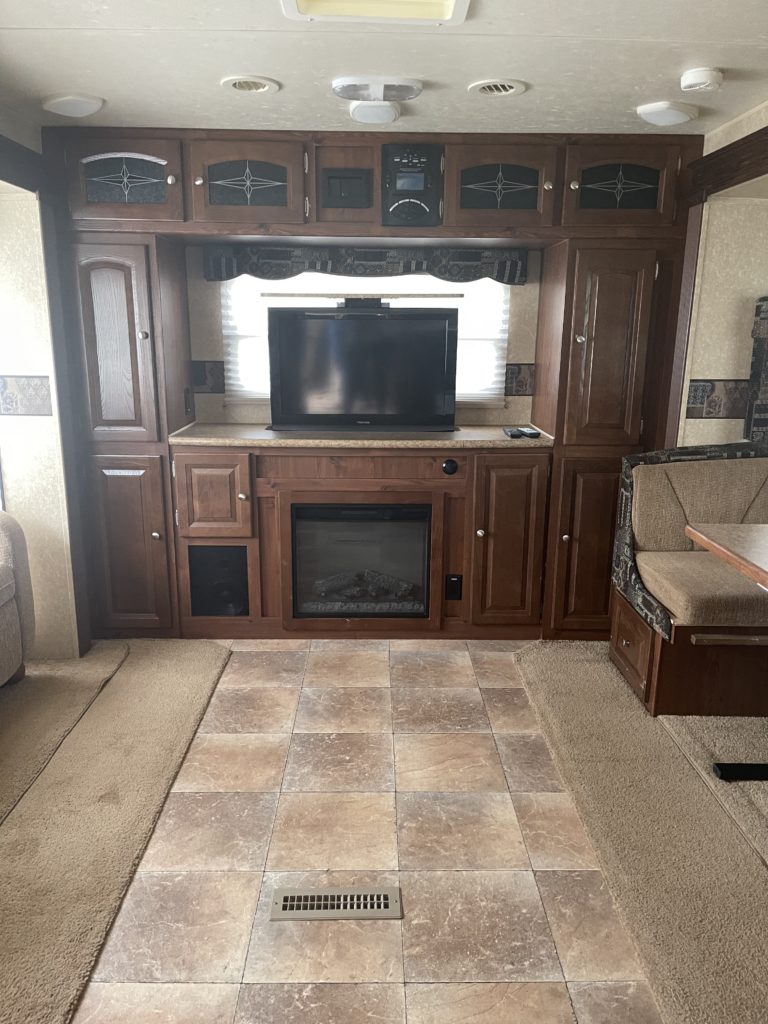

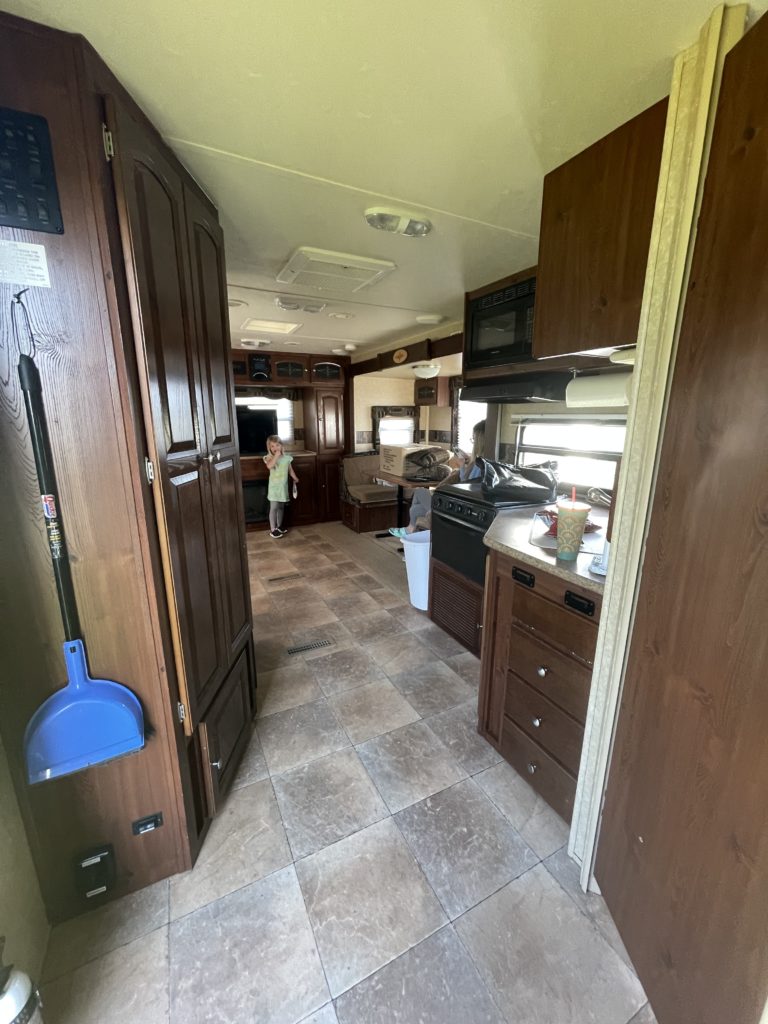
We were beyond excited to get started on this camper reno and it surely did not disappoint! Isn’t it crazy how much the whole space transformed with just some cosmetic updates! For this post I want to keep it short and sweet, just listing what we did, and where to find the products!
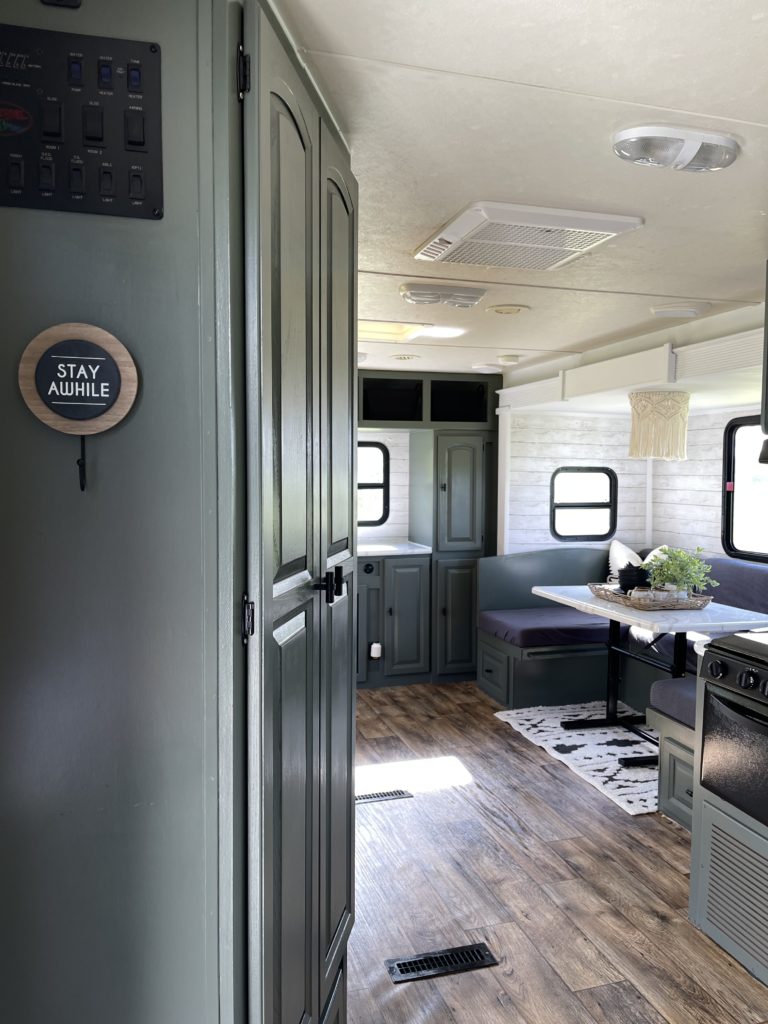
For the main living space we started by using a heat gun to remove the wallpaper. Once the walls were clean and prepped, we painted everything white first with bonding primer! Once the walls were white, we covered them using this super inexpensive shiplap wallpaper from amazon. We then painted the cabinets with a specialty cabinet paint in the color Pewter Green by SW.
- LIVING ROOM RUG (USE CODE BOUNDLESS60)
- POUF (USE CODE BOUNDLESS60)
- COUCH
- LIGHT COVER
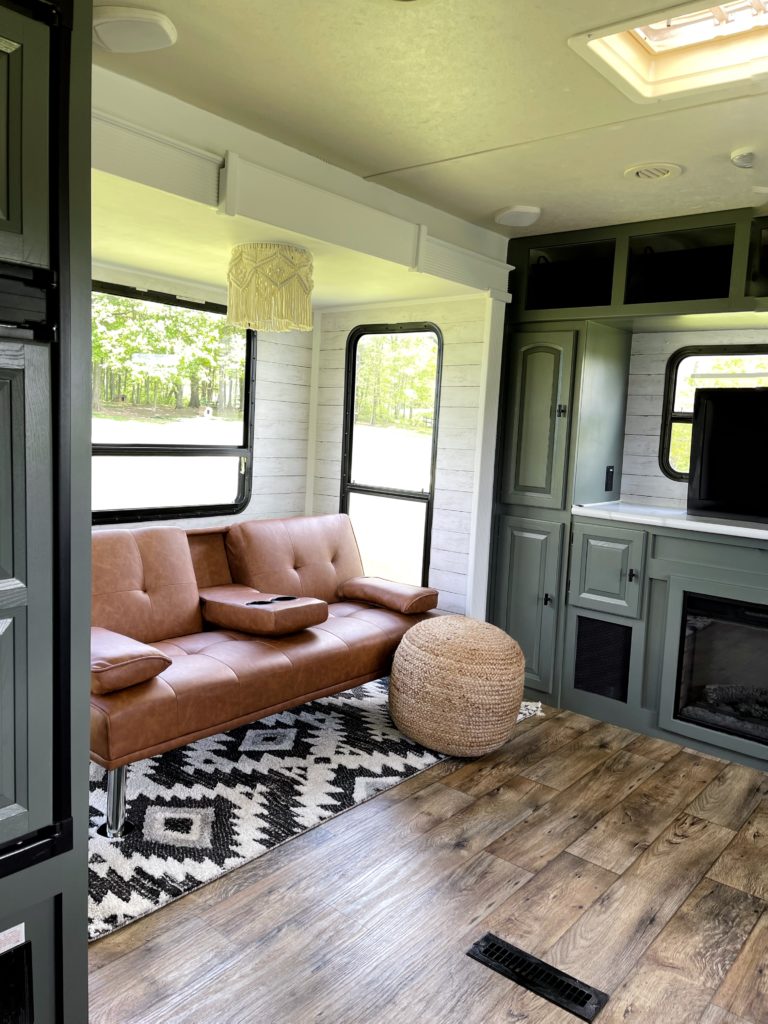
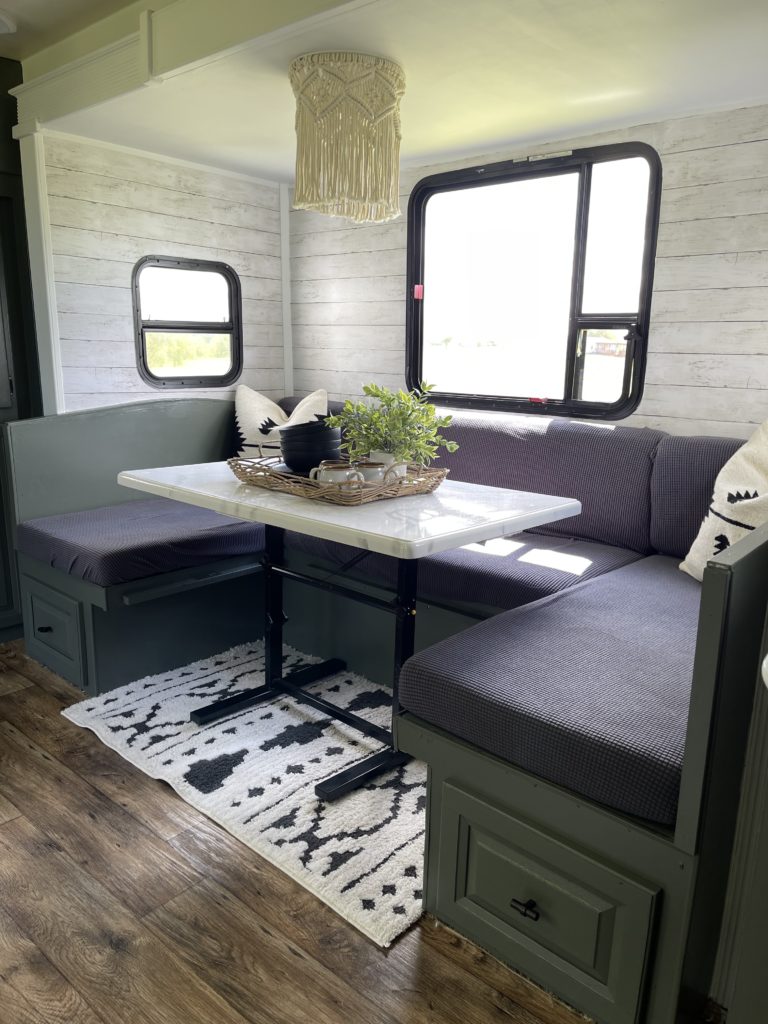
For the living space we pulled out ALL the carpet, laid a vinyl sheet flooring, and then used a rug, cut to size, in the slide out. For the light fixture we removed the glass globe and attached this macramé hanger from amazon!
- PILLOW COVER (USE CODE BOUNDLESS60)
- DINING TABLE RUG (USE CODE BOUNDLESS60)
- COUNTERTOP PAINT KIT
- CUSHION COVERS
For the dining area we did all of the same renovations, but additionally painted the table with Giani Marble Countertop kit, and used removable cushion covers on the dinette. We also had taken down the cabinets and window coverings that really dated the camper!
ENTRY RUG (USE CODE BOUNDLESS60)
I am seriously stunned every time I look at this transformation!
Bathroom
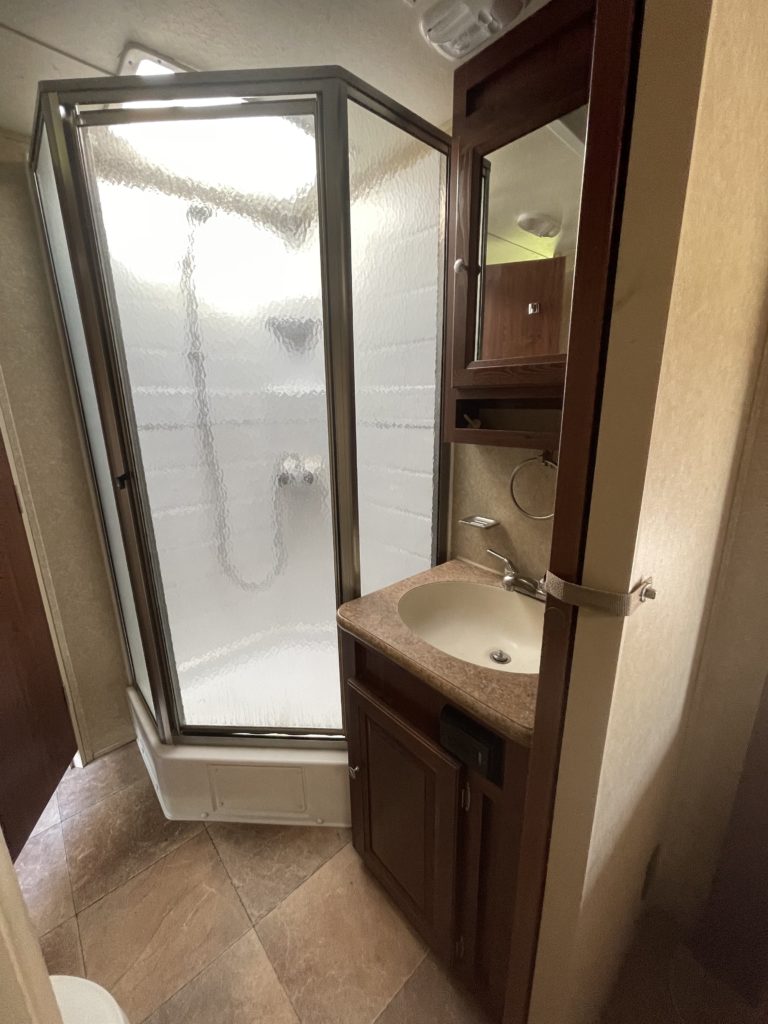
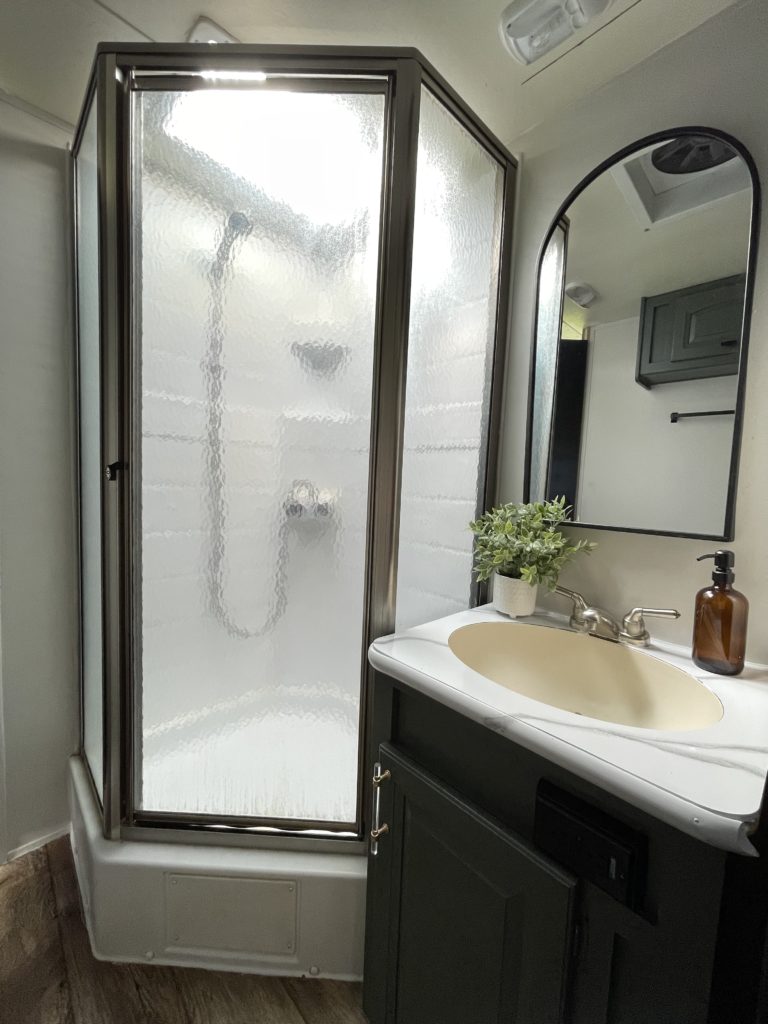
The bathroom was super simple, all we did was paint the cabinet and counter (same colors) and remove the cabinet and add a mirror. It looks so much brighter in there now!
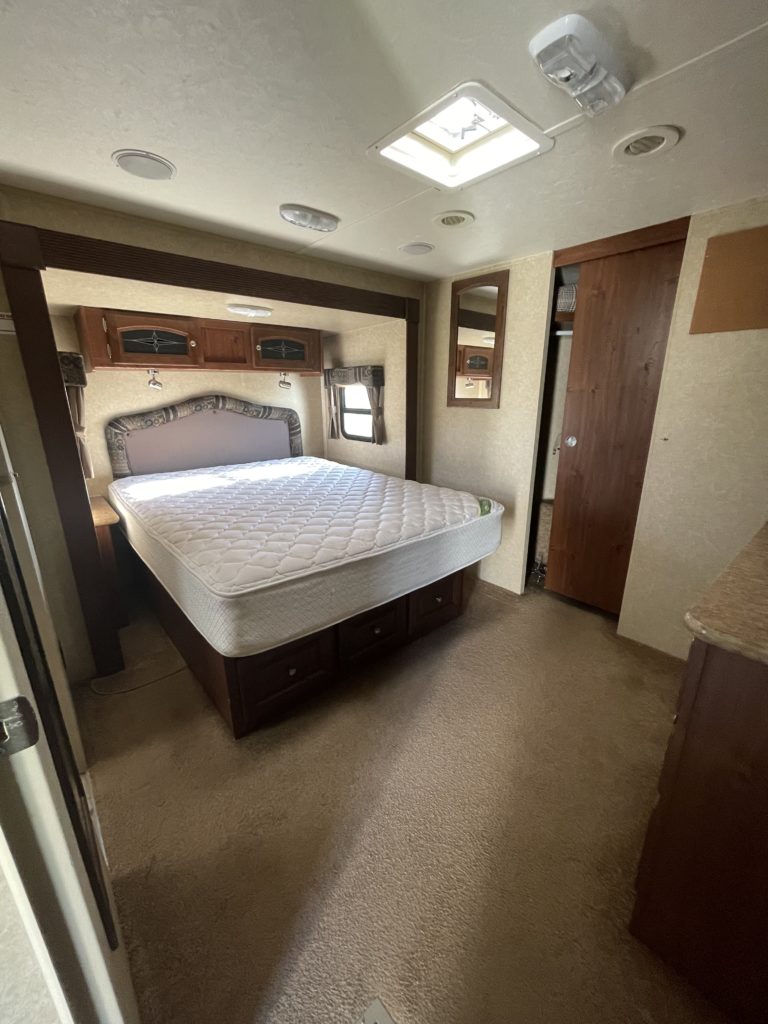
Bedroom

- WALL HANGING
- BEDDY (USE CODE KRISSY TO SAVE 20%)
For the back bedroom we painted the cabinets the same pewter green, painted the walls with some leftover greige paint that I had, and added a black accent wall. If you have a camper, a Beddy is a necessity! We decided to leave the carpet in here as it was still in great shape and didn’t need replaced!
This camper reno turned out exactly how I imagined and I can’t wait to get started on the next one!
For other renovation projects, including our completely transformed master bathroom – check out this blog post here!