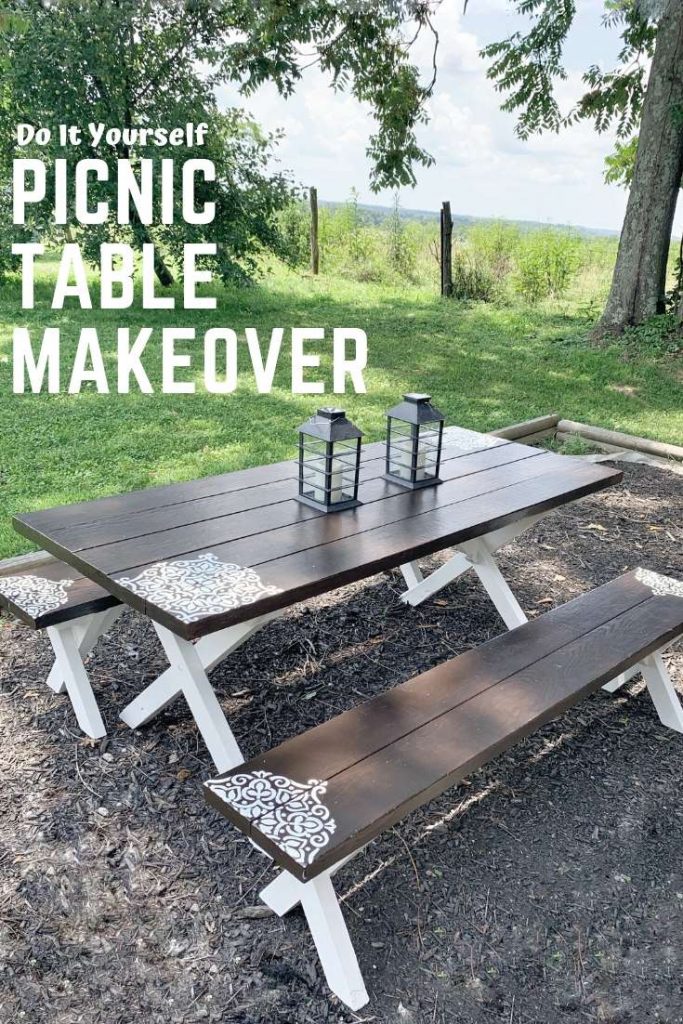
Bring your old picnic table back to life with this simple picnic table makeover!
This post contains affiliate links where a small commission is received for the sale of products linked at no additional cost to you. I only partner or promote brands and products that I believe in or have tried myself.
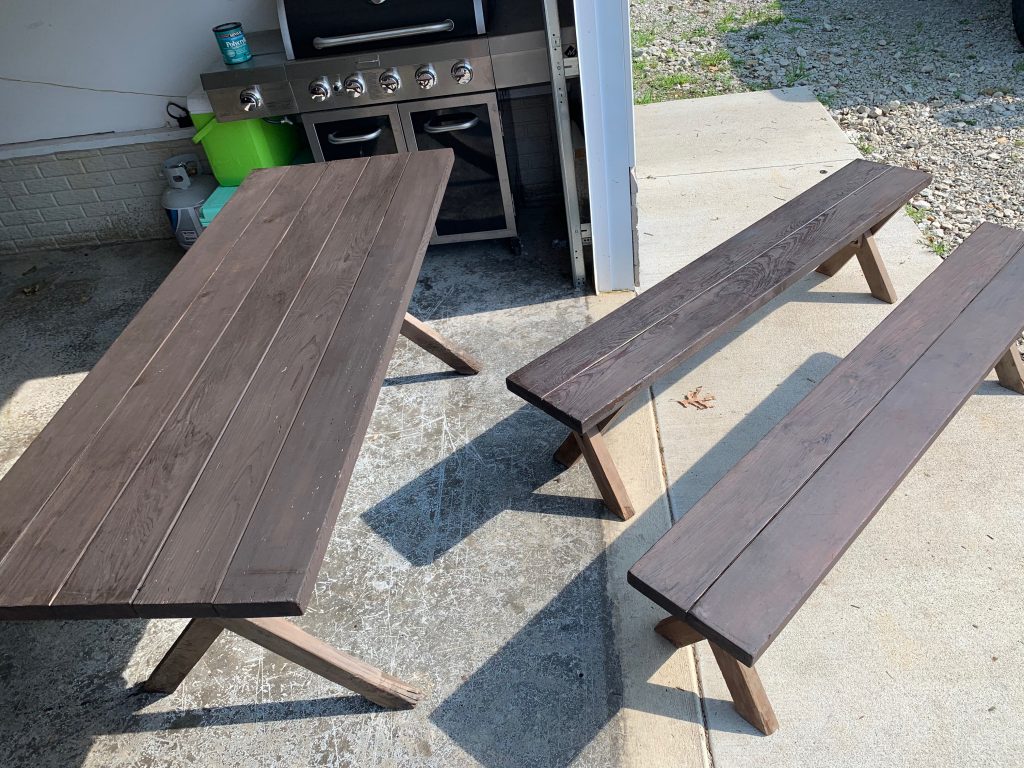
When my husband told me he was getting a free picnic table I figured it was in rough condition and he could do whatever with it. I was so excited when I pulled in the driveway to see THIS picnic table. I immediately blurted out, well that’s mine! HAHA I’ve never seen one that had separate benches like that and obviously I love the x ends. Hello farmhouse style picnic table. Within minutes I decided that the weekend would consist of a picnic table makeover! Do you have a picnic table sitting around that could use a refresh? Follow along for this super simple picnic table makeover to go from Drab to Fab in just a few hours!
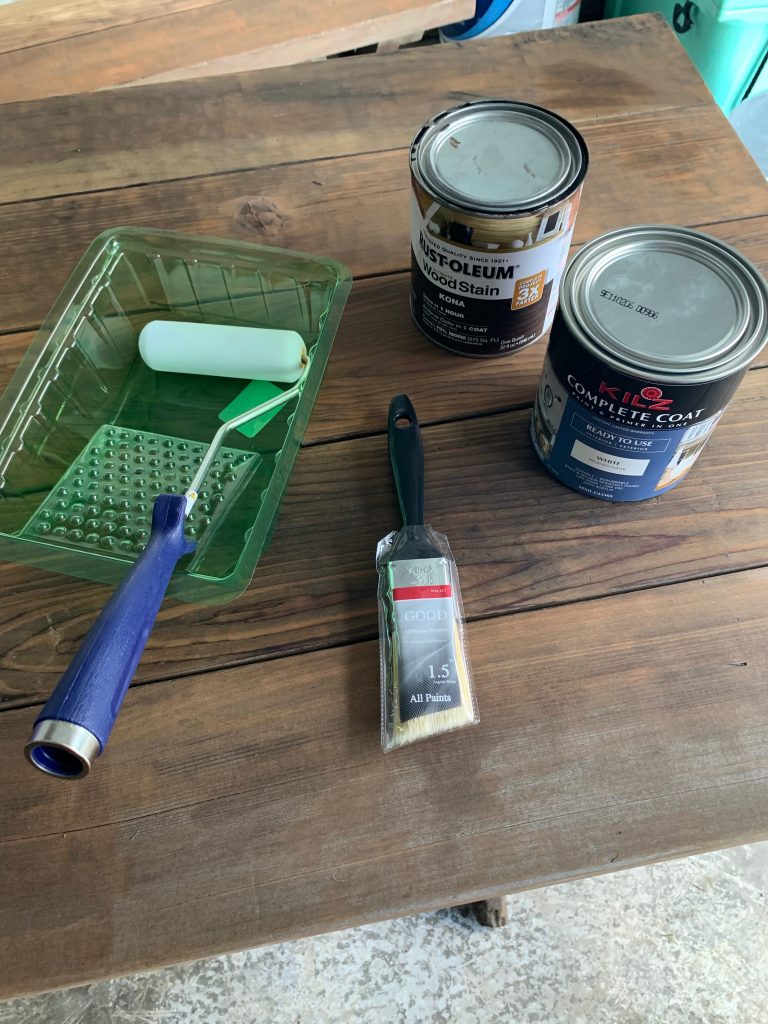
WHAT YOU NEED
- Picnic Table
- Click HERE for the Stain – Kona Brown
- Click HERE for the White Paint
- Click HERE for the Stencil
- Click HERE for the Polycrylic
- Click HERE for the Foam Roller
- Click HERE for the Sanding Sponge
- Painters Tape
- Paintbrush
- Paint Tray
GETTING STARTED
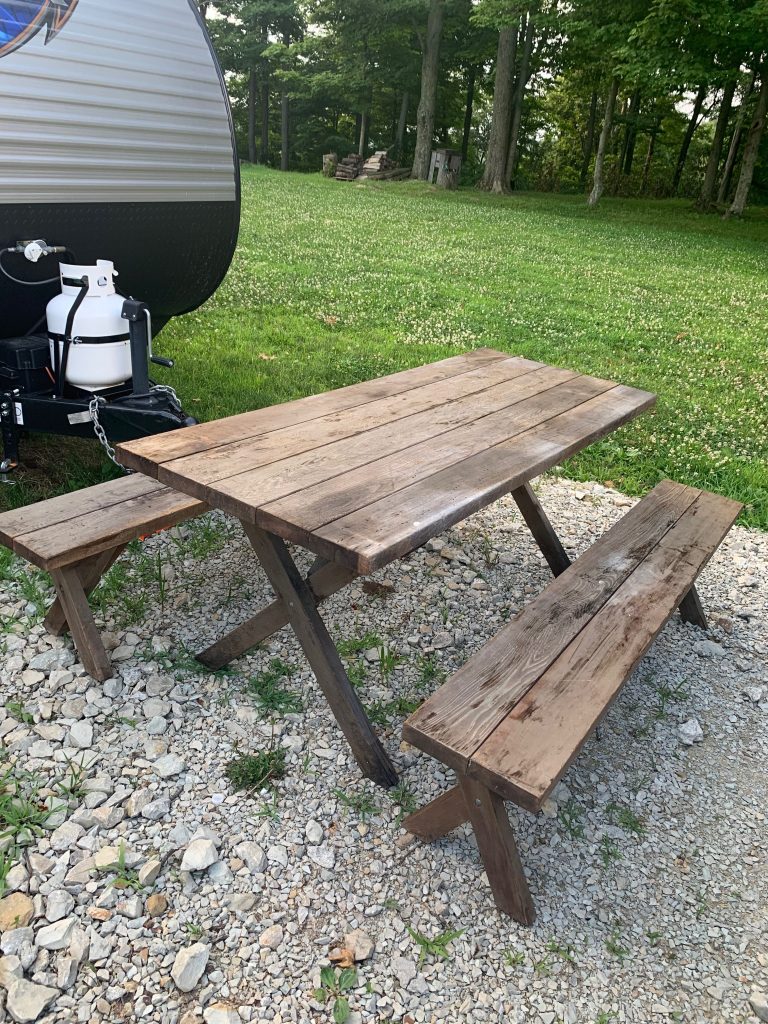
As you can see the picnic table was a little rough before we started. Who knows how old it even is. It had a varnish on top ( 85% warn off) and I knew I wanted to stain the top so I had my husband start sanding it. Under all that dirt and dust was a beautiful cedar picnic table!

The first thing I did was stain the top. This stain is very rich so it definitely only takes one coat. After I had all of the tops stained I started painting the legs white. Since I was using the Kilz Exterior White it only took two coats for complete even coverage. It doesn’t matter if you do the tops or the legs first. As long as you don’t get any overlap. I would recommend doing one thin coat of polycrylic before doing your stencil so that none of the brown stain comes through the white paint.
ADDING STENCIL DETAIL (OPTIONAL)
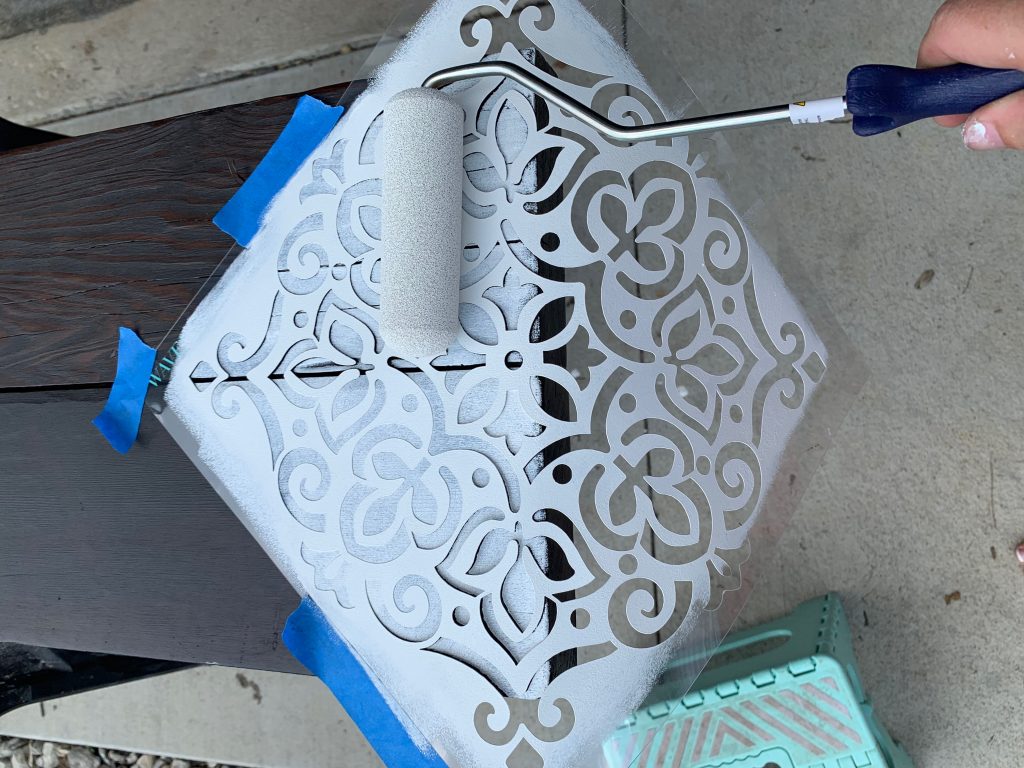
Once the first thin coat of polycrylic was dry, I started adding my stencil details. I used the same white paint as the legs. Using 3 small pieces of painters tape, tape the stencil where you want it and LIGHTLY roll the foam roller over the stencil. I absolutely suggest using a foam roller vs a traditional roller. Remember when stenciling, less is more when it comes to paint. If you get too much paint on your roller you will get smears and bleeds in your stencil.
FINISHING UP
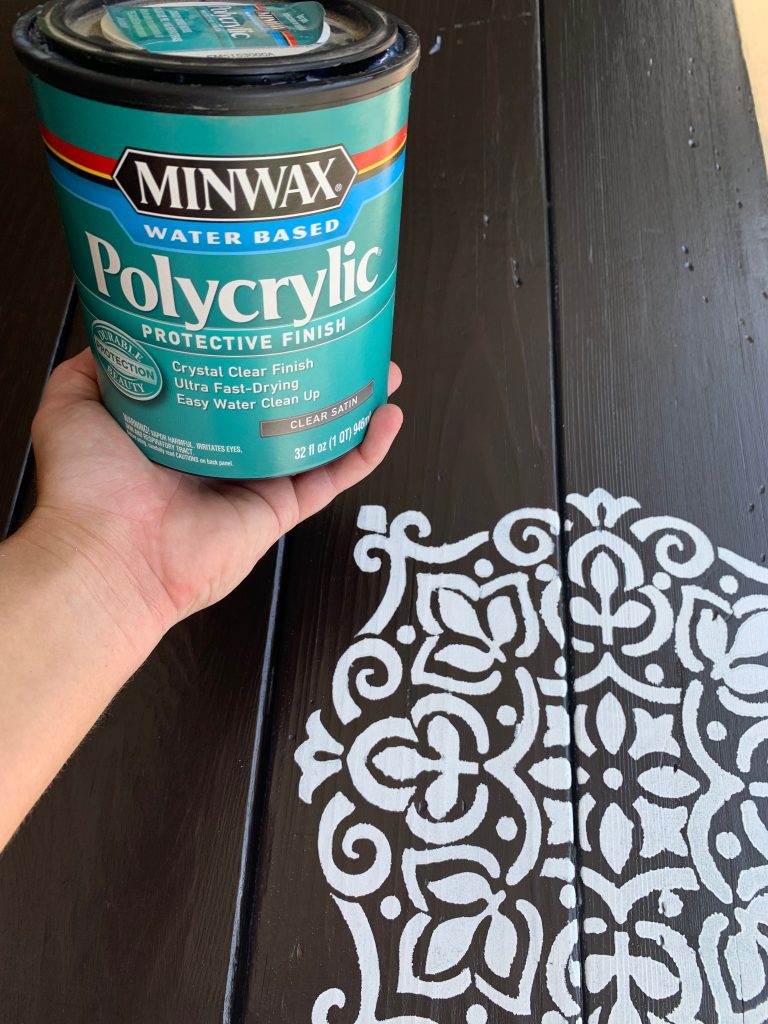
Once your stencil is dry add two additional coats of polycrylic. (Follow instructions on can for application and dry time). I always sand very lightly in between coats for better adhesion. I prefer to use a sanding sponge but any light sandpaper would do. Since my white paint was exterior grade I did not use any polycrylic on the legs. However, if you were to use chalk paint or something similar you would definitely want to add the polycrylic to the entire thing. I would probably even do an additional coat.
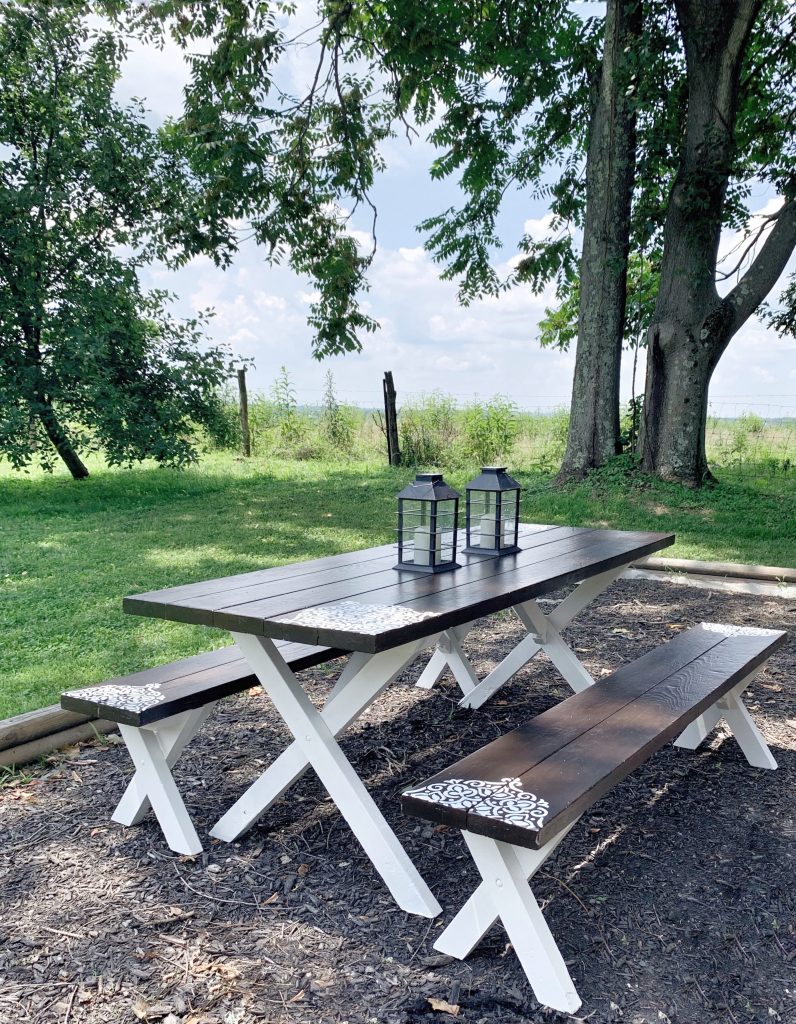
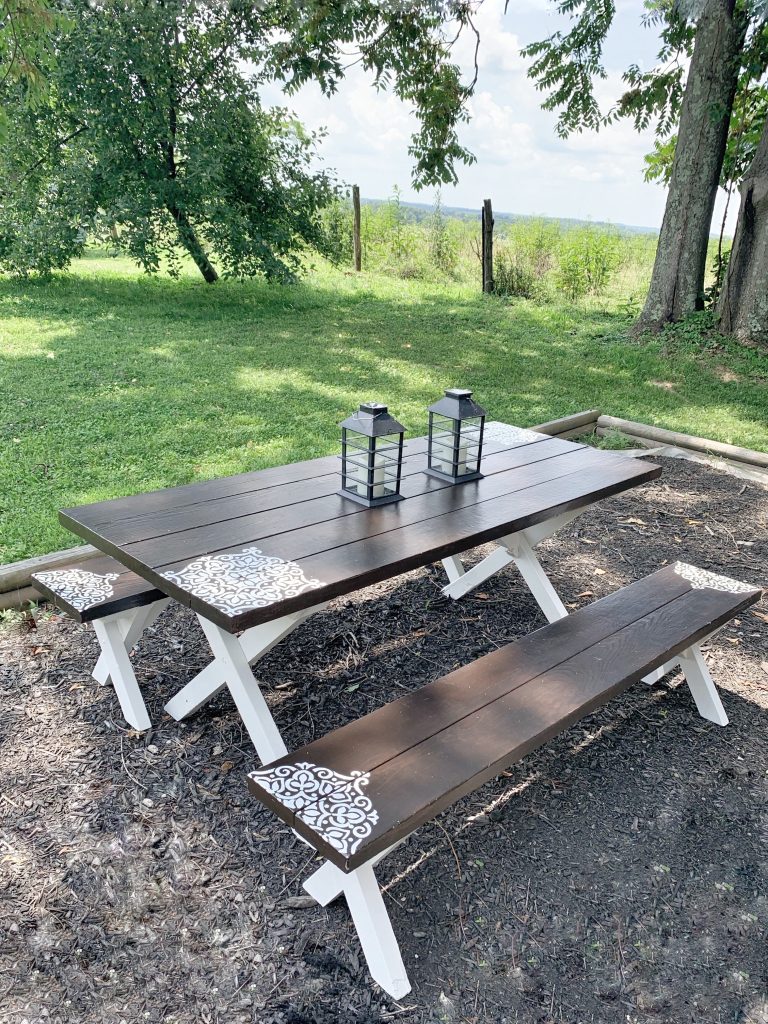
Isn’t it BEAUTIFUL! I still can’t get over what paint can do for furniture. I am so excited about our new picnic table and can’t wait to enjoy meals out here. Eventually when we have a deck I would like to get a pergola and have a full outdoor dining space.
Thanks for joining me for my picnic table makeover! If you decide to do your own, please share your photos with me!