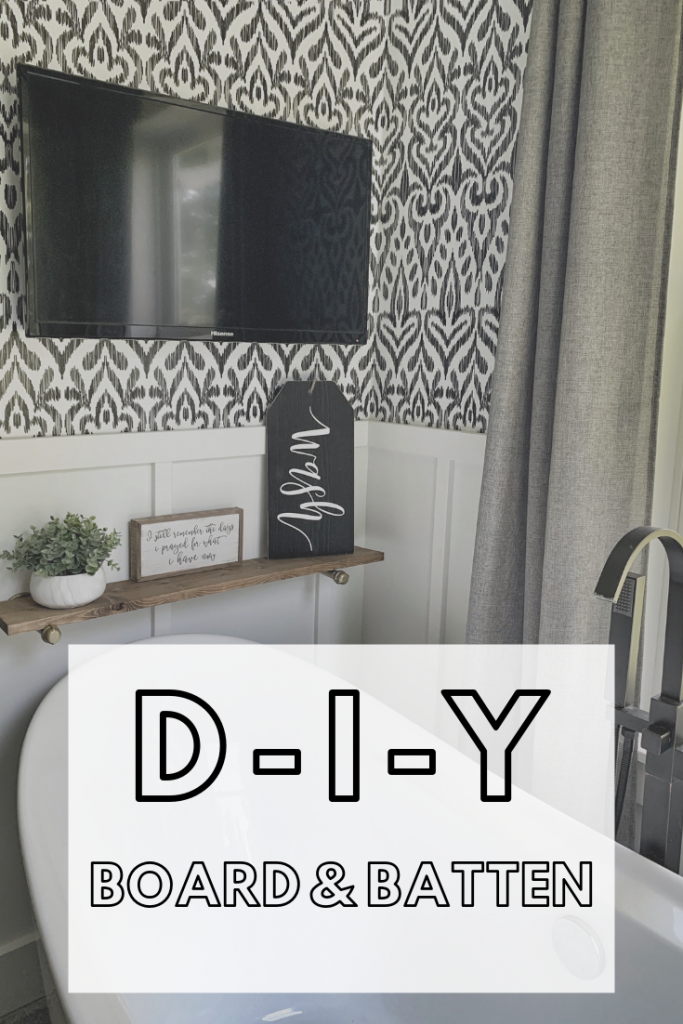
The second stage of our Master Bath Refresh was DIY Board & Batten. There are a ton of great tutorials out there already, but I figured why not add mine! The total cost for this was under $30 which made it a no brainer!
This post contains affiliate links where a small commission is received for the sale of products linked at no additional cost to you. I only partner or promote brands and products that I believe in or have tried myself.
If you didn’t see my previous post, we decided to do a complete over hall to our master bathroom. The makeover began HERE with Wallpaper from Walls Need Love! Once all the wallpaper was up, it was time to get started on the Board & Batten.
Supplies
- MDF (Actual: 0.656-in x 2.5-in x 8.08-ft) BATTENS
- MDF (Actual: 0.656-in x 2.5-in x 8.08-ft) TOP TRIM
- Nail Gun – We use this one!
- 1 1/2 Brad Nails
- Putty/Filler
- Paint – Sherwin Williams – Pure White
Step 1 – Measuring
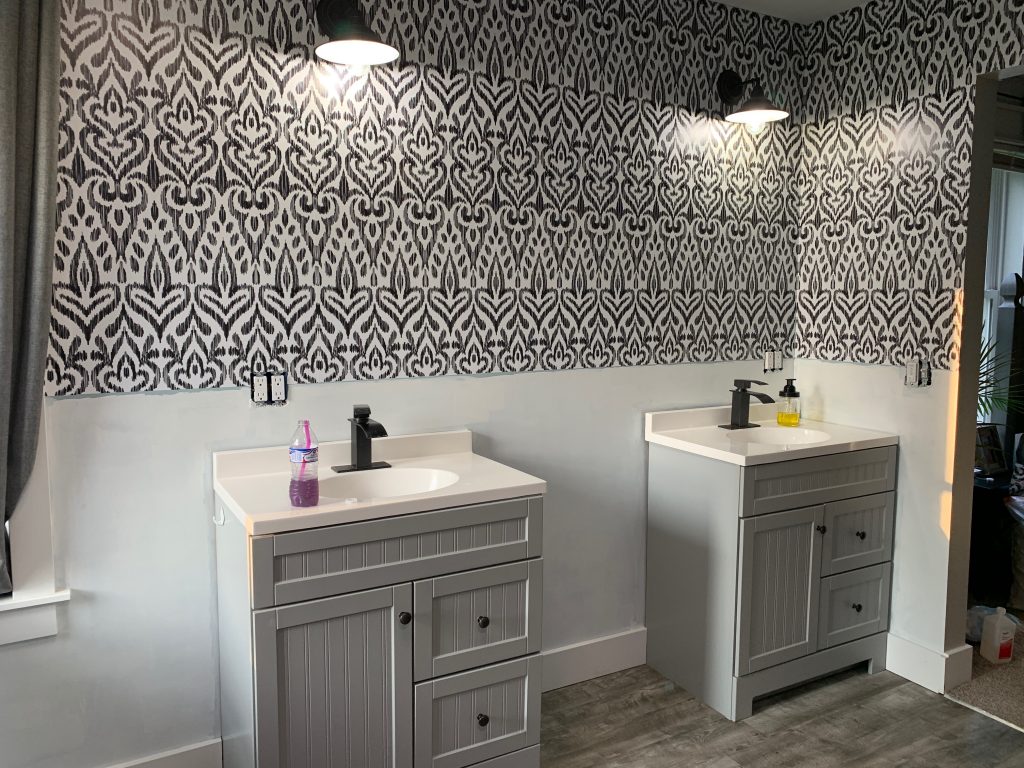
Decide where you want your board and batten to begin. We knew the wallpaper we were using was going to be 52″ from the ceiling. So, we didn’t have to put a lot of thought into where it would go. Measure around your room for your top trim piece. Although we have two big windows, I did not remove them from my measurements as it’s always better to have a little left over than not enough.
You also need to decide how tall your battens will be. Once you decide where your top trim will be placed, measure the distance between your top trim and your existing baseboard. This will be the length of your battens.
We spaced ours roughly 16″ apart. However, I am more about the look than the measurement so we didn’t always stick to that. If it looked better to me moved over a little then that’s what we did. If you are a perfectionist then my tutorials will never be for you. haha
Step 2 – Paint Your Wall & Get Creative
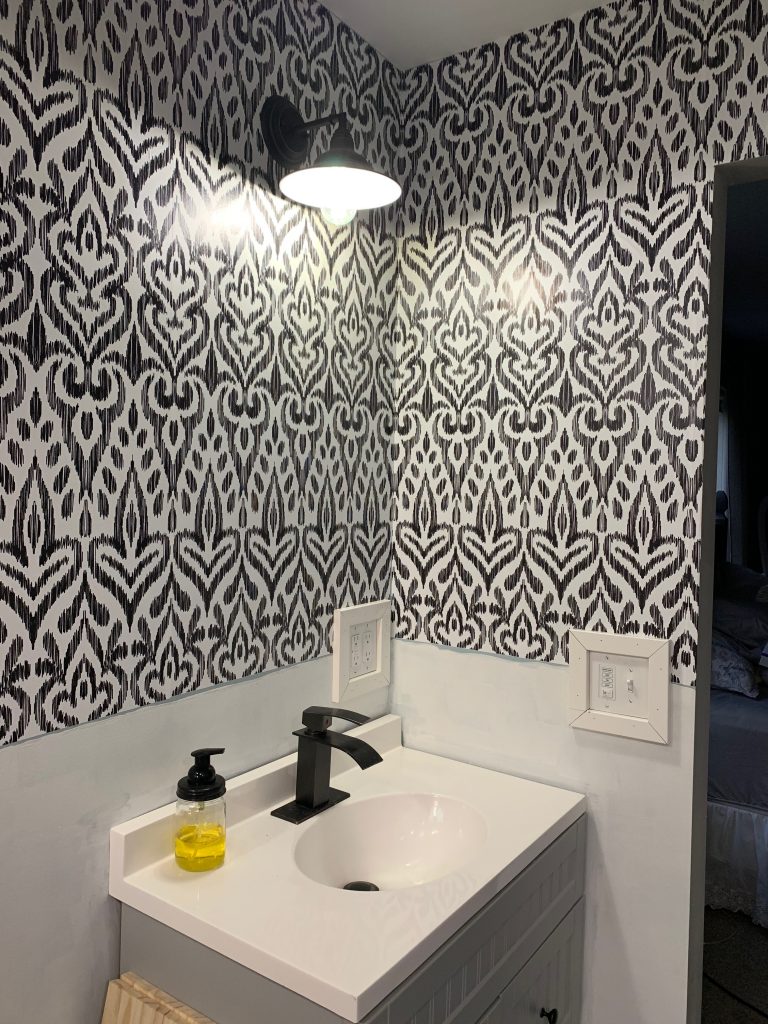
So – we had to get creative on how to handle the light switch and outlets. They were placed a little high in the build. Because we specifically only had the 52″ panels of wallpaper, and didn’t have a choice on where the top trim could go, we had to figure out how to go around the switch and outlets. Butting the trim right up to the cover would have looked terrible in my opinion. So although it was more work trimming them out solved the issue and looks fantastic! I did two coats of the white paint BEFORE putting the trim up that way I wouldn’t have to worry about any blue showing.
Step 3 – Top Trim
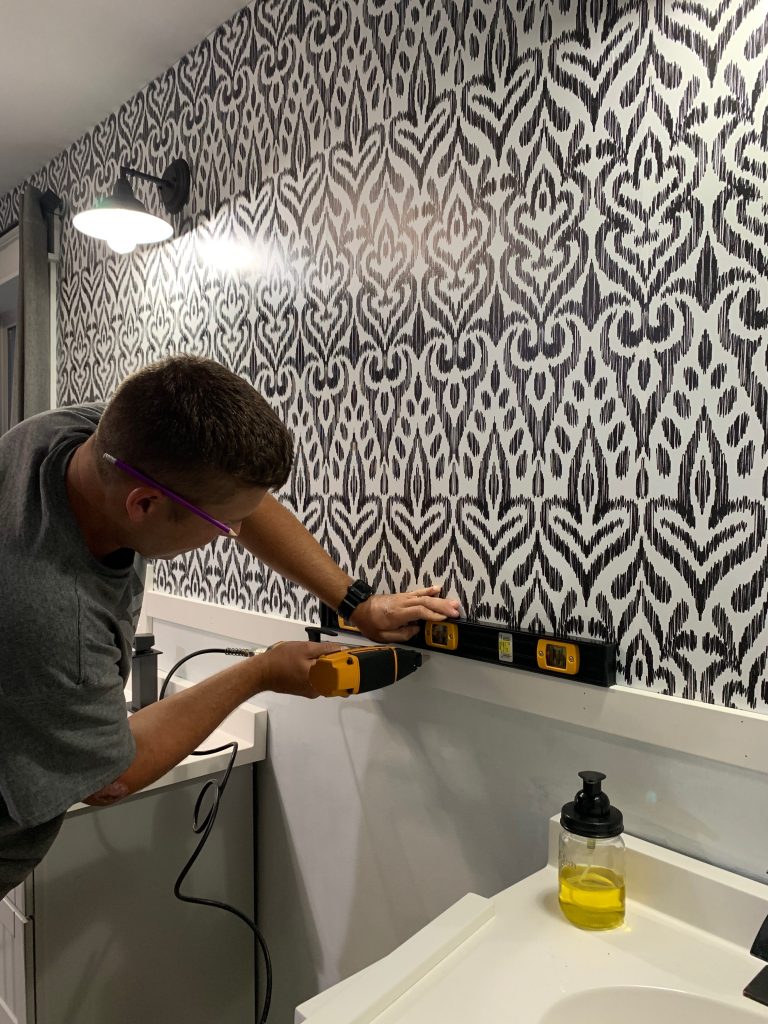
Now that the outlets were trimmed and the walls were dry, it was time to put up the top trim. We decided to put this trim up first instead of the battens that way if something was uneven for any reason we could just cut the batten shorter rather than having wavy top trim. Using a level, place your trim on the wall and nail it in with your brad nailer.
Step 4 – Add Battens
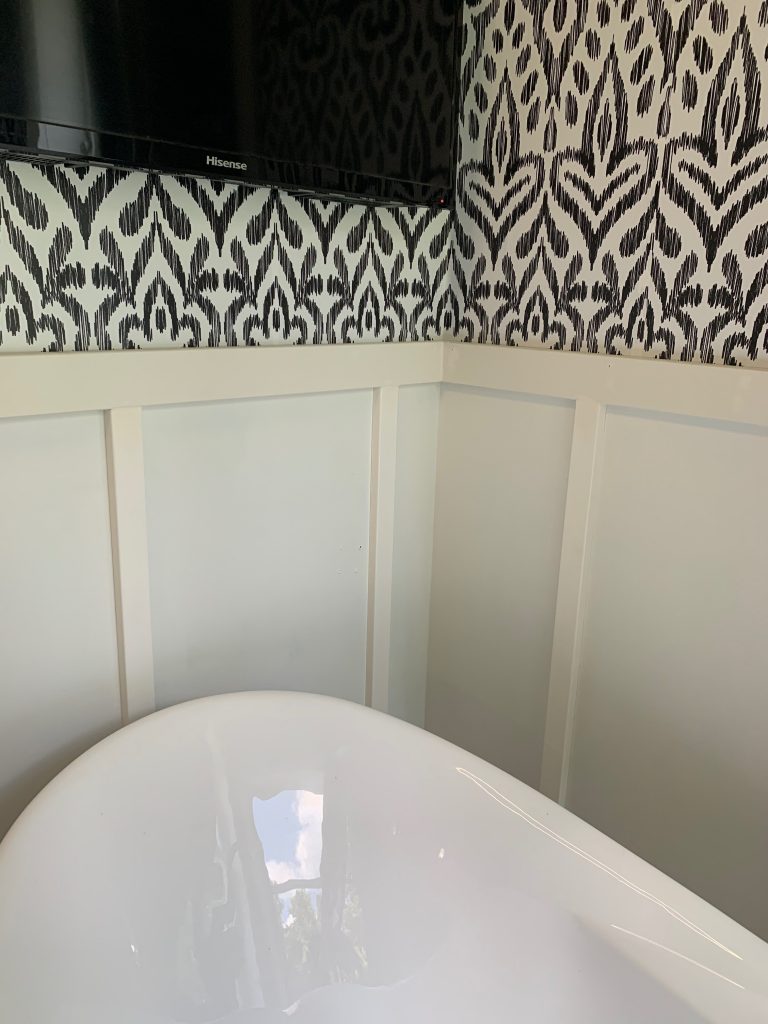
I highly suggest measuring each batten individually instead of cutting them all at once. You never know when you could be off by a 1/2″ and if its too short you will have way more work in trying to fill it!
Step 5 – Fill Joints & Nail Holes
Once all of your battens are up, use putty or filler to fill in all of the joints and nail holes. For the project I used drywall putty because that is what I already had and I like that it dries white. The one I used also goes on purple and turns white when its dry so it makes it easier for us impatient people to know when its okay to begin sanding!
Step 6 – Sand & Paint
Once all of your putty is dry, sand everything down and put on your top coat of paint! I prefer using a foam roller so that I can use the one side to really push the paint into the space between the trim and the wall making it more seamless. You could also use caulk for this but I am terrible at caulking. So paint shoving it is.
Step 7 – ENJOY!
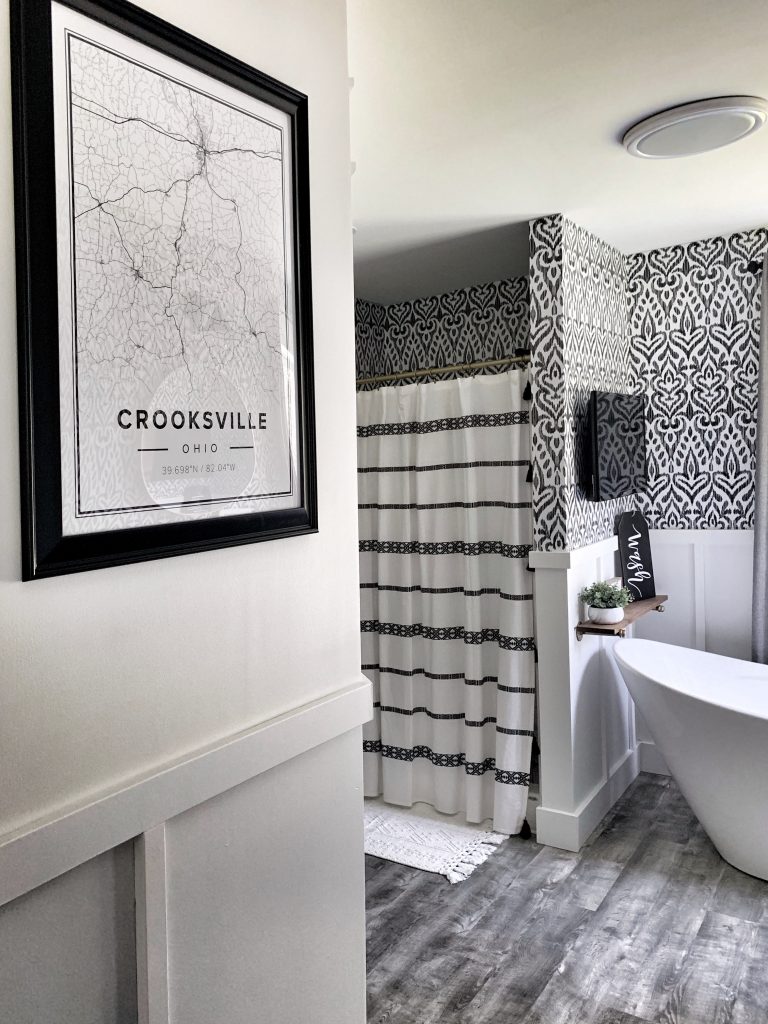
I am obsessed with how this turned out. We decided to add it around the closet as well, so we are a little short. But as solid 95%’s it will probably stay that way for awhile! We also need to add some trim around the top where the wallpaper wasn’t cut perfectly and you can see the previous blue paint. Again, who knows when Ill get around to that! The next step of our master bathroom makeover were our vanities! I cant wait to share what we did with those!
[…] add my battens to my DIY Board and Batten. If you haven’t seen it, I have a tutorial for that HERE. Once all the trim was up I went in with my gorgeous BEHR INCOGNITO paint to finish it up. I am […]
Ok, this is a DIY I’ve been wanting to tackle for awhile! And now I’m super motivated! It looks so good!
oh awesome!! So easy! Im sure you will love it!