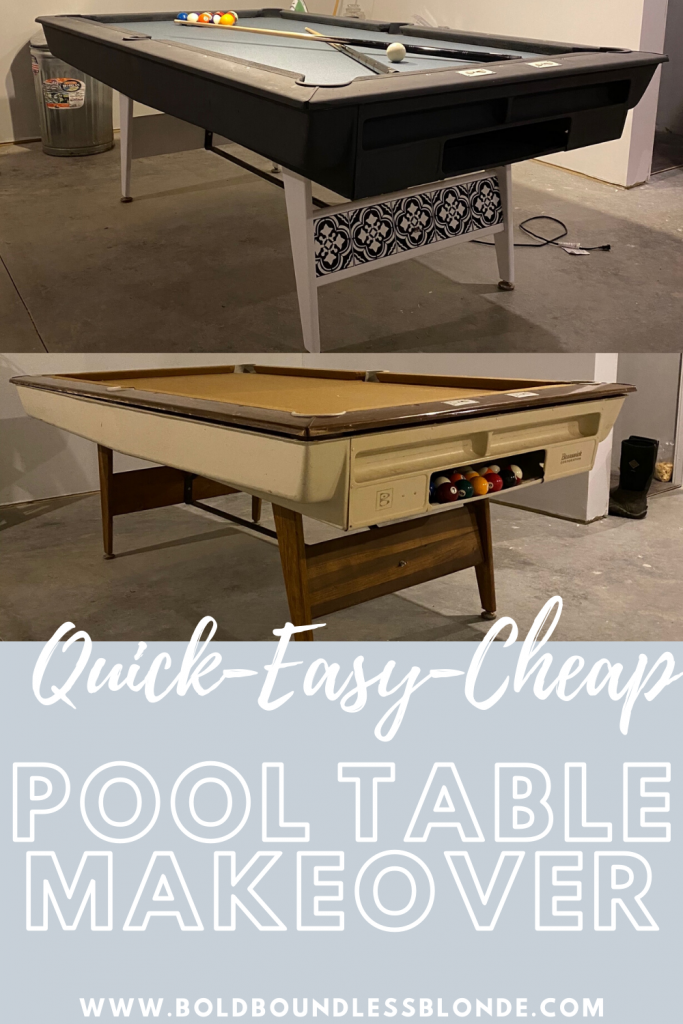
TAKE YOUR OLD POOL TABLE FROM DRAB TO FAB!
This post contains affiliate links where a small commission is received for the sale of products linked at no additional cost to you. I only partner or promote brands and products that I believe in or have tried myself.
I have been wanting to give this pool table some love for awhile! Now that we have been spending countless hours in the basement working on finishing it, I feel like it just stares at me begging for love. We got this pool table for free from a family member, so really we didn’t have much to lose. I had never re-feleted a pool table before, but I was sure I could handle it.
POOL TABLE MAKEOVER – SUPPLIES
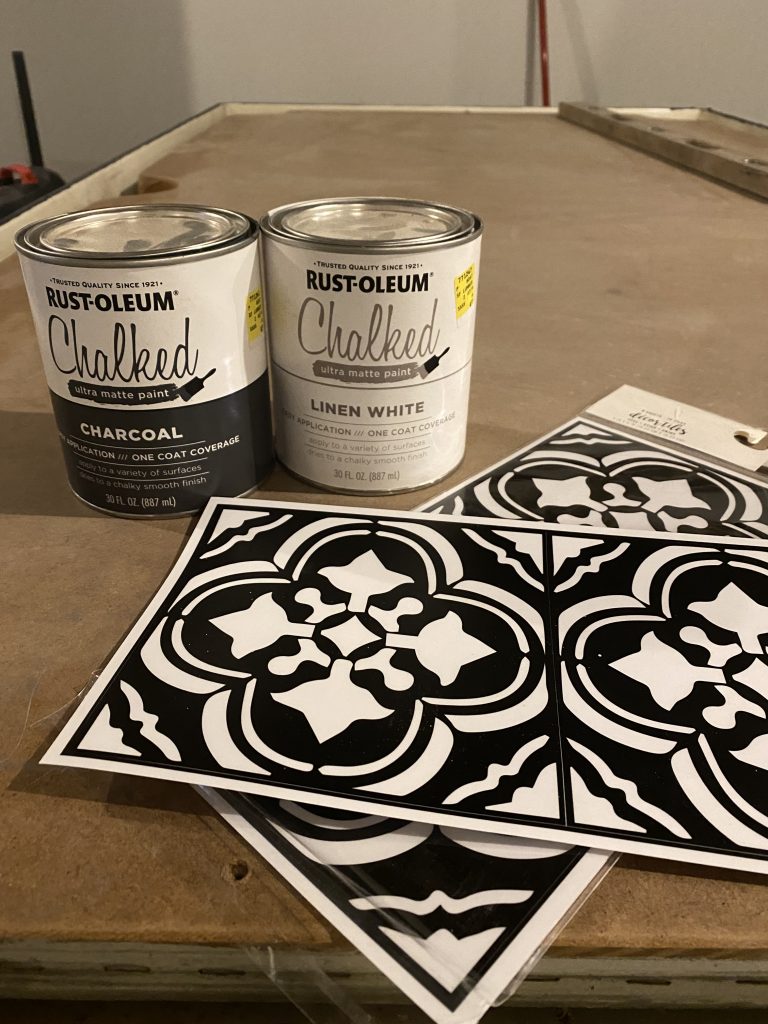
- Gray Chalk Paint
- White Chalk Paint
- New Felt – (Not Pictured – Comes in different colors)
- Stickers – Optional – These are from Target Dollar Spot.
THE PROCESS
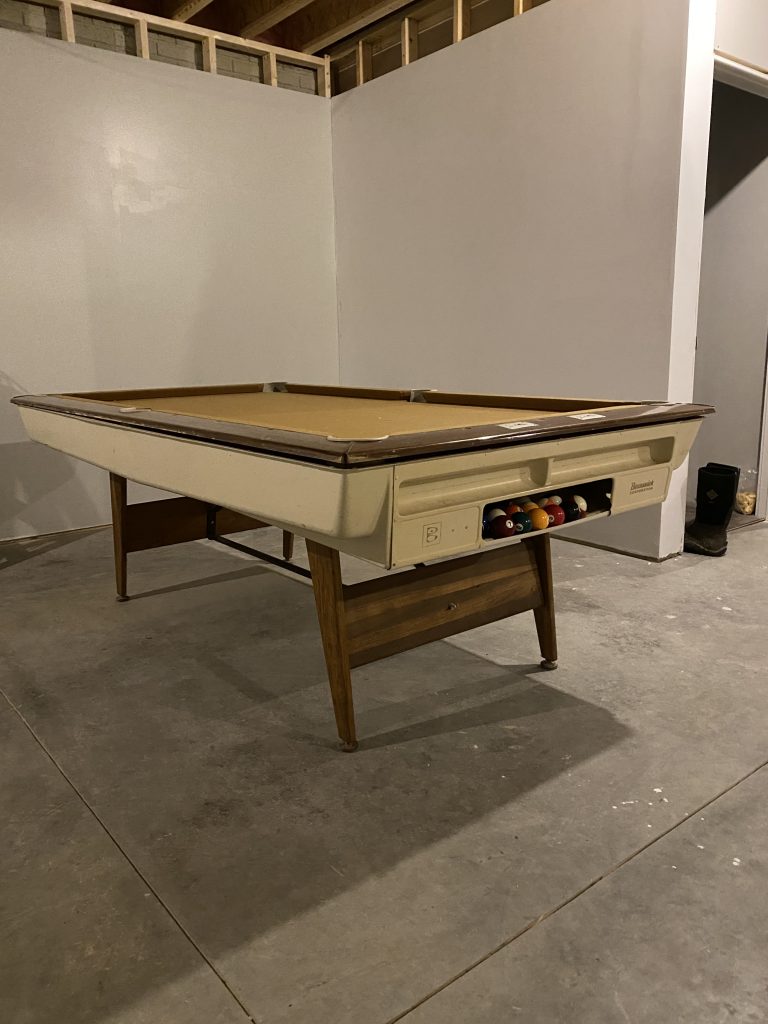
Here she is in all of her old outdated glory. She wasn’t pretty, but she was functional. And as much as I would love one of those solid wood slate pool tables, $8-10k is not quite in our budget for a pool table so makeover it was!
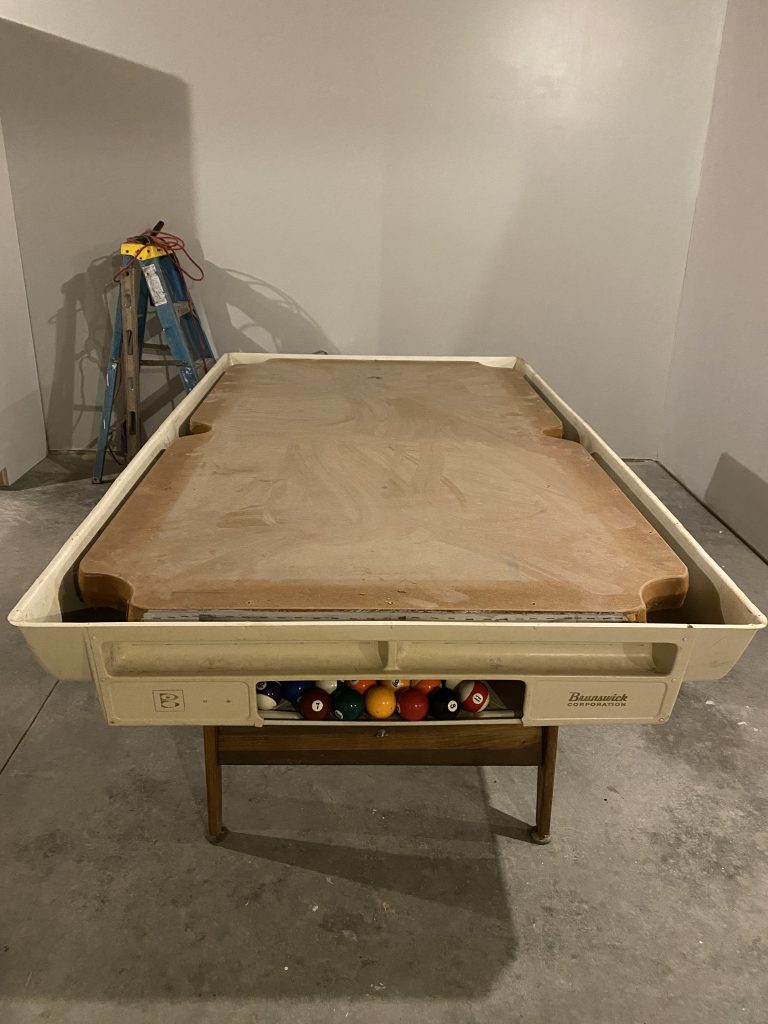
The first thing we did was remove the top (held in by screws) and rip off the old felt. It was held in by staples but if came off easily.
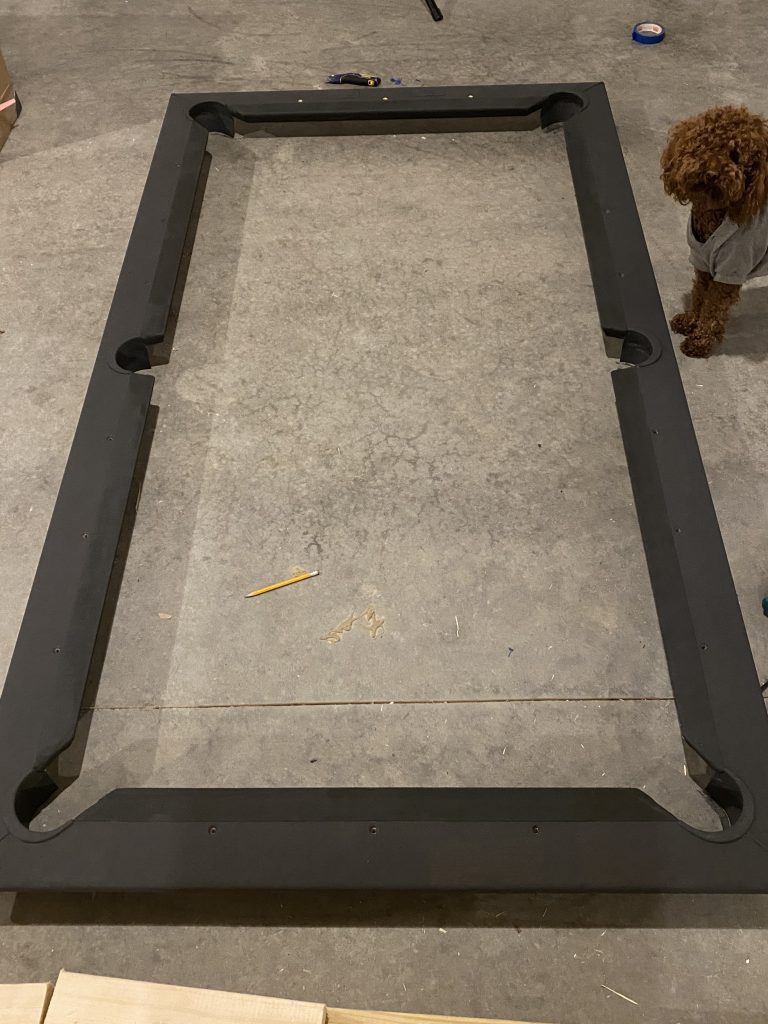
Once the top was removed I painted it with 3 coats of the chalk paint. I painted the entire thing, including the felt that was on the top because it was not removable. (Check out my cute side kick)
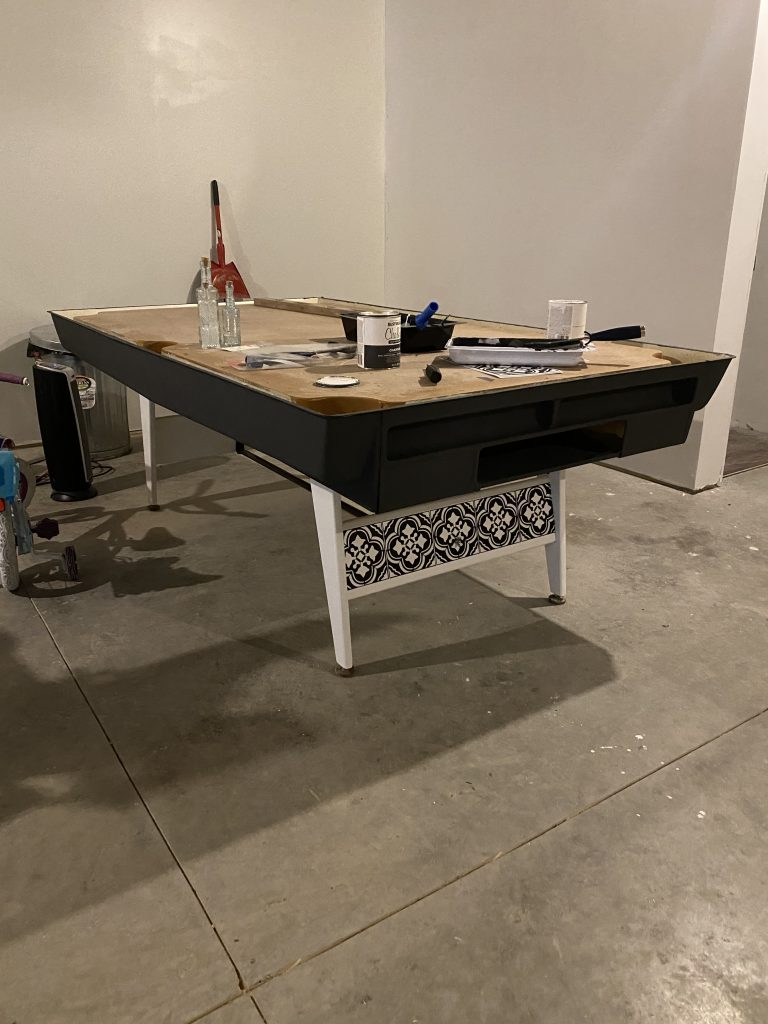
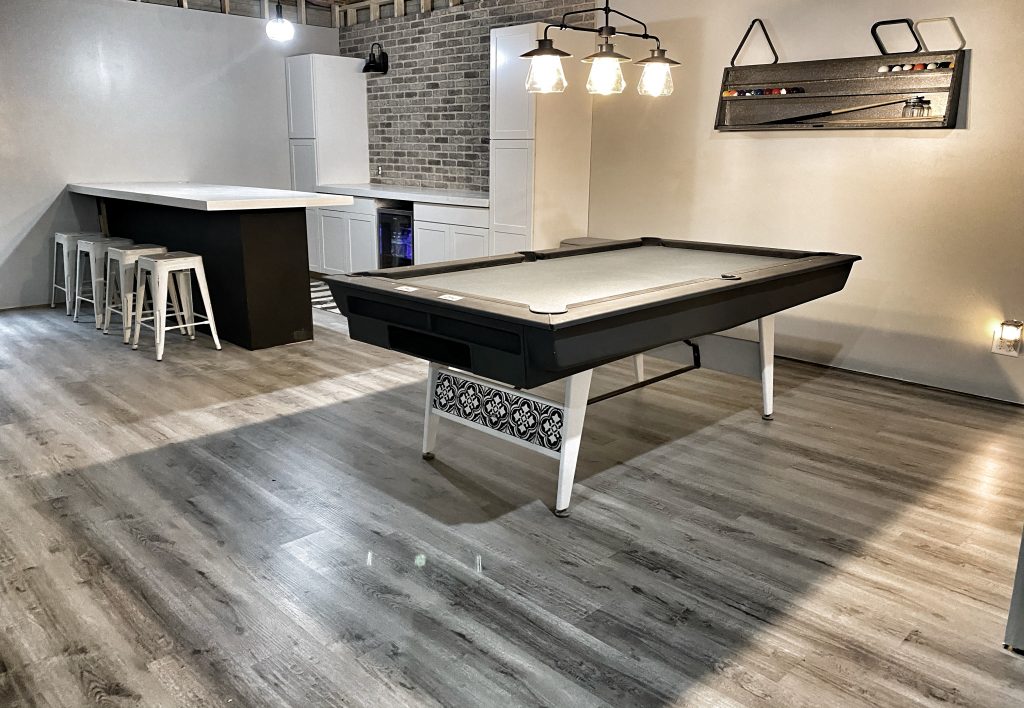
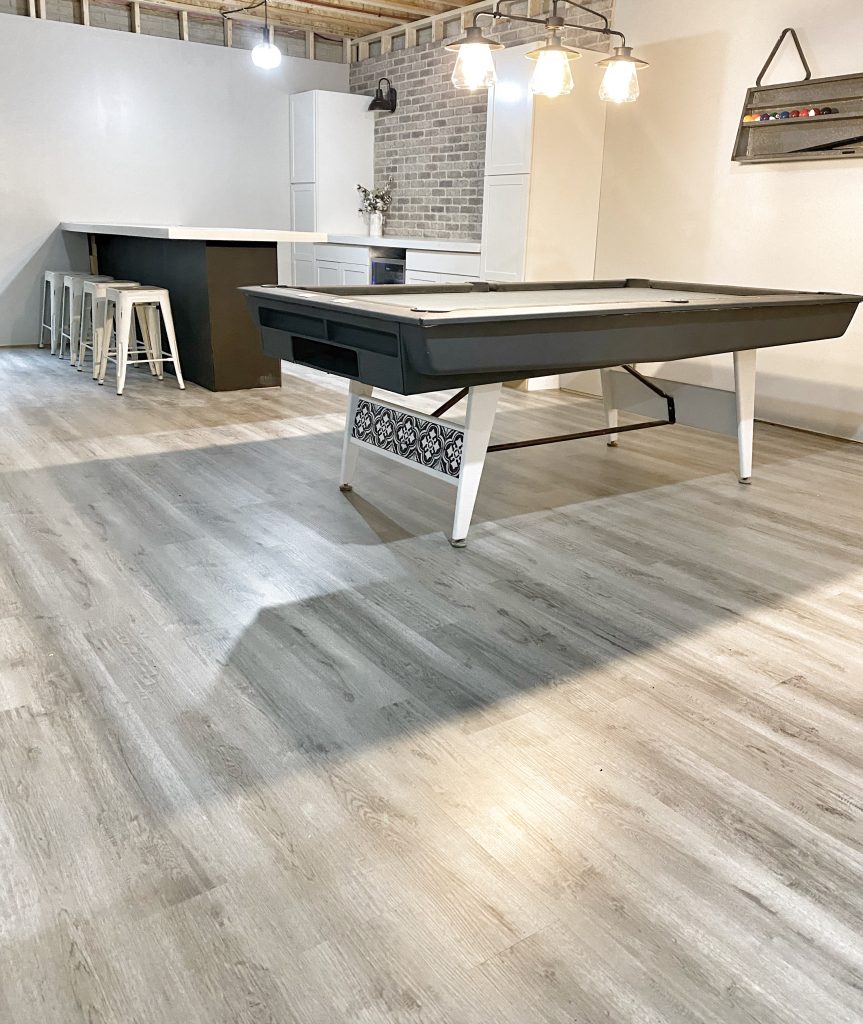
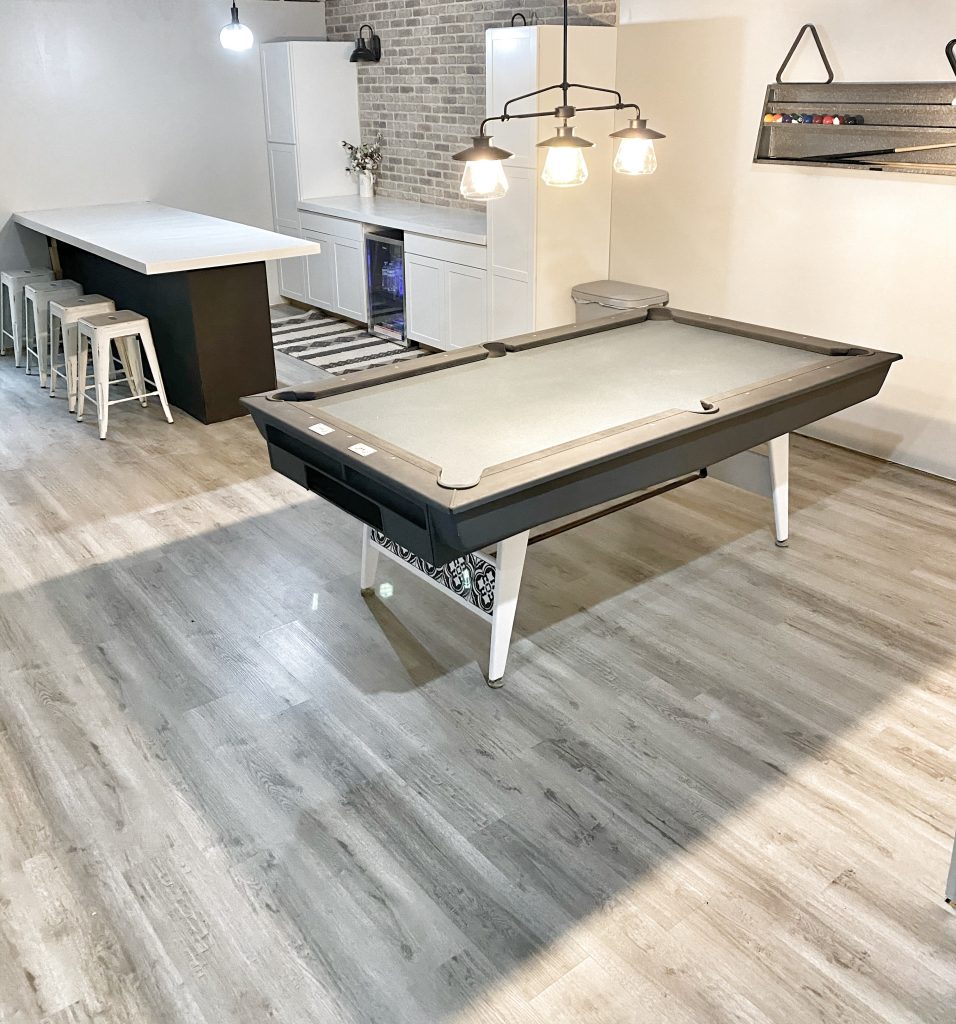
For a little flair I decided to use white on the legs and the charcoal on the top. I had a couple packs of the infamous $3.00 target stickers laying around so I used them to jazz up the bottom. If I did not have the stickers I probably would have stenciled it or something else to make it pop!
I was home alone when redoing the felt so I forgot to take pictures. Basically, starting from one end to the to the other I stretched the felt out flat and used my iron on low heat to make sure there were no wrinkles. I used a brad nailer to attach the felt working my way down the sides. For the pockets, I held the felt down as tight as I could and nailed it in. I then cut little slits in the felt to release some of the pressure. The pockets are not perfect, but it 100% looks better than it did so I am okay with that!
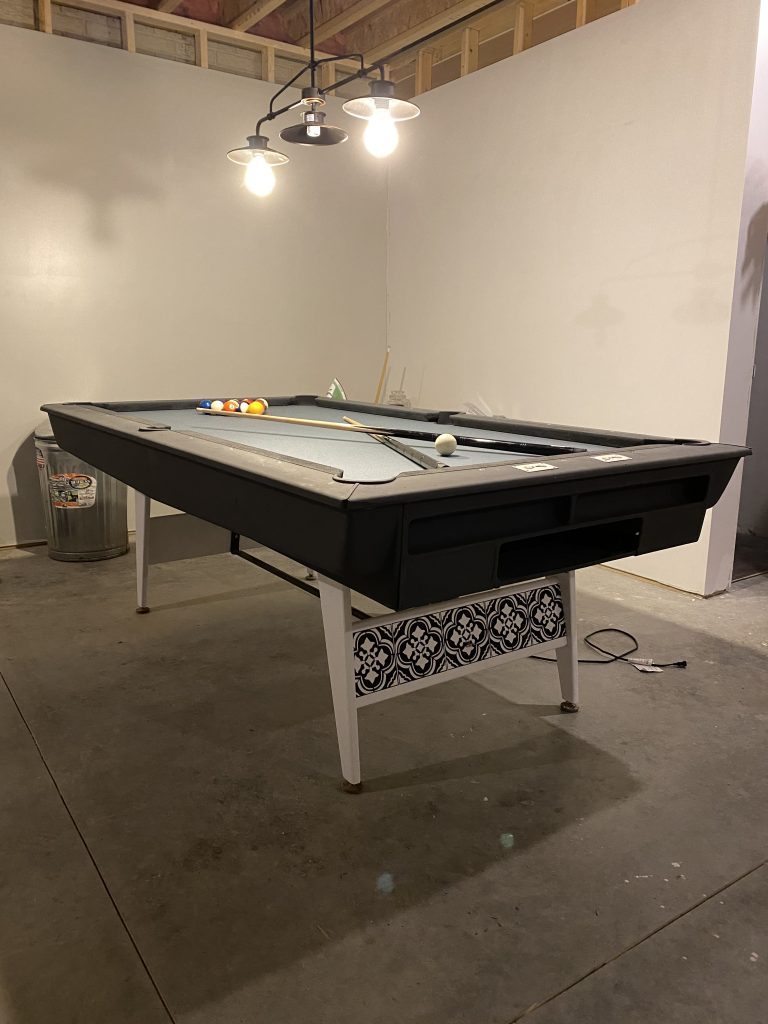
Pool Table Makeover – Was it worth it?
That’s it! This whole process took two days, which mostly consisted of waiting on the coats of paint to dry. It was extremely affordable and completely transformed the table! I am so happy with the results and can’t believe I waited this long to tackle this project! I can’t wait to see the final product when the basement is finished! Is your pool table in need of a makeover? I hope this tutorial gives you the confidence to GO FOR IT!
FOR MORE IDEAS – CHECK OUT MY RESOURCES PAGE!
They all look amazing. Great job! Keep up the good work!
It looks really nice. i especially like the felt, simple but it gives that vintage vibe. Thanks for sharing!
Thank you so much!