
Home With Krissy contains paid advertising and affiliate links where a commission is received for the sale of products linked in a post. This blog abides by word of mouth marketing standards. I believe in honesty of relationship, opinion and integrity. The compensation received may influence the advertising content, topics or posts made in this blog. That content, advertising space or post will be clearly identified as paid or sponsored content. I partner with brands and products that I am passionate about and appreciate your support in making this blog successful.
This week some seriously exciting things started to happen!
Preparing The Floor
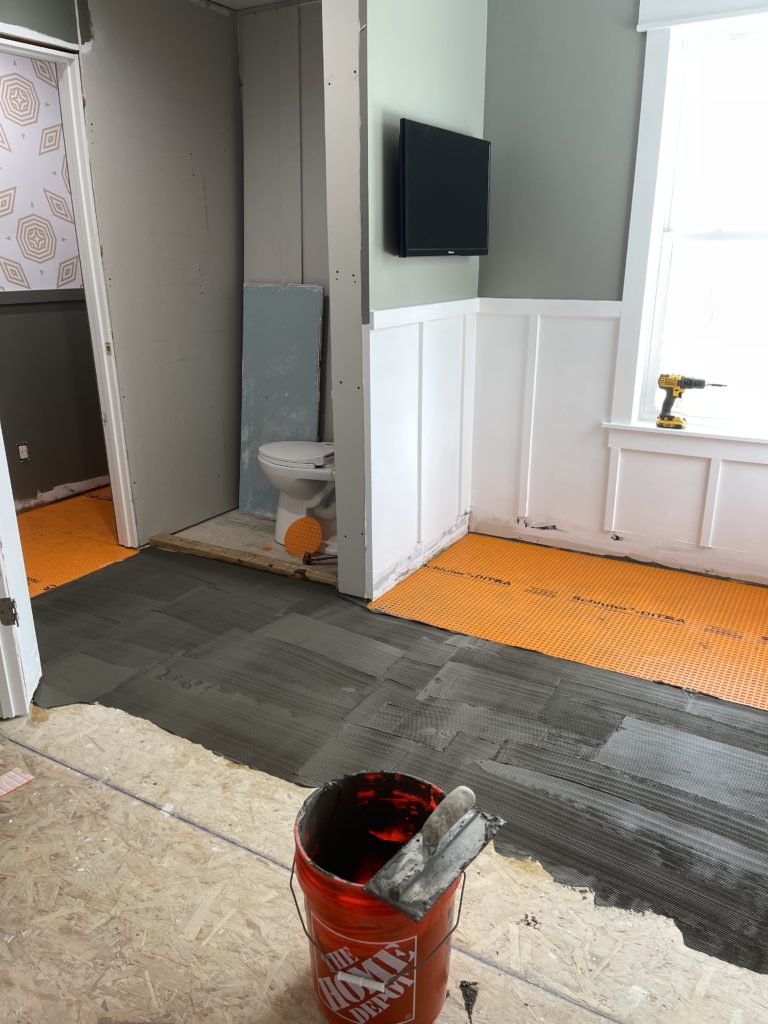
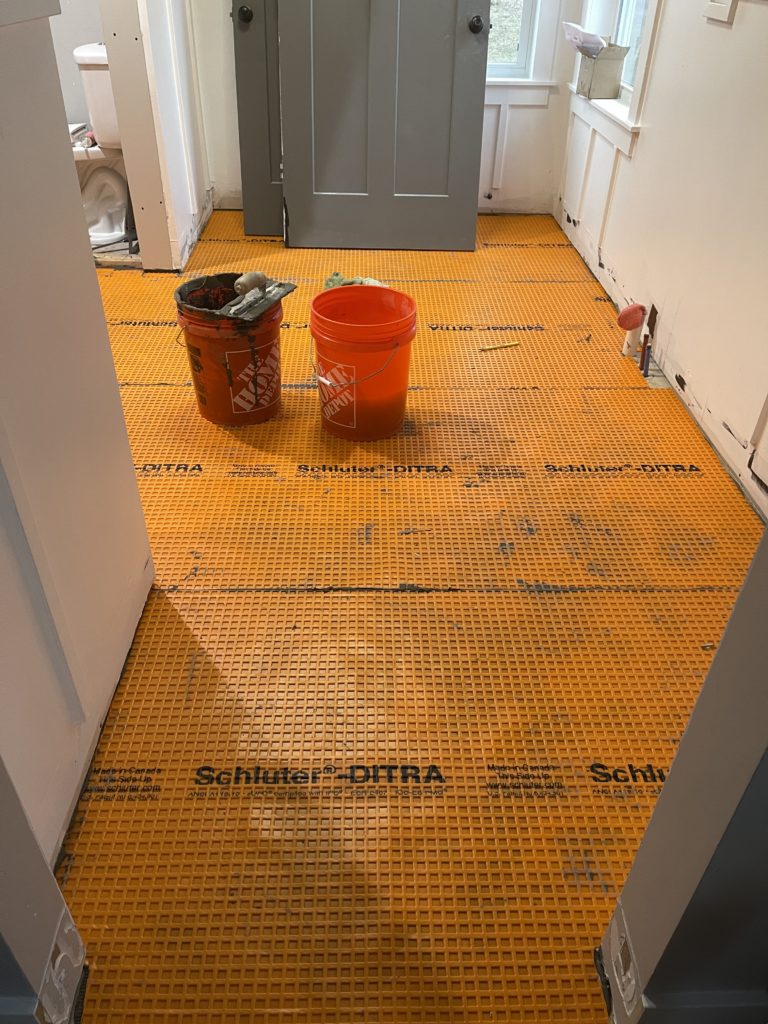
The first thing that we did was cover the entire floor with the DITRA. DITRA can be used in place of cement board when tiling floors. We choose to go with DITRA for its easy installation and higher durability. No tools are needed to cut the DITRA and it is super easy to maneuver. Simply cut the DITRA to fit the space using a utility knife and use unmodified mortar to attach to the floor.
Below you will see the different layers. We have plywood, a layer of unmodified mortar, and then the DITRA on top.
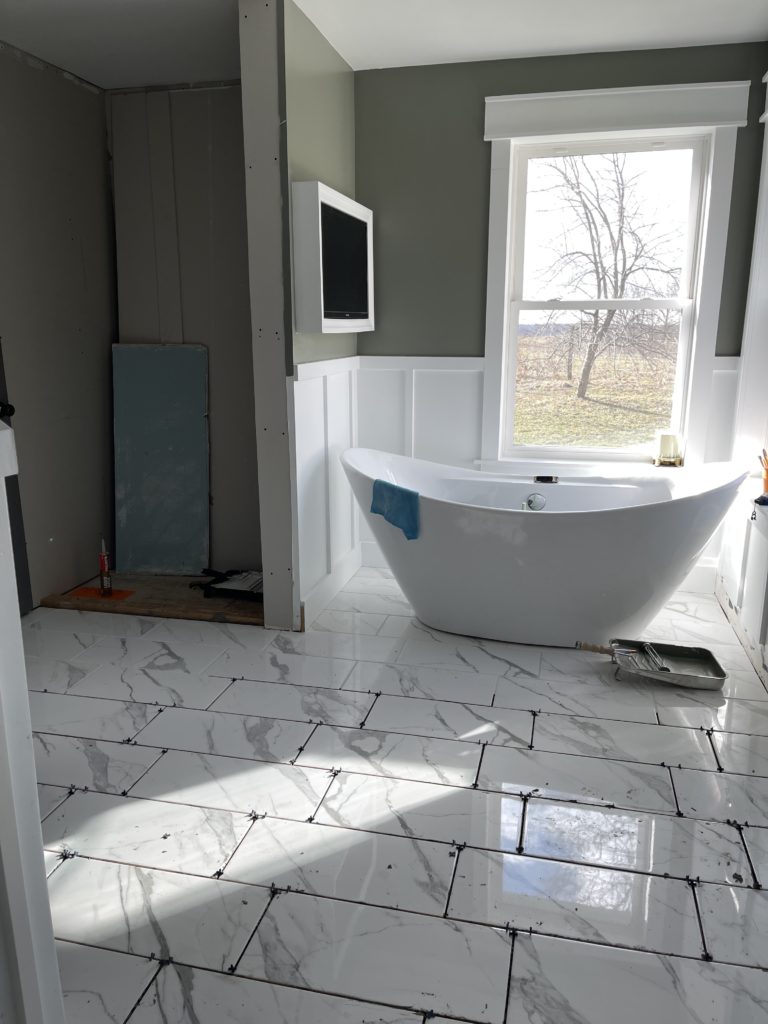
Framing the TV
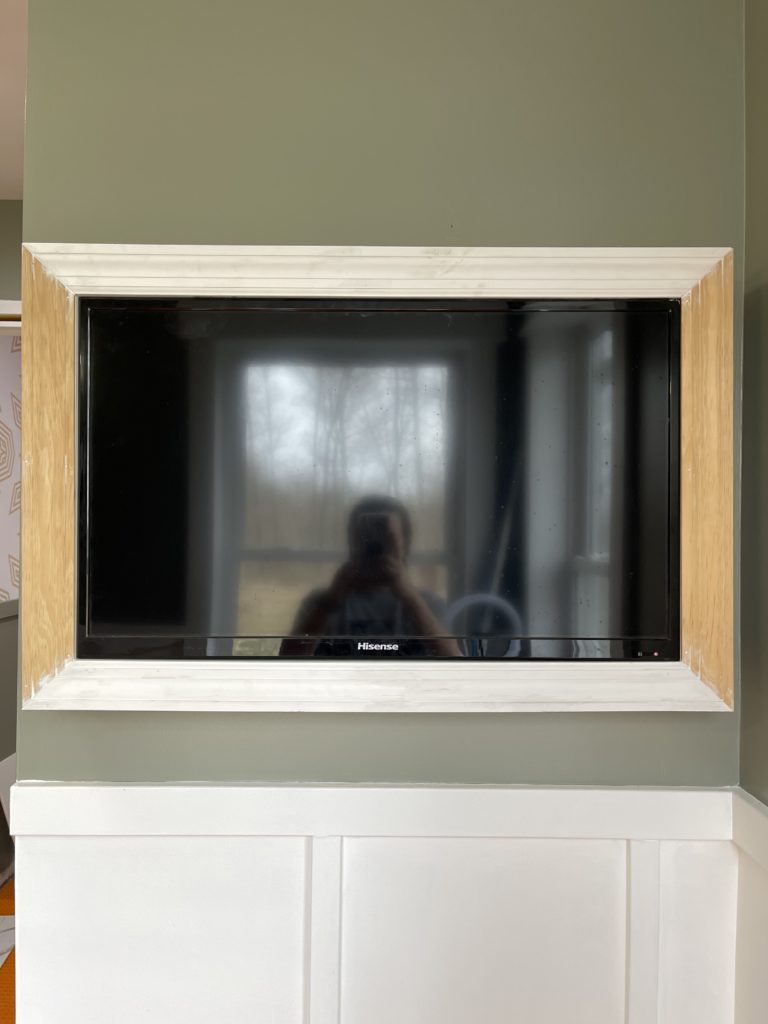
While we waited on the tile to arrive I decided to go ahead and frame in the TV. I have a blog post written on how I frame my TV’s HERE, as well as an IG Highlight HERE. I absolutely love how this super simple and very inexpensive project completely changes the space. All it needs now is a little paint.
We take Netflix & Chill very seriously in this house so having this little TV above my tub is a dream come true! I am seriously looking forward to relaxing in here when this is all finished!
Laying the Tile
We are using THIS gorgeous Winters Peak tile from Jeffrey Court.
It. Is. Stunning!
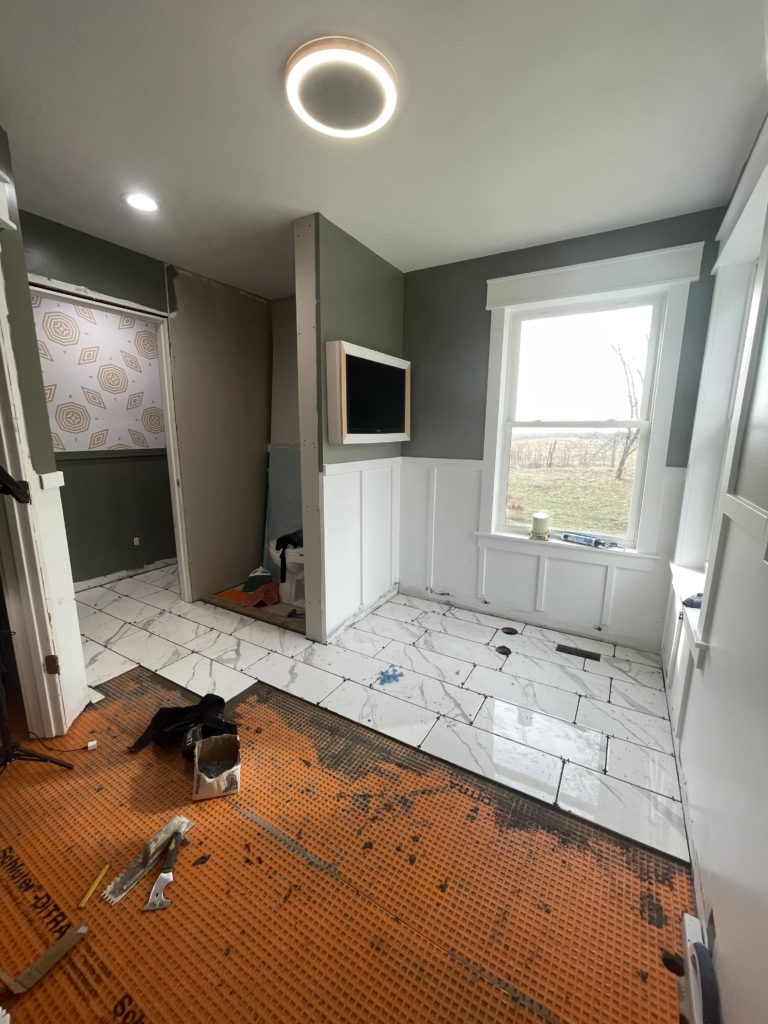
Working from one corner to the next, using the same unmodified mortar mentioned above, I started laying tile. We used a tile cutter and a wet saw to make all of the needed cuts. I absolutely love the large format of this tile. The design is beautiful and it went down so quickly. We are unable to move the freestanding tub out of the bathroom (the doorway is too narrow) so we had to do half of the floor, then move the tub back in place to finish.
Cleaning the Tile
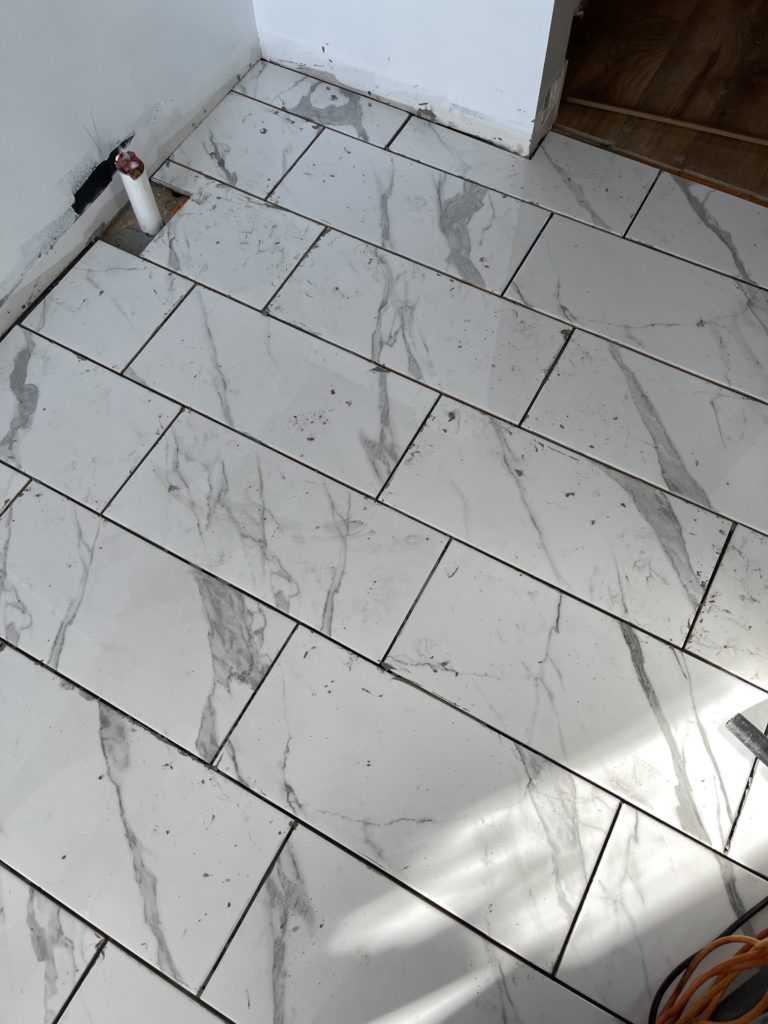
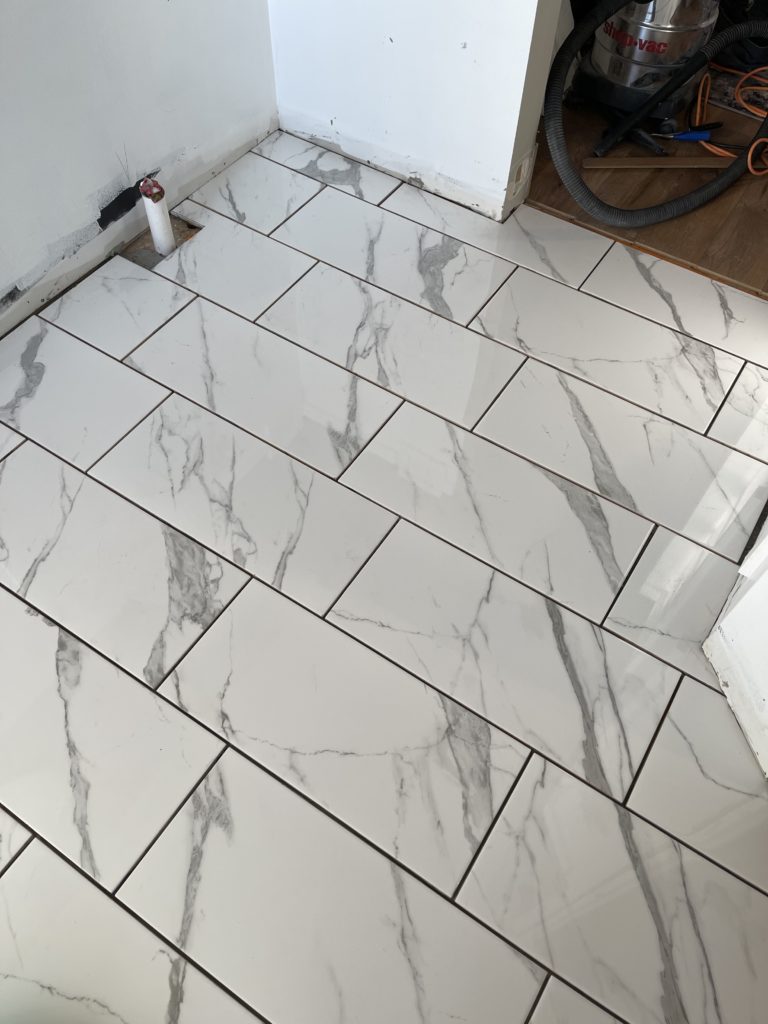
I cannot stress enough how important this step is! Especially when using white grout. THROUGHLY clean your tile and make sure all of your grout lines are clean before starting to grout. Take it from me, you will see EVERYTHING. The picture on the left is before and the right is after. No matter how hard you try not to get mortar on the tile while laying it it is nearly impossible.

That’s a wrap on Week 3! It is so amazing to start to see the whole space come back to life. I have so many little details up my sleeve over the next few weeks and I can’t wait to start implementing them!
What do you think so far?
Don’t forget, you can vote once a day (every 24 hours) for your favorite designer/renovation! Your votes mean EVERYTHING!
If you have missed any of the previous weeks you can view them here!
As always, I want to give a huge thanks to our wonderful sponsors for making this whole challenge possible!
– Jeffrey Court – Frog Tape – Sinkology–