Are you dreaming of an Outdoor Oasis? Barrette Outdoor Living has you covered!
Bold Boundless Blonde contains paid advertising and affiliate links where a commission is received for the sale of products linked in a post. This blog abides by word of mouth marketing standards. I believe in honesty of relationship, opinion and integrity. The compensation received may influence the advertising content, topics or posts made in this blog. That content, advertising space or post will be clearly identified as paid or sponsored content. I partner with brands and products that I am passionate about and appreciate your support in making this blog successful.
When we built our house in 2017, unfortunately adding a deck was not in the budget. We had dreamed of the day where we would have a gorgeous deck off of our french doors where we could relax and take in our stunning views. In the meantime, we laid some gravel and created a sitting area off of the back. It was cute, but it was definitely a short-term alternative.
As time passed, and we got some severe rain, we noticed that our french doors were leaking and causing water damage to our floors and trim. We had the doors replaced and before we knew it they were leaking again. We were advised that the doors needed to be covered in order to block the rain from entering them.
After getting quotes to cover the doors, we decided we would look into some DIY options. That is when we discovered Barrette Outdoor Living Composite Decking
The Befores
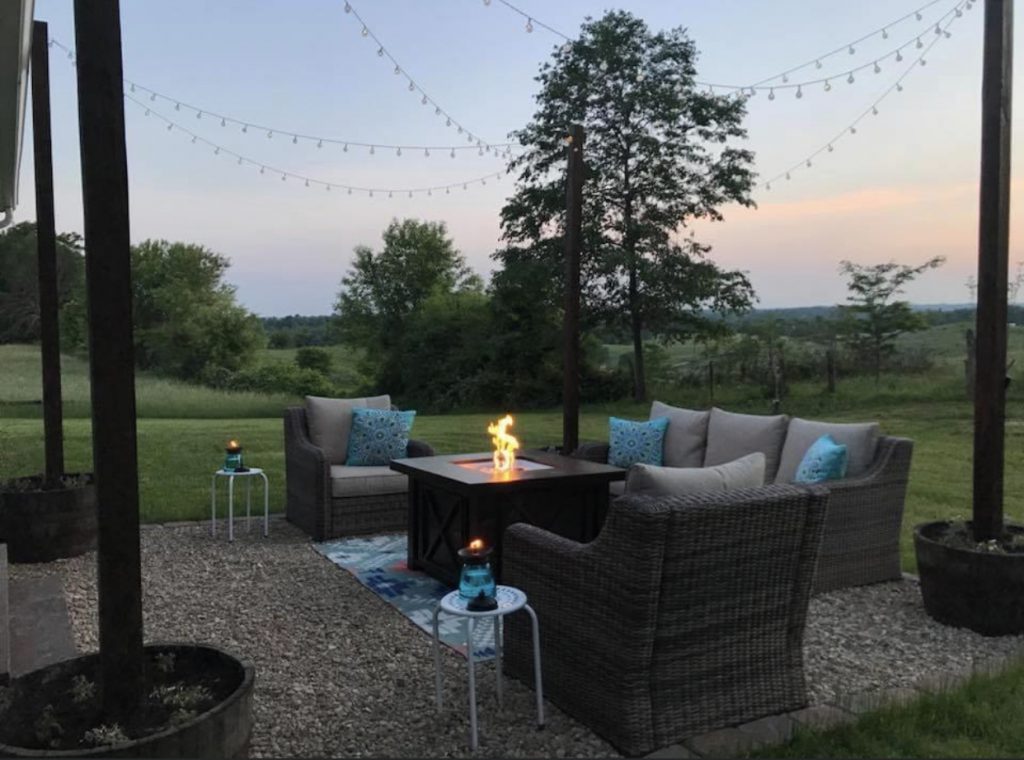
Above is the sitting area that we had originally settled for. Again, it was nice, but we knew that was not what we wanted long term. We knew from the beginning that we wanted to do a composite deck. They are beautiful, unique, and durable! As soon as I saw Barrette Outdoor Living’s HardwoodsTM Collection in Tropical Walnut I was hooked. The color is absolutely stunning, all while its variegated patterning creates a complex look. When I was looking at Barrette Outdoor Living’s various decking profile options, I came across their Step-Clip® fastening system which was PERFECT for our DIY plans! (more about this later) We knew we wouldn’t be able to DIY the entire deck and roof, however we are always up for a project and saving money on labor cost is a bonus!
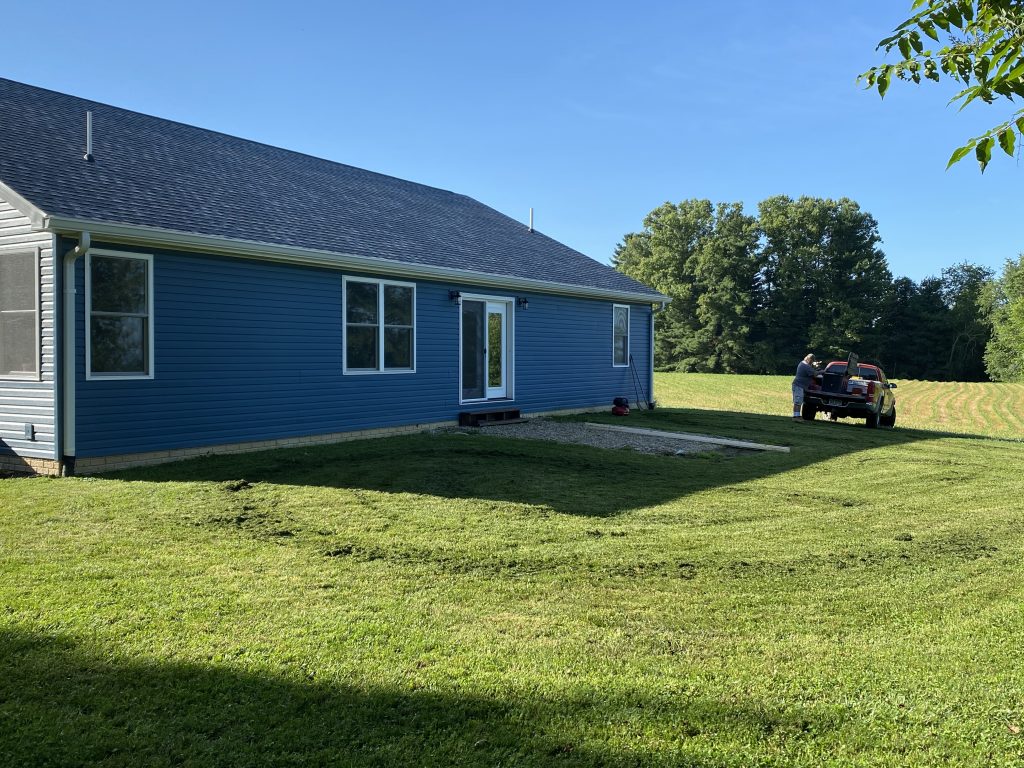
We started by removing all of the post barrels, furniture, and gravel. Once we had a clean slate, it was time to plan! We decided to go with a 16×24 deck, with a 10×14 roof in the center covering the doors.
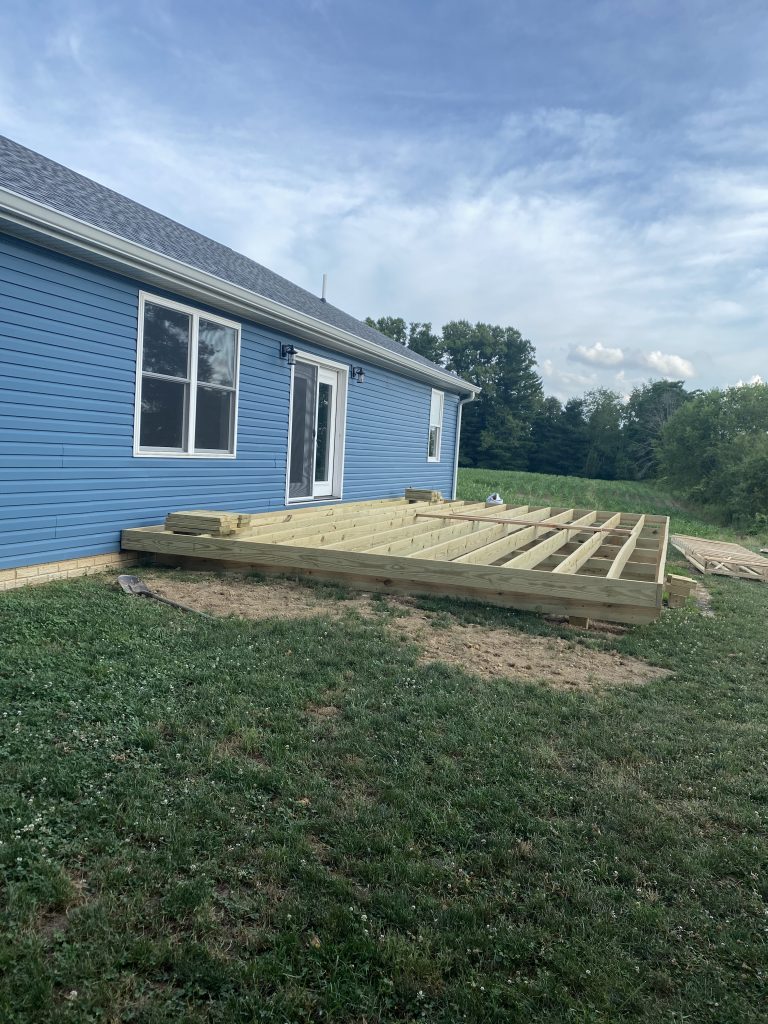
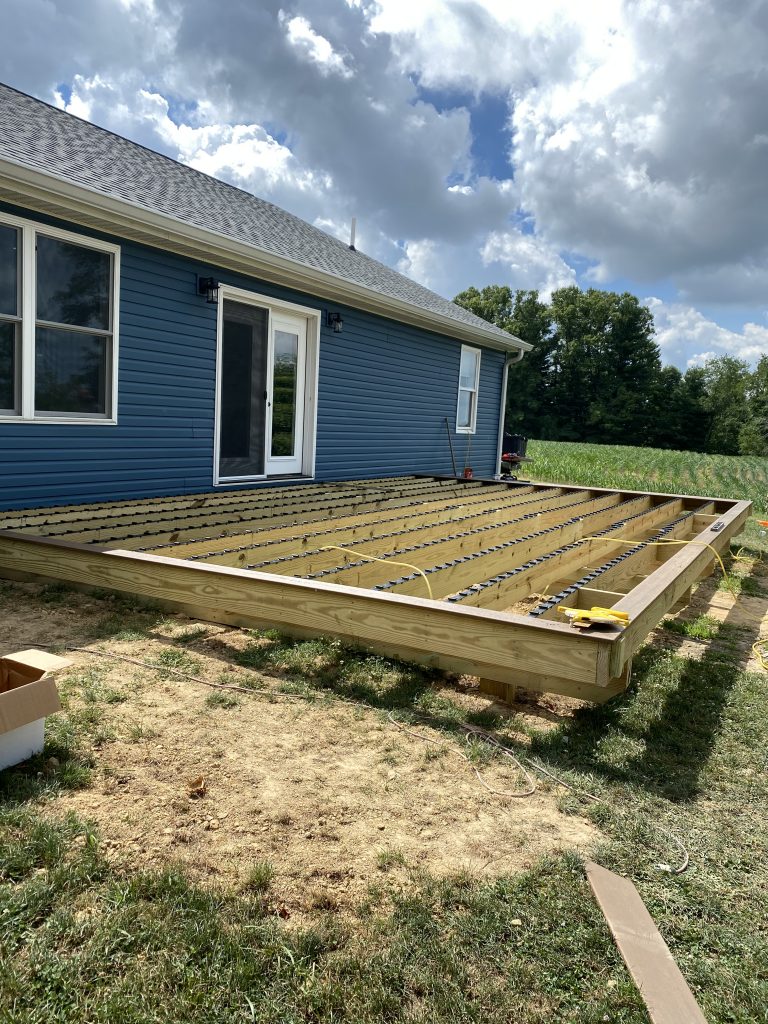
The next step was to “hire” my uncle to build us a sturdy deck foundation. We wanted to make sure our deck will be long lasting, so a solid foundation was a must. My husband was able to help through this process and it was so cool to watch our vision start to come to life! Once the foundation was complete, it was time for the fun part!
Installing the Step-Clip Fasteners
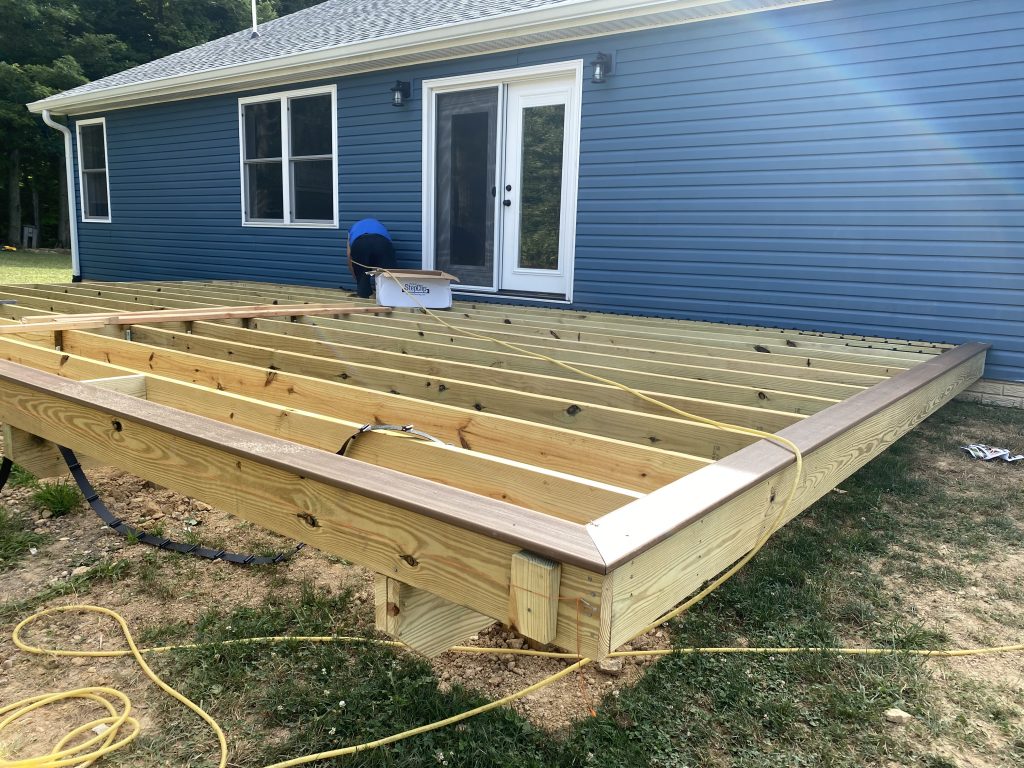
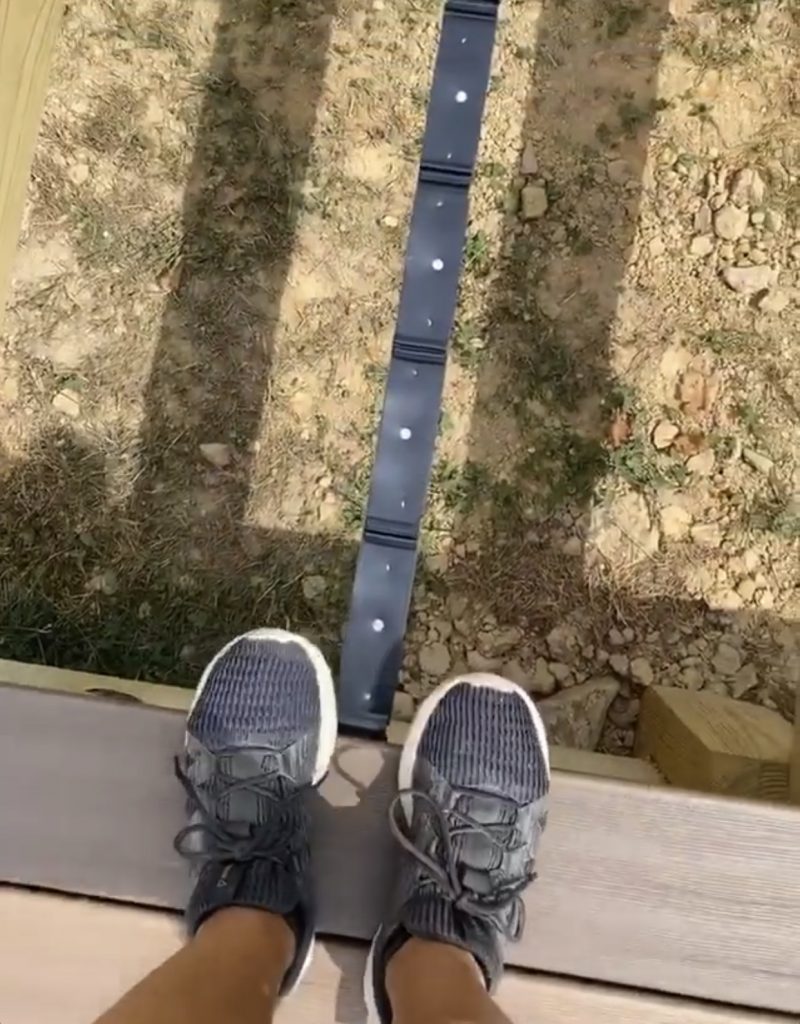
We began by “picture framing” the outside edges of the deck. This is more of a design preference than a necessity. Once the right and front sides of the picture frame was complete, we began installing Barrette Outdoor Living’s patented Step-Clip fastening system.
This part was extremely easy and went fairly quickly. My husband and I worked row by row, from back to front nailing the strips into the foundation. Step-Clip reduces deck installation time by 50%! Once all of the strips were installed, it was time for deck boards!
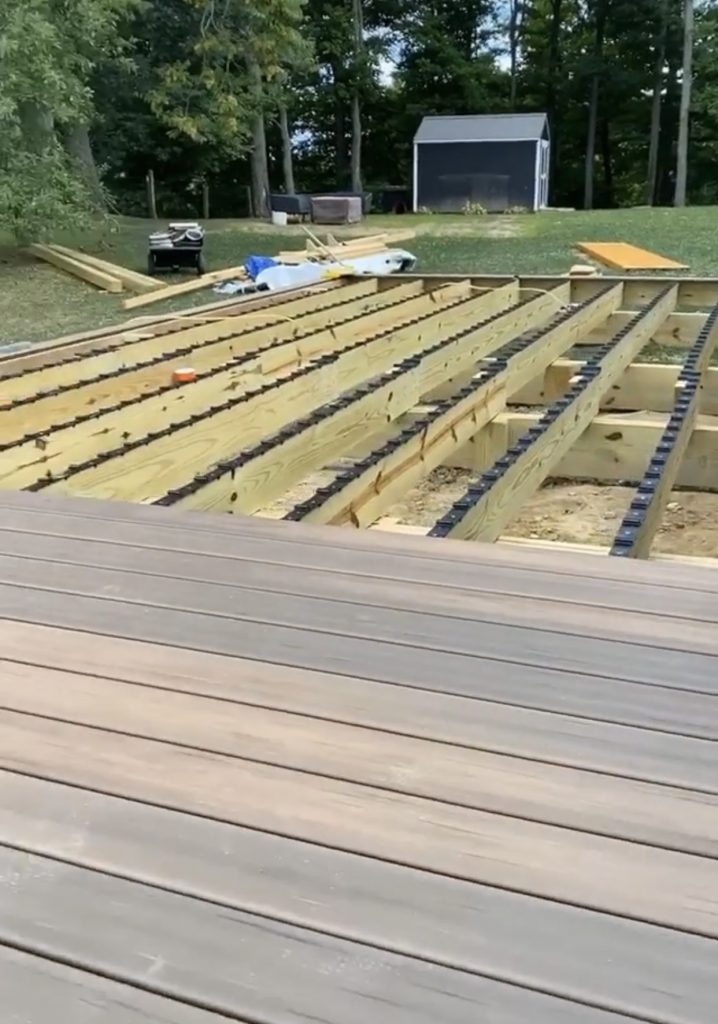
Installing the DuraLife Deck Boards
This was the best part! The Barrette Outdoor Living’s MVPTM Profile boards installed quickly and easily. When you use the Step-Clip fastening system, there are no holes or drilling. You simply line the deck boards up with the fastening strip, and apply pressure locking the deck board into place. It automatically creates the perfect space between the boards that is needed for drainage and ventilation.
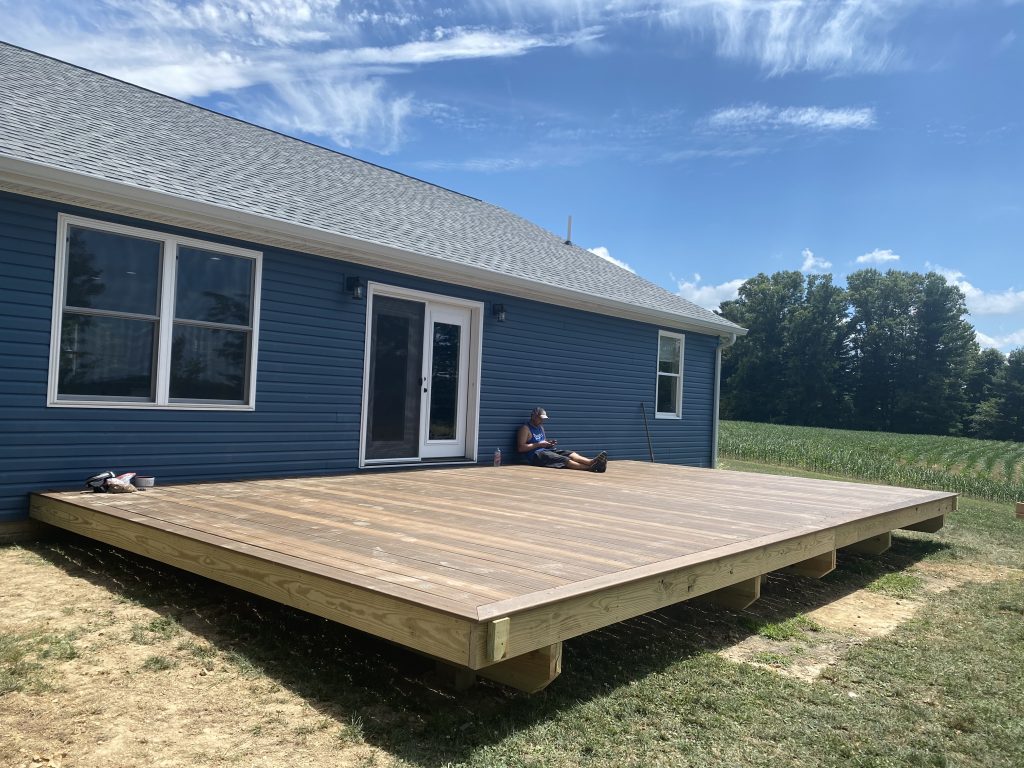
In less than two hours we had all of the deck boards installed and were able to complete the picture frame. I was already so in love with our new deck. The color was amazing and it was everything we had dreamed of.
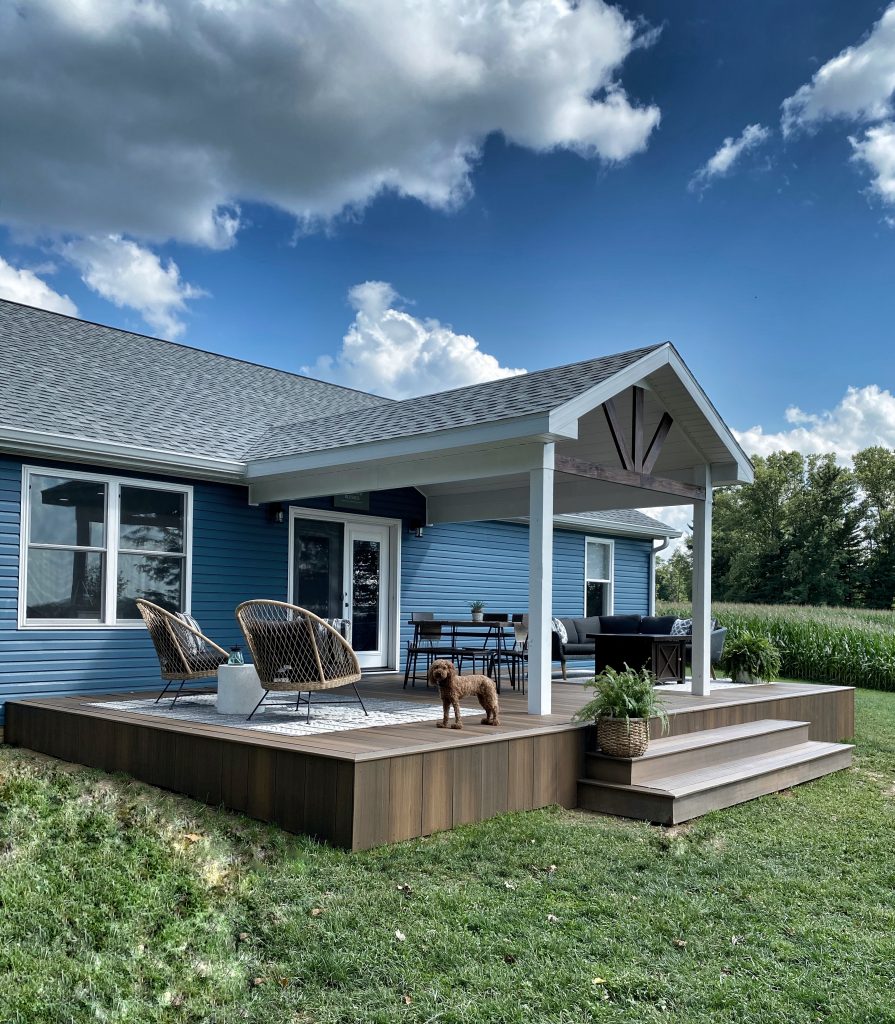
Over the course of the next few weeks, the roof was constructed, steps were added, and we began the framing along the bottom for the skirting. We did not want to use any railing , so I was going for more of a “ground level” look. Originally we planned on skirting the deck horizontally, but I ultimately chose vertically, for both ease of installation and look.
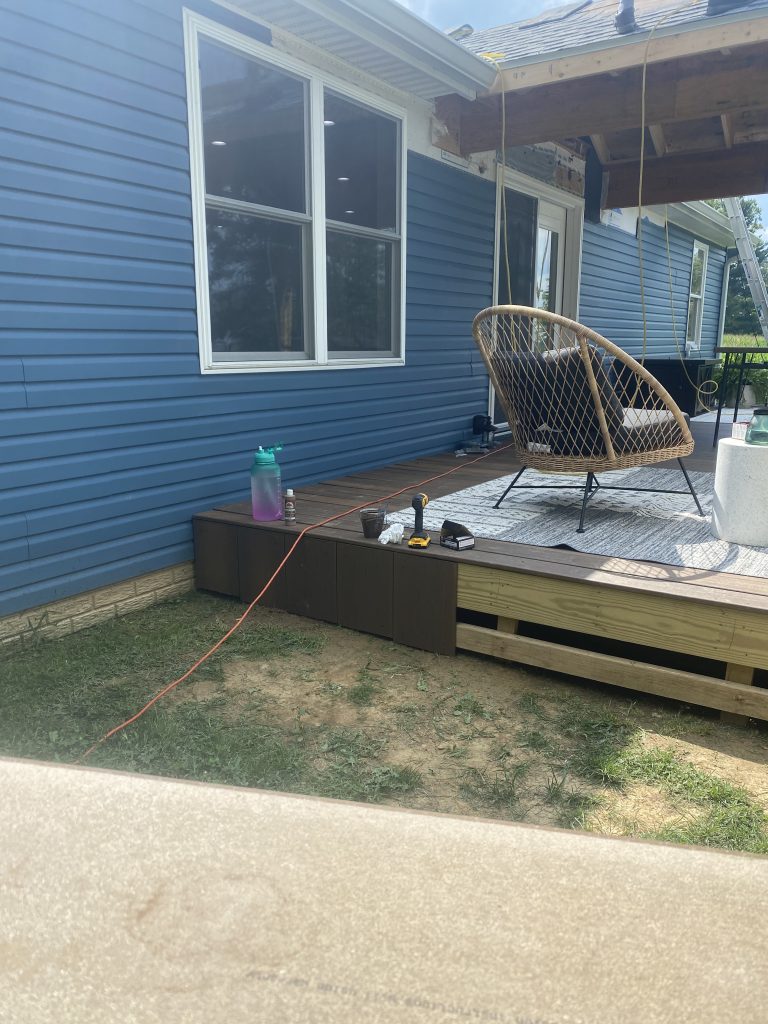
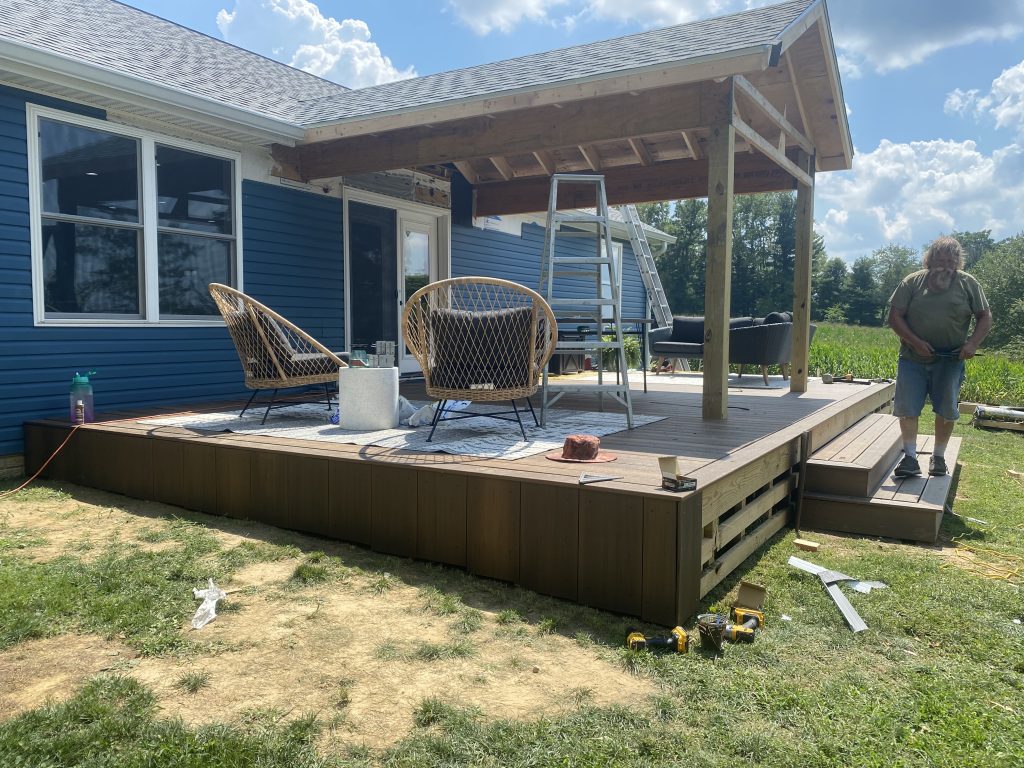
I measured each board and began screwing them in as I went. I was able to do this completely on my own while my husband was at work. He was thrilled to come home and see that it was done! It made such an impact! A few days later the roof was finished and I was able to add the finishing touches and make my vision come to life.
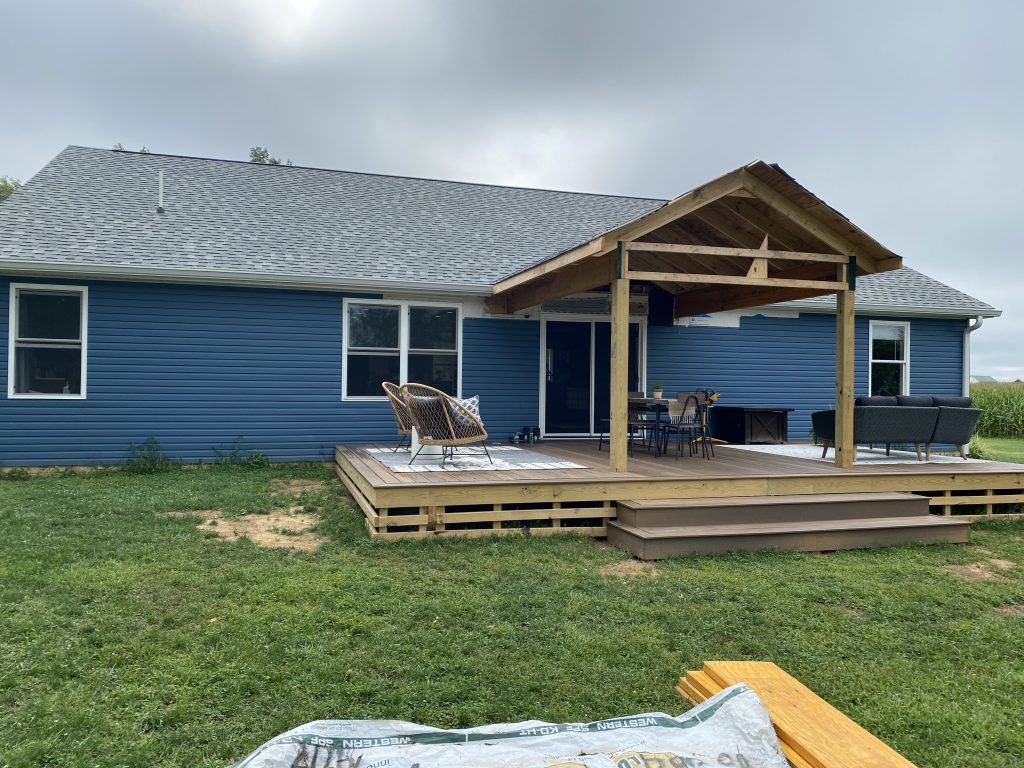
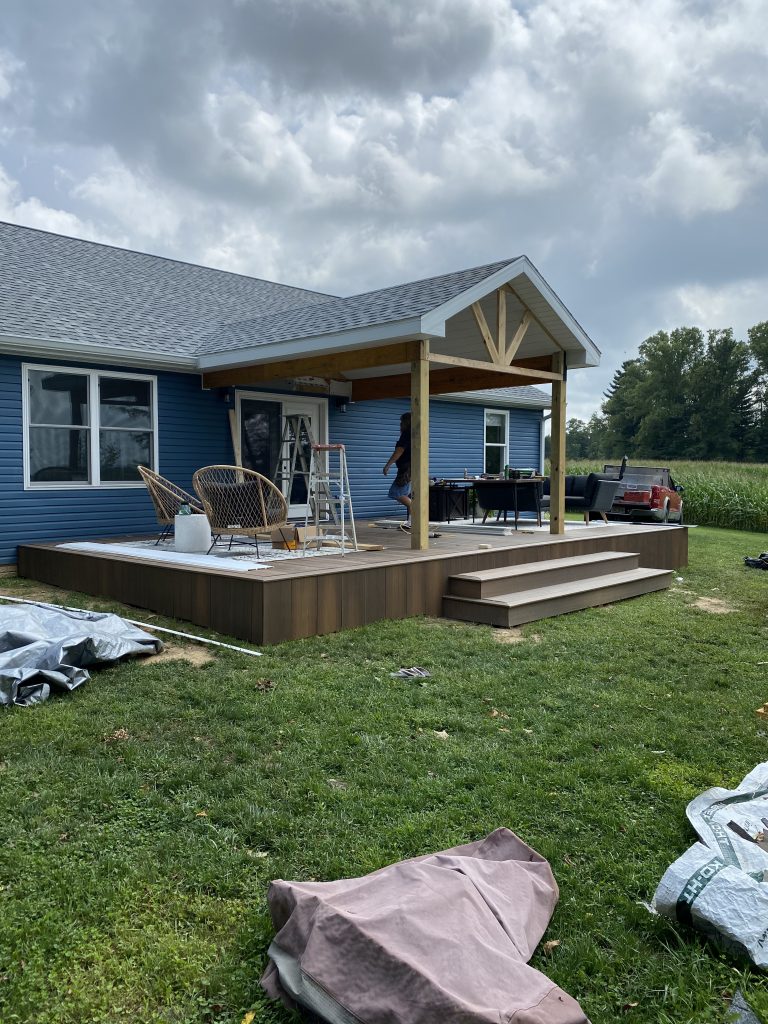
The Finished Product

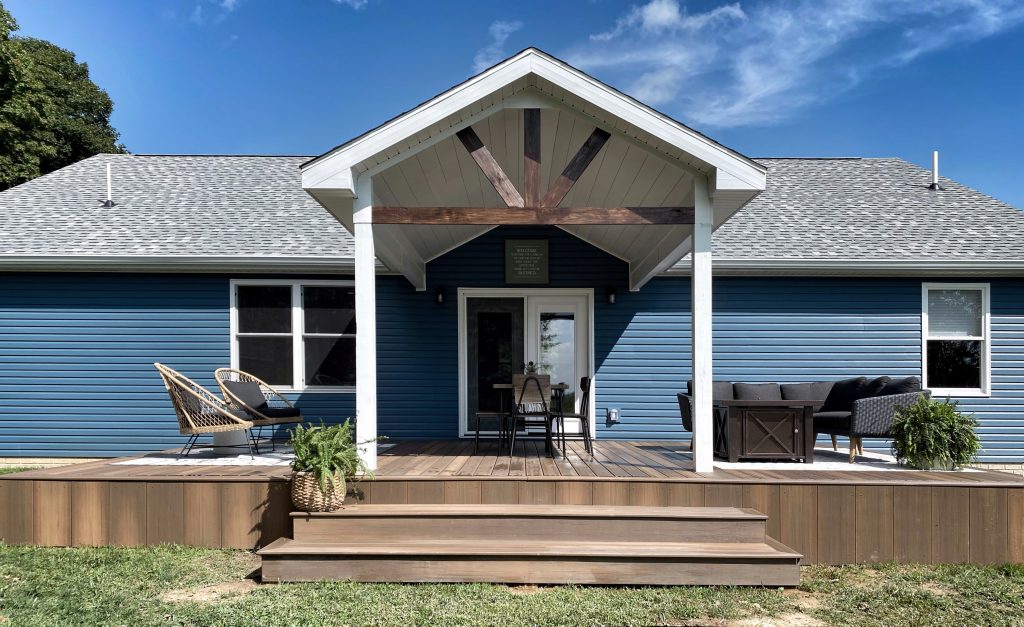
Isn’t it breathtaking!? It is everything we could have dreamed of and more! Barrette Outdoor Living’s Composite Decking & their Step-Clip fastening system made this process so easy and we cannot wait to make many memories on our perfect new deck! It is such a great feeling knowing that we were able to DIY a huge portion of this project! Are you ready to get started?
Click HERE to find a Barrette Outdoor Living Retailer near YOU
Before & After

Interested in reading about our building process? You can check that out HERE.
[…] leaked since day one. We had them replaced but they continued to leak. Over the summer we built this gorgeous deck, and had a roof put on to cover the door so we wouldn’t have this issue. This water damage […]