Home With Krissy contains paid advertising and affiliate links where a commission is received for the sale of products linked in a post. This blog abides by word of mouth marketing standards. I believe in honesty of relationship, opinion and integrity. The compensation received may influence the advertising content, topics or posts made in this blog. That content, advertising space or post will be clearly identified as paid or sponsored content. I partner with brands and products that I am passionate about and appreciate your support in making this blog successful.
Vinyl Install Materials List
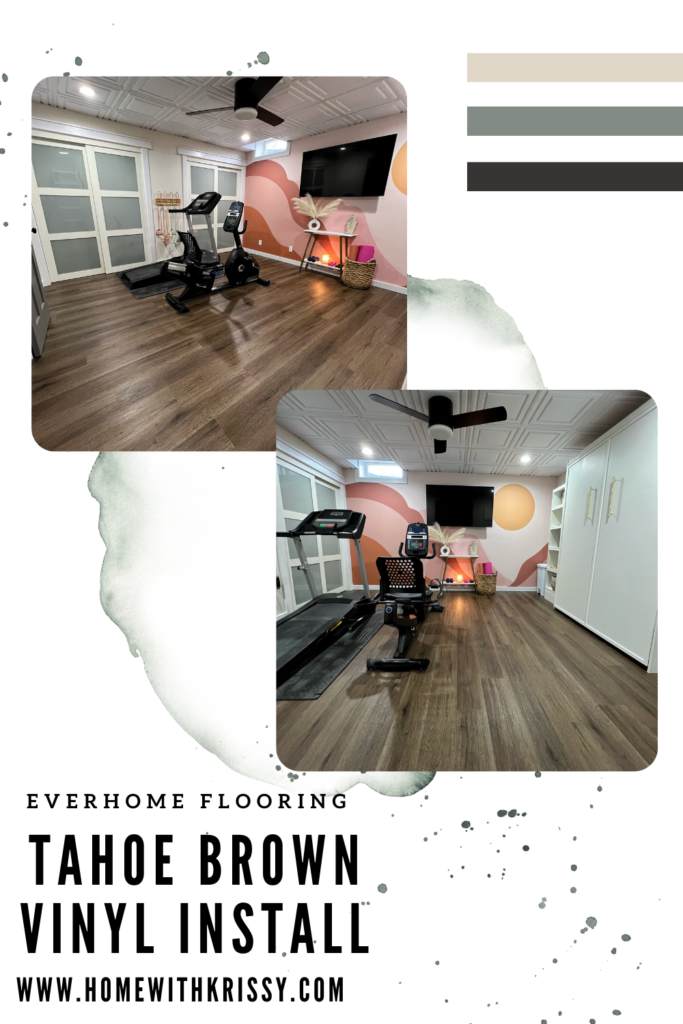
- Everhome Tahoe Brown Flooring
- Vinyl Flooring Cutter – THIS IS THE GAME CHANGER
- Install Kit
- 6 Mill Plastic
About Everhome Flooring
Everhome Tahoe Brown Rigid Core SPC vinyl flooring is your perfect solution to achieving the look of hardwood floors without the complicated installation or steep costs. The perfect neutral brown flooring, the Tahoe Brown was inspired by the sunny tree-lined vineyards of a pastoral countryside.
When selecting floors for our new home gym/guest bedroom, I knew I wanted something that was easy maintenance and durable! verhome Tahoe Brown Rigid Core SPC vinyl flooring was the perfect choice!
As I’ve stated before, installing your own flooring can save you thousands of dollars in labor cost. Once you get in the groove the process is simple and totally worth the effort!
The Install
Everhome Rigid Core SPC simple click installation system allows the planks to easily click together, requiring little to no effort and making this product extremely DIY-friendly. It is also waterproof, making it ideal for any room in your home including kitchens, bathroom, and basements. Vinyl flooring is your perfect solution to having the look of real hardwood floors without the cost of upkeep and maintenance.
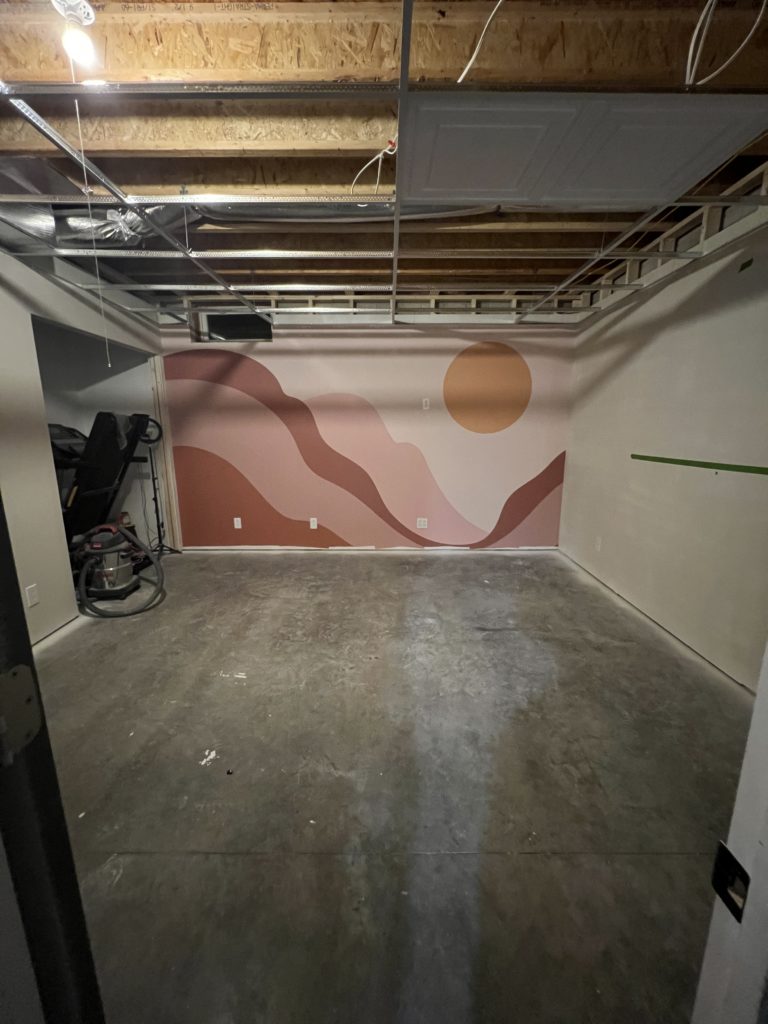
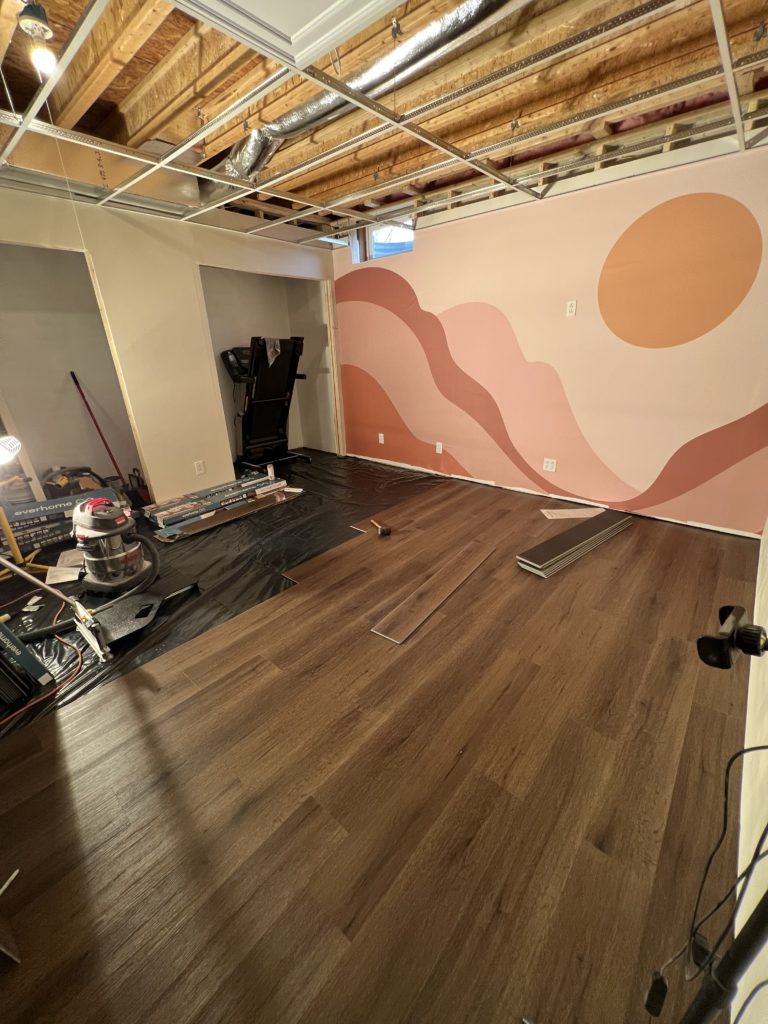
Once the floors were swept clean, I started by laying the 6-mil plastic directly onto the concrete. Everhome Rigid Core SPC vinyl comes equipped with a pre-attached IXPE foam backer eliminating the need for additional padding. If you were installing on wood sub floor you would not need the plastic. Starting in the in the back left corner of the room, I worked my way from left to right laying the flooring. Once you get your first few rows straight, the process flies. I was able to do this entire room in just one afternoon. If your more of a visual person, I documented the install on my Instagram Stories, HERE.
Check out my Instagram stories HERE for a short video of a previous vinyl install and where I show my “secret trick” that saves you TONS of time! You NEED the Flooring Cutter. Not only does it speed up the process, but there is no mess! It is literally a life saver!
For more details and specifications, please refer to the Install Guide.
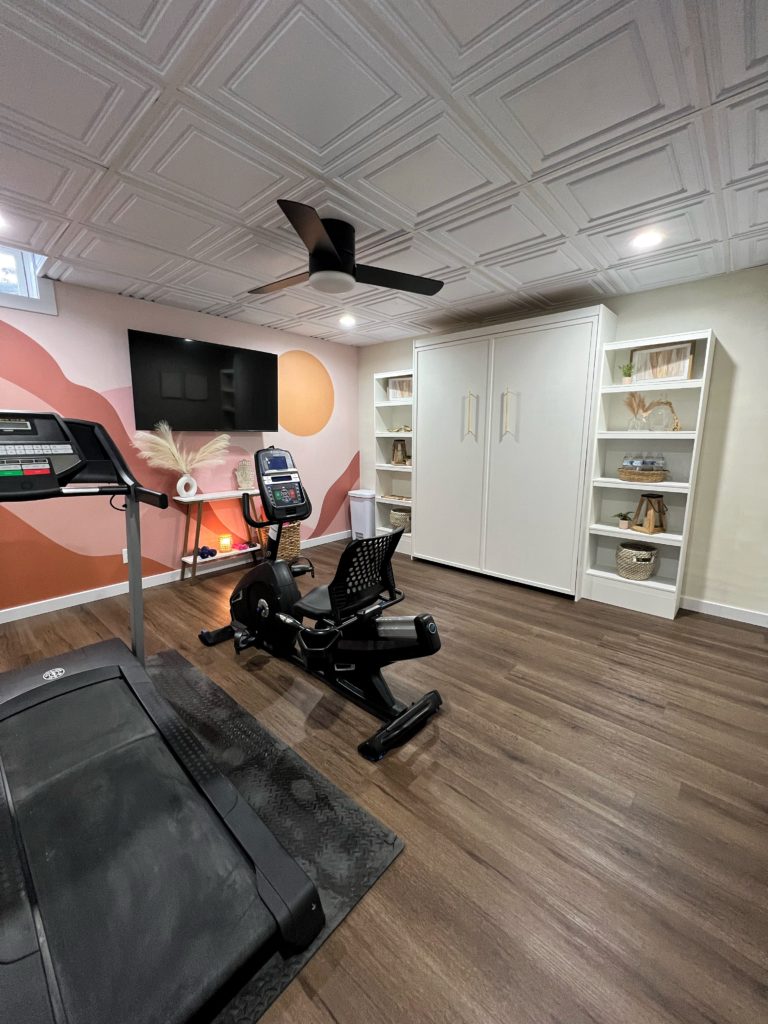
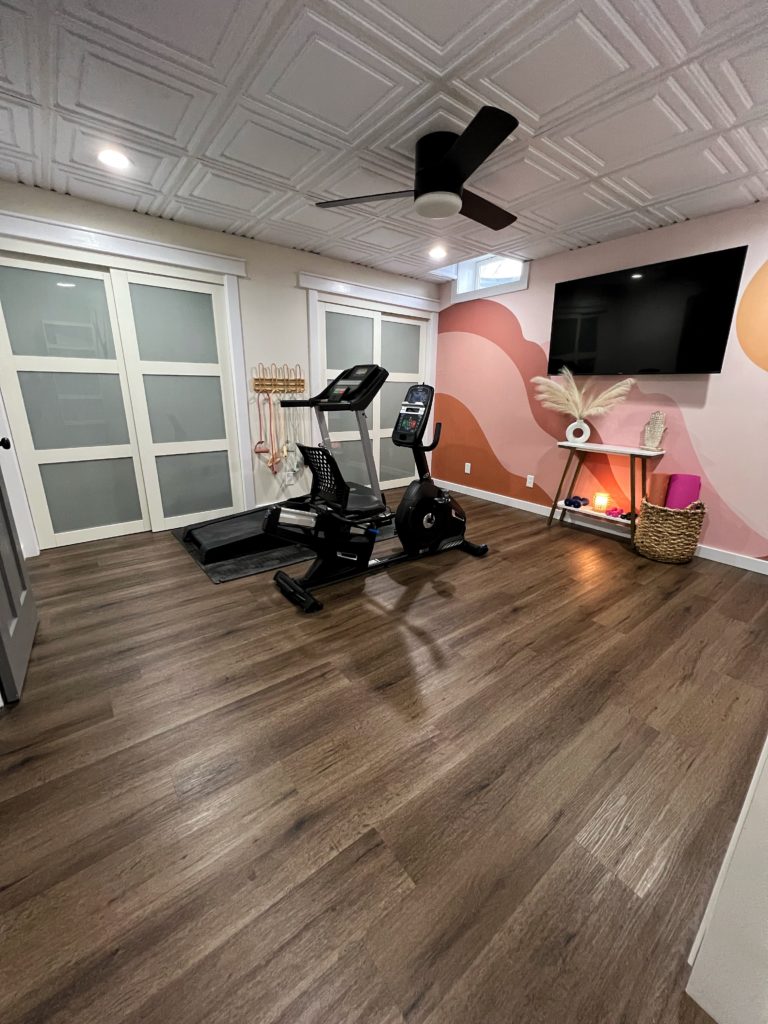
The perfect Home Gym/Guest Bedroom!
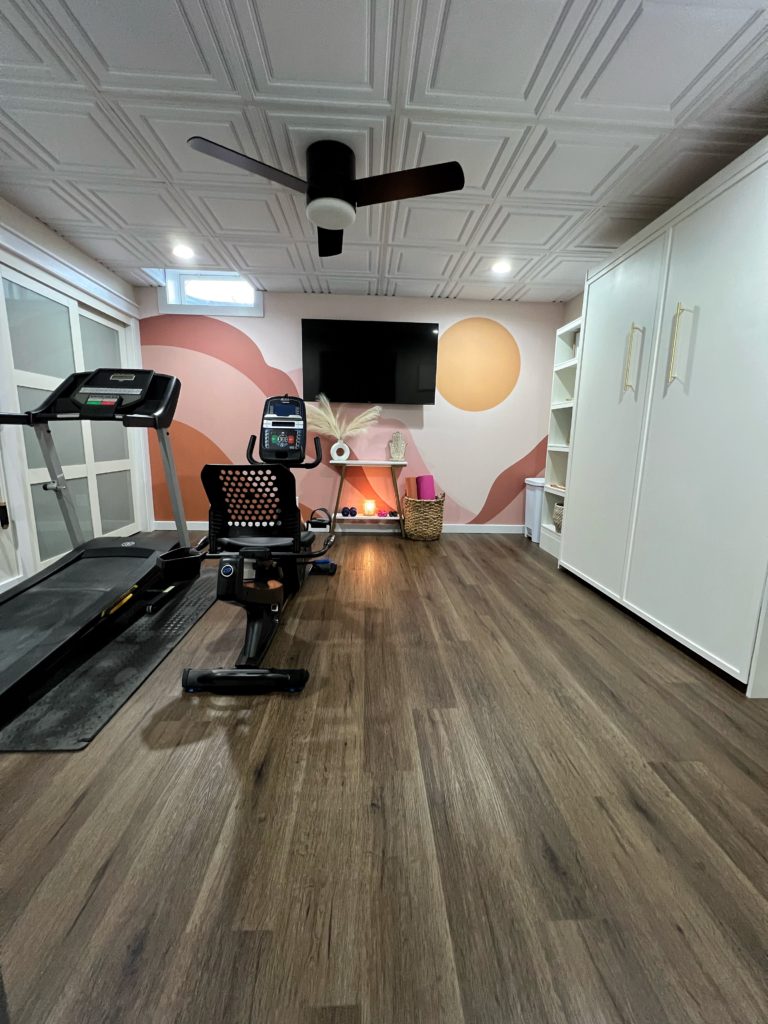
I am in LOVE with how this room turned out! Vinyl flooring is such a great DIY to add a HUGE impact! Are you ready to tackle your DIY Vinyl flooring install now? If you have any questions at all please feel free to comment them and I will do all that I can to help!